This is a fantastic bread for beginning bread makers. It’s mostly foolproof, and despite a few mishaps I’ve had with it in the past, it always turns out delicious and beautiful. The loaves are big, and if you’d prefer you can divide the dough into four smaller loaves instead of just two. The loaves will freeze or you can share the love with a neighbor or friend.
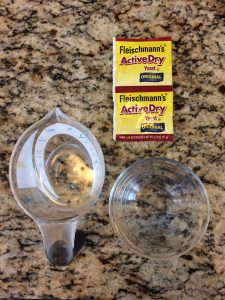
Start by combining 1/2 cup of warm water (think 105 degrees Fahrenheit, so warm to the touch, but not hot) with 2 packages (or 2 Tbs.) of active dry yeast. I always add a couple pinches of sugar to this as well, to give my yeast something to eat.
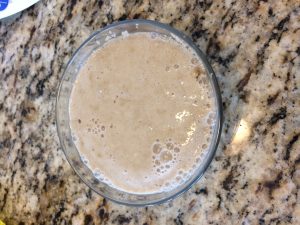
While that is getting frothy, add the 2 cups of warmer water (think 115 degrees Fahrenheit) to your mixing bowl with the oil, sugar and salt. Allow this mixture to stand until it cools slightly (about 5-7 minutes). I did have a devastatingly adorable assistant for this part.

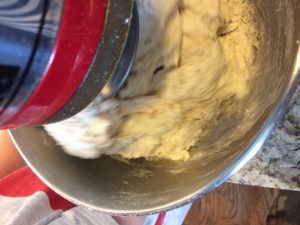
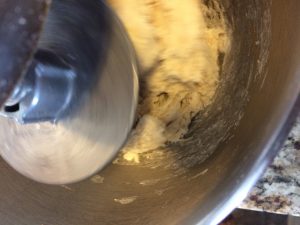
Add your frothy rising yeast mixture to this cooled bowl, along with 3 cups of flour. Mix until the flour is well incorporated, and relatively smooth. Add the remaining 3 cups of flour to create a soft dough. I use my mixer and bread hook to do this, but you can mix by hand if you’d prefer.
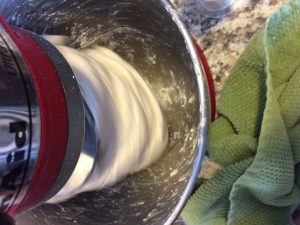
If you are using a mixer watch for the dough to begin pulling away from the sides. The sides of the bowl should become cleaner and cleaner in the minutes you are mixing. When all the dough has pulled from the sides and the ball of dough is incorporated and wrapped around your bread hook you know it is ready. If the dough is too sticky to gather after mixing, add a small amount (2 Tbs.) of flour to see if this will help the dough gather. Be patient though and give your dough 5-7 minutes to gather before deciding to add.
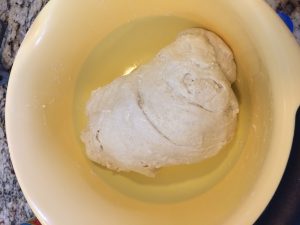
Transfer your dough into a clean bowl that has been very lightly greased with some oil on the bottom. Turn the dough once to ensure that both the top and bottom are lightly coated (this will help keep your dough from getting dry as it rests). Cover with a clean towel, and rest the dough for 10 minutes. You will get the biggest rise from your dough after the first rest.
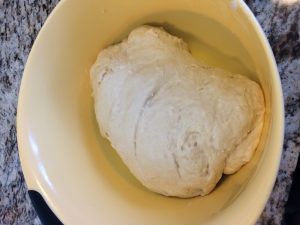
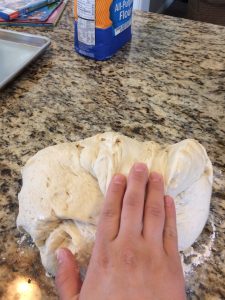
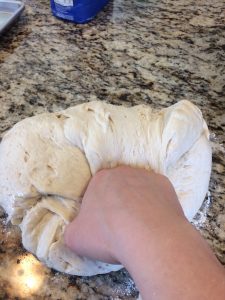
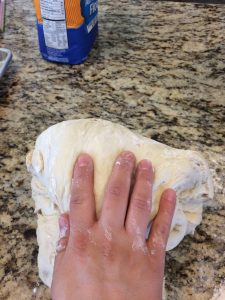
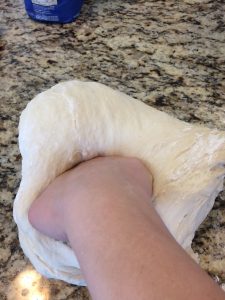
Then knead the dough down. The most effective way to knead (for those who are beginners) is to pull the dough towards you then push it away with your first. As you repeat this motion rotate the dough a quarter turn with each pull and push.
You will repeat the resting for 10 minutes and kneading down (about 1-2 minutes) 4 more times (5 total):
REST, KNEAD, REST, KNEAD, REST, KNEAD, REST, KNEAD, REST KNEAD- Shape.
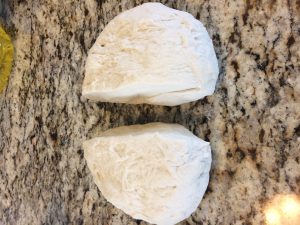
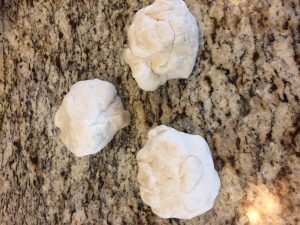
Now you can shape your dough. You may roll it out into 2 9×12 rectangles, roll it up jelly roll style and place it on your baking sheet that way, OR you can braid it, which is the way I always do it. Either way, you are trying to make 2 equal sized loaves. For a braid you will divide each half into three pieces.
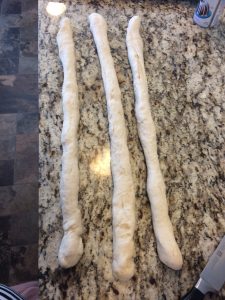
Roll each of your pieces into a thin snake, starting from the middle of your dough and working out. This also helps release any last bubbles in your dough.
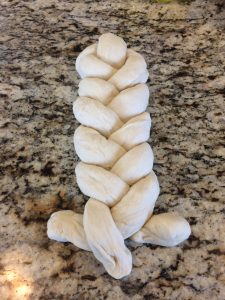
Braid the pieces into a close, but not overly tight pattern. They will get closer as they rise, and bake. Pinch the lose ends together and tuck them under to form the ends of your loaves.
Place your braids, length wise onto a lightly greased cookie sheet, and brush with some egg white and 1 Tbs. water mixture. You can then sprinkle poppy seeds or sesame seeds over your loaf…or no seeds at all.
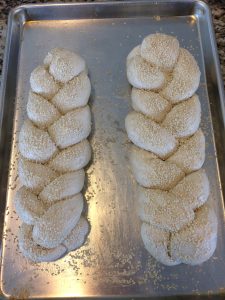
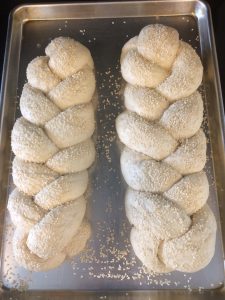
Let these rise for 20-30 minutes. You don’t want them to sit for too long because they will also expand in the oven, so don’t worry about getting a huge rise from them. Watch for the braids to become more snug and puffy, that is sufficient.
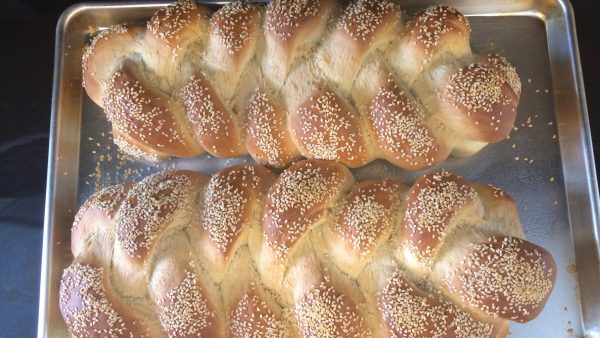
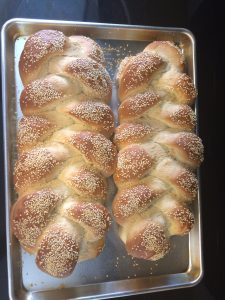
Bake at 375 degrees for 45-50 minutes. The bread is done when it has a beautiful brown color and sounds hollow when you knock on it. The crust is gloriously crisp, and the inside will be lovely and soft.
These loaves will definitely impress. Aside from the time commitment (about 3 hours from start to finish) this recipe is NOT DIFFICULT at all. Good eating my friends!
Braided French Bread

Ingredients
- 1/2 cup warm water
- 2 packages (2 Tbs.) active dry yeast
- 2 pinches sugar
- 2 cups warmer water
- 1/3 cup oil (vegetable)
- 3 Tbs. sugar
- 1 Tbs. salt
- 6 cups all-purpose white flour
- 1 egg white
- 1 Tbs. water
Instructions
- Combine the 1/2 cup warm water, yeast and 2 pinches sugar, stir just to combine.
- In a separate large mixing bowl combine the 2 cups warmer water, oil, sugar, and salt.
- Let this mixture sit for about 5 minutes to cool slightly.
- Add the yeast mixture to the cooled mixture in the large bowl. Add 3 cups of flour and mix until you have an incorporated and somewhat smooth texture.
- Add the remaining 3 cups of flour to form a soft dough.
- Transfer dough into a lightly greased bowl and rotate to coat. Cover with a clean dry cloth, and let the dough rest for 10 minutes then knead it down.
- REPEAT THE RESTING AND KNEADING 5 times.
- Divide the dough into two equal pieces. Work with one piece at a time, dividing it into three equal pieces. Form each piece into a snake and braid the three portions together.
- Repeat with second loaf.
- Place the loaves length-wise onto a lightly greased cookie sheet
- Brush the top of each loaf with an egg white mixed with 1 Tbs. water. Then top with seeds of your choice.
- Let rise for about 20 minutes, just until braid becomes puffy and snug.
- Bake at 375 degrees for 45-50 minutes.
- The crust should be very crisp, golden brown, and sound hollow when you knock on it.
- Let the loaves cool for at least 15 minutes before slicing.


Thank you, this bread sounds so good.
It is really soft and delicious!