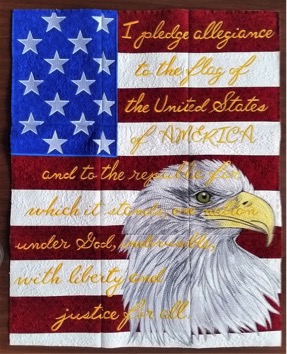
Probably one of the most visually stunning quilts I have ever made is this patriotic wall hanging by Anita Goodesign.
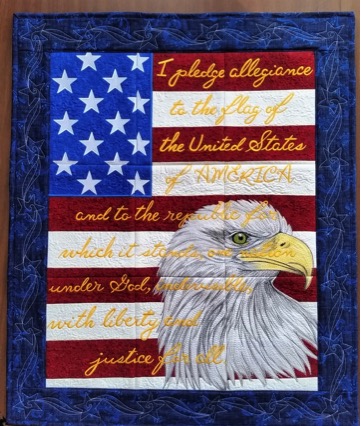
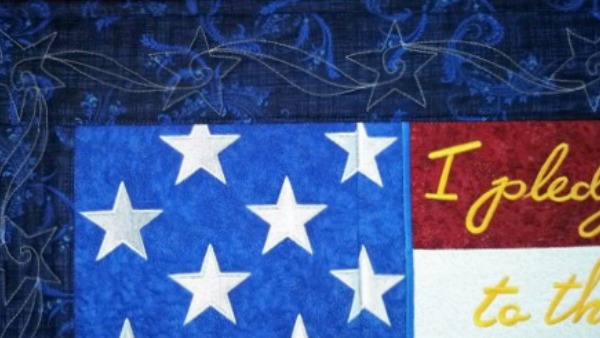
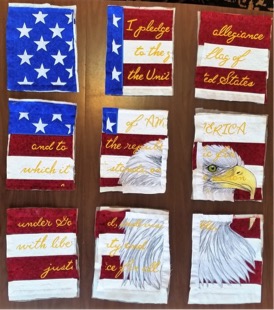
It is made up of nine embroidered panels which were created by my daughter on her ten-needle embroidery machine. Each panel is embroidered individually with about an inch of seam allowance on all sides so the panels can be sewn together.
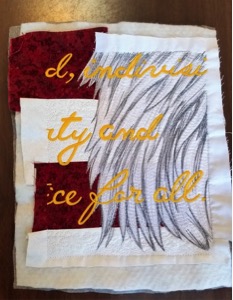
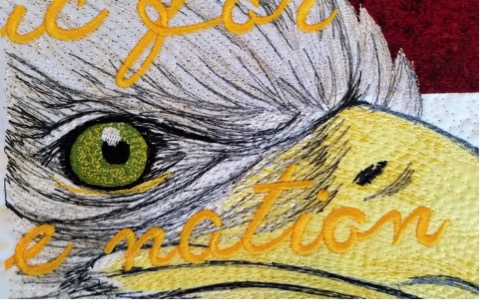
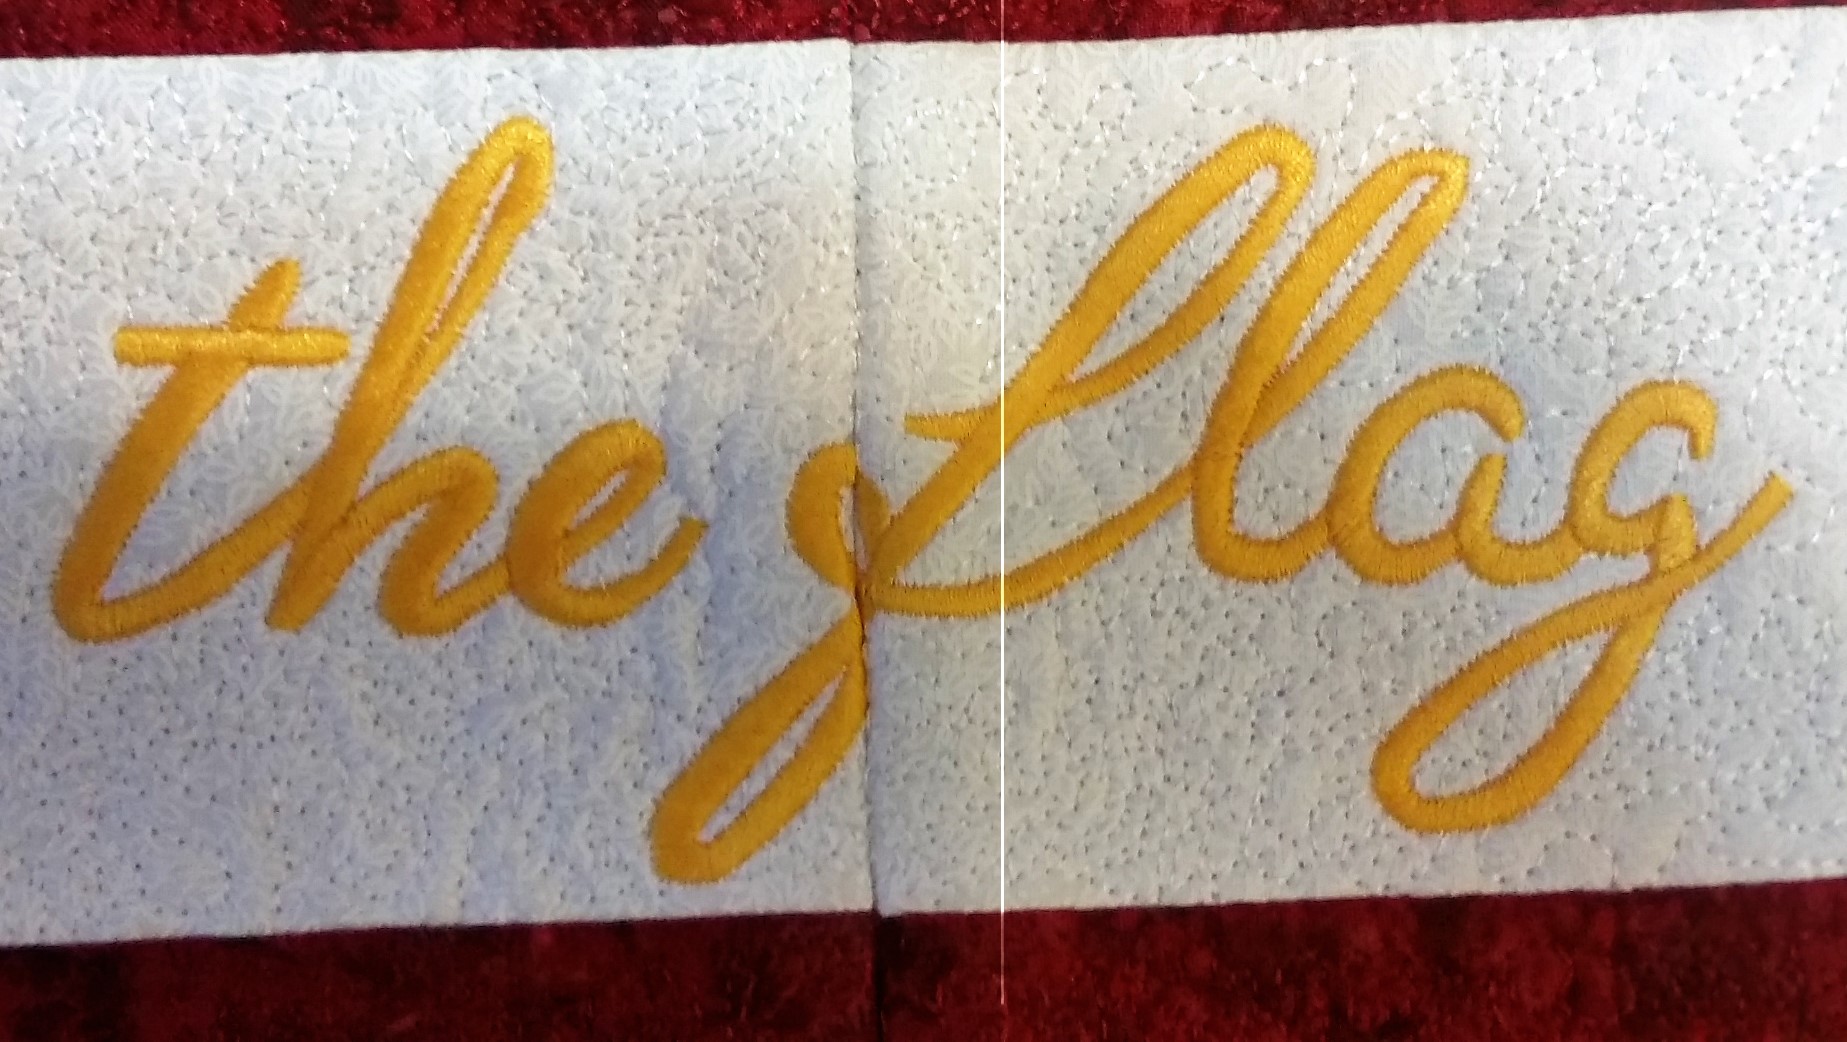
You can see in the photo above that this panel includes parts of words and about one-quarter of the eagle. The “d” above is the last letter in the word “God,” followed by the first part of the word, “indivisible.” Here are all nine panels, arranged in the correct order:
Though the embroidery looks complicated, the machine does most of the work, and, yes, it can be stitched on a home embroidery machine. The eagle’s eye is my favorite part.
The hardest part of making the wall hanging is actually sewing the panels together. Because I wanted all of the stars and words to fit together correctly, I pieced everything very slowly. The photo below shows the back of two panels. You can see part of a star on the left side above my pinky and the other part of the star on the right above my thumb. The two seam lines run down the inside edges of the stars, and between my fingers are the seam allowances.
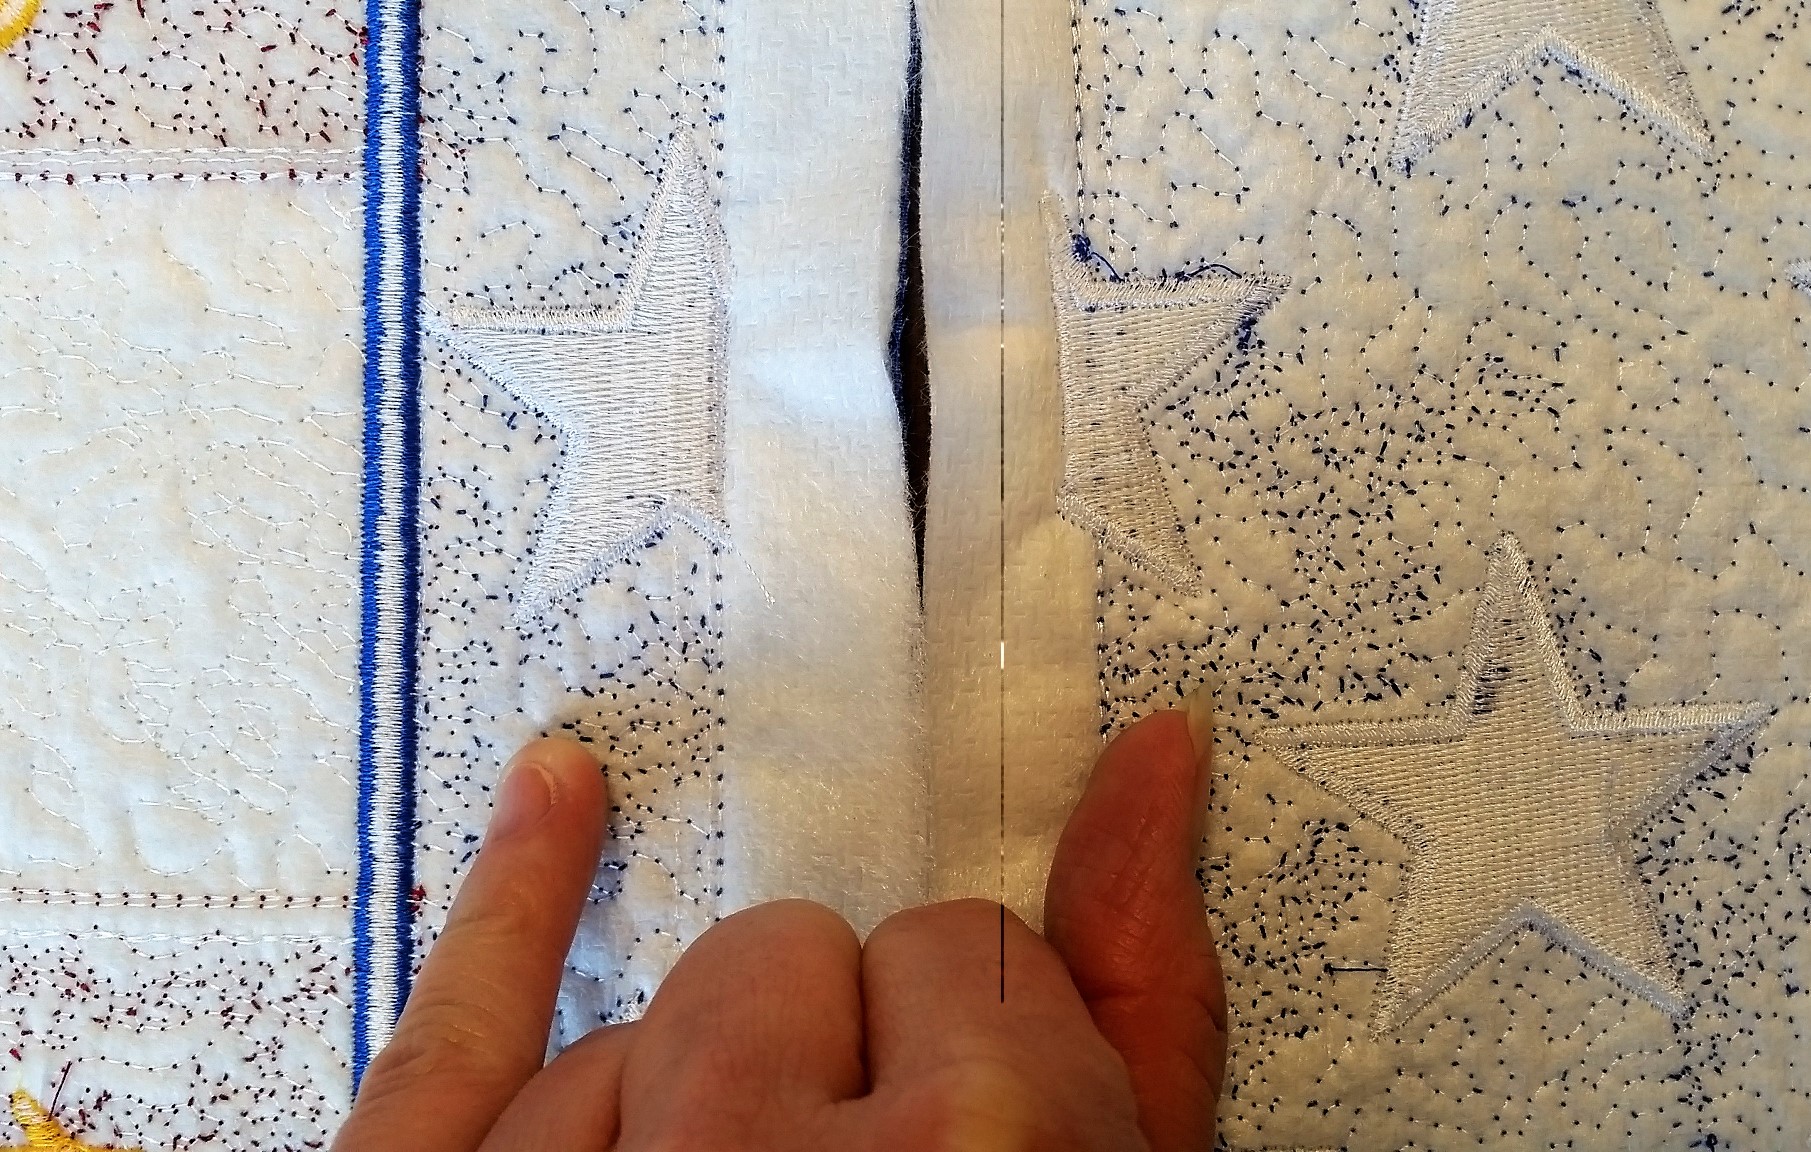
Theoretically, you match the seam lines, rights sides together, and then stitch from on end to the other, but I quickly learned that this type of normal sewing did not guarantee that the stars would match. Instead, I ended up basting together just the section of the seam that had to match exactly, like a section with two stars. If the stars looked good, I then stitched the entire seam. Even doing that, my piecing was not perfect.
In order to make the wall hanging lie flat, I pressed each seam open. This was also more difficult than you might think because the seams were very bulky. Each panel was made of three layers: the top fabric, a thin batting, and a stabilizer to keep the fabric from puckering. This means that each seam was made of six layers instead of the usual two. I trimmed the seam allowances and then pressed with a hot, steamy iron.
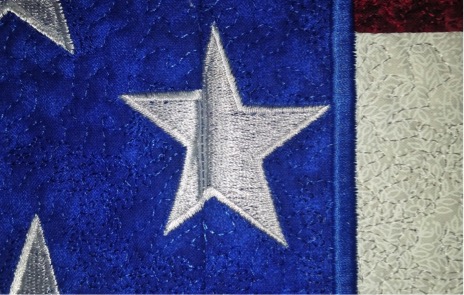
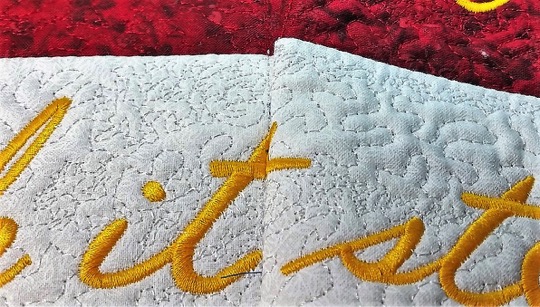
The photo below shows another spot of tricky piecing.
The piecing was difficult, but the finished results are spectacular. If you closely, you will see many piecing imperfections. (I’m happier when I don’t look.) Yes, I trimmed and squared the edges of the quilt before I shot the photo.
The pattern includes directions for creating a gold border, but my daughter didn’t like it, so we made our own out of three-and-one-half-inch wide strips of a dark blue fabric. Because the quilt itself was already backed with a layer of batting, I needed to add batting to the borders before attaching them to the quilt. I cut fabric strips and pieces of batting, stuck them together with basting spray, and then stitched them in place.

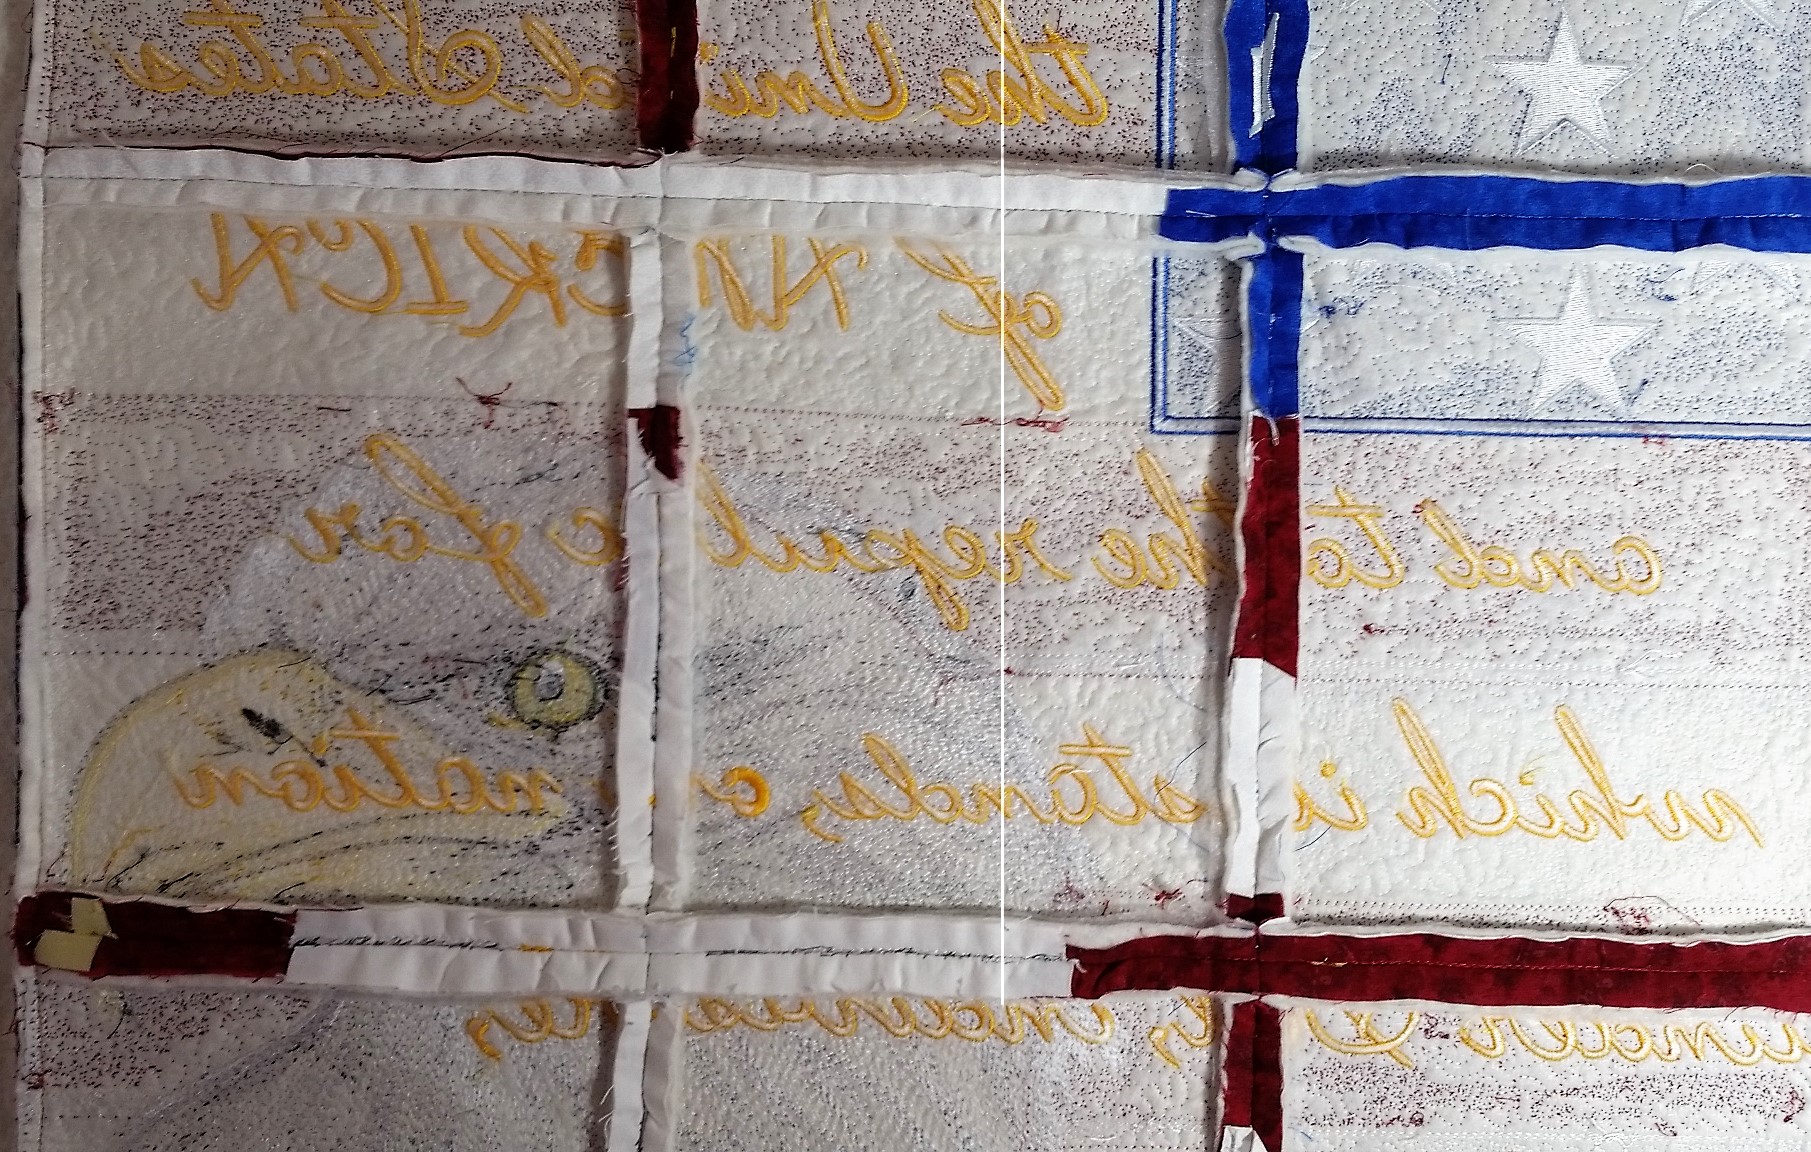
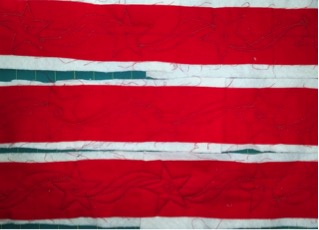
Theoretically, the wall hanging did not actually need to be quilted because the embroidery machine had added small stipple stitches during the embroidery process. The photo below shows a close-up of these stitches in white.
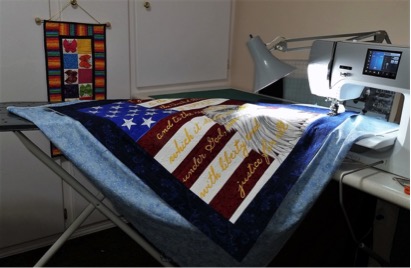
Even though the wall hanging was quilted to the batting during the embroidery process, but the hanging still needed a back, and the borders were not quilted. I created a simple quilt sandwich with the quilt top—which was already attached to batting—and a backing fabric. Then I started quilting—and discovered that with all the embroidery and stabilizer and batting and fabric, the quilt was very heavy. It was pulling off the edge of my sewing table, and I couldn’t hold it up and quilt at the same time. To solve this problem, I bought an inexpensive ironing board at Wal-Mart, removed the cover, placed it next to my sewing table, and draped the quilt on it. (Missing from the photo is my chair. It fits right in front of the machine.)
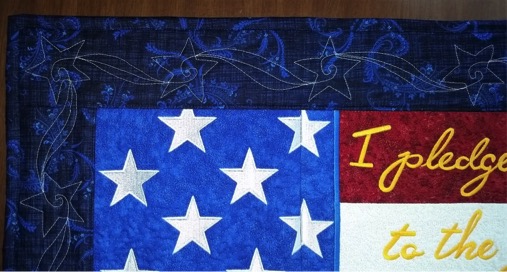
I stitched between the panels (or “stitched in the ditch”) to secure the quilt top to the back, hiding those stitches in the seam line. You can’t see the stitches from the front of the quilt, but they are visible on the back. In the borders, I decided to quilt a star design by Lori Kennedy at theinboxjaunt.com. First, I practiced drawing the stars with a pen on paper.
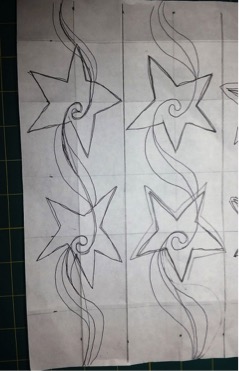
Then I drew the pattern on some sample fabric and quilted over my drawn lines.
Finally, I sketched the pattern on the borders of the quilt with a white, wash-away pencil and then quilted with white thread.
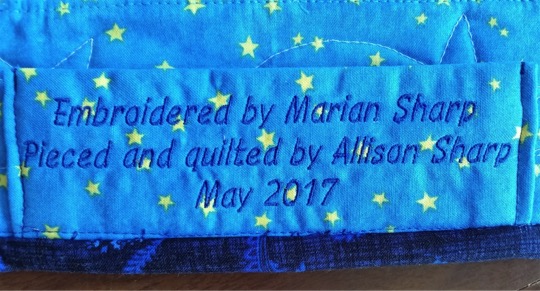
I sewed a label to the back of the quilt.
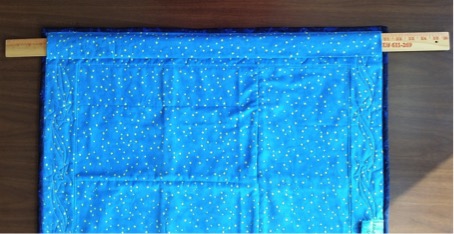
Because I knew this quilt would be hung, I added a sleeve to the quilt back in which to put a piece of wood which can be screwed to the wall. In the photo below, the “wood” is a yardstick from Home Depot, which we later cut to the right length. The yardstick is strong enough to hold up the quilt without bowing, but not so thick that it won’t fit in the sleeve.
I love this quilt with its stunning embroidery and beautiful depiction of the Pledge of Allegiance. It’s the perfect decoration for Independence Day on July 4th.
*See this and other Anita Goodesign embroidery patterns at https://www.anitagoodesignonline.com/.
*Find the swirling stars quilting design by Lori Kennedy at http://theinboxjaunt.com/2013/07/02/tuesday-tutorial-swirling-stars/.


It is very beautiful! I love anything patriotic.
Thanks, Connie. It is definitely eye-catching. My sister is an amazing quilter.
This is so beautiful.Your sister did an amazing job on this quilted wall hanging.
Thanks, Jackie! It is hanging at my parents’ house and it is stunning!
Thank you for posting this it’s beautiful. I have this pattern and stitching it out right now and I’m having difficulty matching up but I’m going to baste it like you suggested and see if that works right now I’m frustrated haha but it is beautiful
I am just about finished making this. When I saw this pattern 2 years ago, I knew I needed it and, unfortunately, it took me these 2 years to get it done due to the lack of space. Now I have a dedicated sewing room and it’s fabulous having so much room to spread things out if need be. Everyone I’ve shown this to has been thoroughly impressed. As am I. Outstanding job in putting this artwork together.