 You’re starting to wonder if I sew things besides table runners. Yes, but I couldn’t resist showing you two more runners that are just simple variations on the Valentine Day table runner. (Find that runner here.)
As you may have noticed, I like quilting projects that are easy—beautiful, but still easy. And nothing is easier than taking a pattern you already know how to sew and, by making a few simple changes, creating something that is still beautiful and easy, but just a little different.
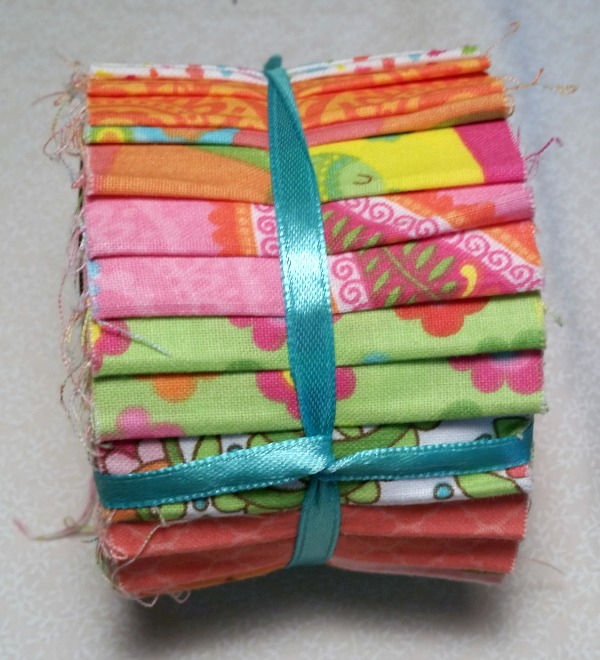
Now you’re thinking, “But the fabric in these table runners is so wild. It’s nothing like the fabric in the Valentine Day runner. That was peaceful and pink and reminded me of chocolate.” I found this fabric at JoAnne’s in a roll of pre-cut fabric strips. These rolls are often called Jelly Rolls and come in a variety of sizes and colors. This roll has 20 strips, 2 ½” wide, of 10 different fabrics. Each strip has been cut the WOF, or width of fabric, and so is about 42” long.
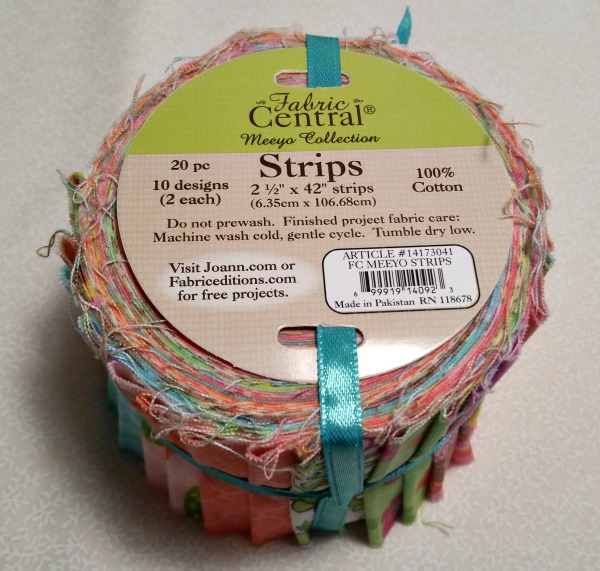
The obvious advantage of using these strips is that they are already cut the right width! And the cutting is accurate, another plus. The main disadvantage of using pre-cuts is that you don’t get to pick all of your fabric. You have to buy everything in the roll, and you might not like some of it. But you can also be sure that someone at the manufacturing company (whoever created the roll) thought that all the fabrics went well together. If you are nervous choosing which fabrics go with what, then purchasing a jelly roll might be a good option for you.
The jelly roll I bought has enough fabric to make SIX table runners, so unless you want that many, you will have extra fabric. (Personally, I LOVE extra fabric.) In the weeks to come, I will show you different ways to use your leftover strips.
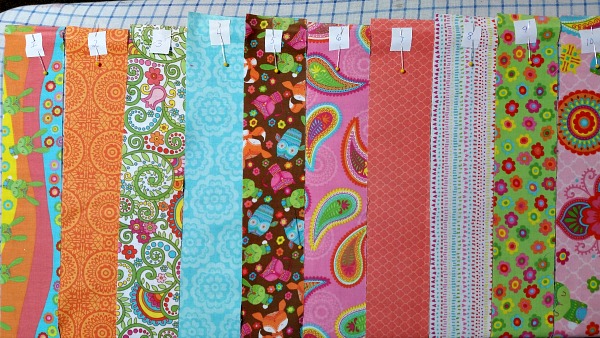
After you open your jelly roll, take out the strips you are going to use and place them in the order you like best. I’m using 10 strips, half of the number in the roll. You’ll notice I’ve numbered mine, so I don’t forget their order.
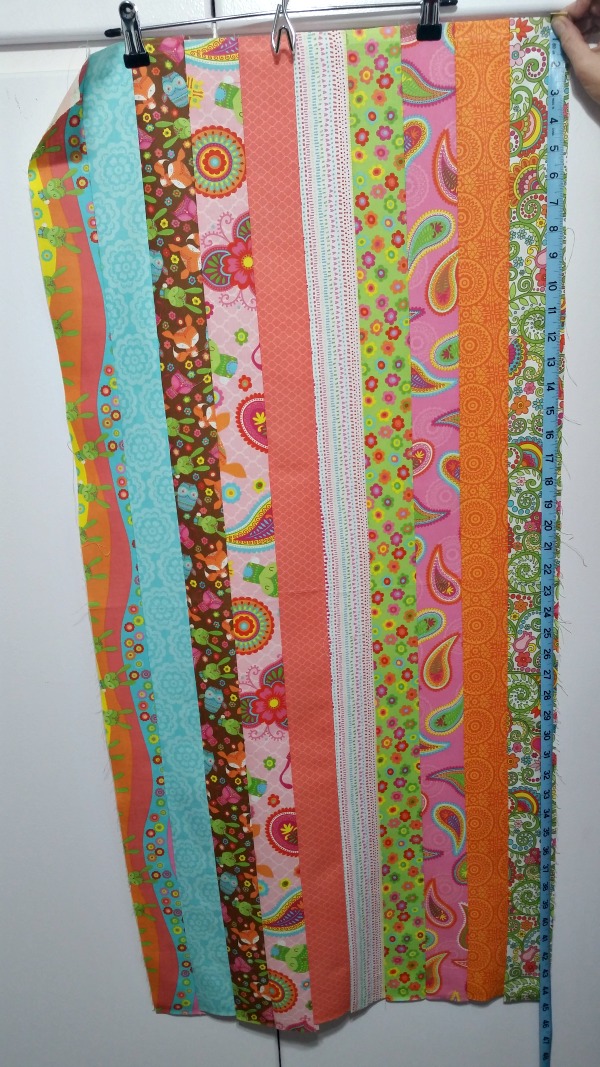
At this point, you can either cut each strip 14” long and then sew them together, OR you can leave the strips at 42” long and then sew them. If you want to make more than one table runner (or you have another project that needs 10 strips), definitely leave the strips long. (See directions for sewing these strips here.) After you sew the 10 strips together, you get this “strip-unit.” (Hey, I couldn’t think of a better name.)
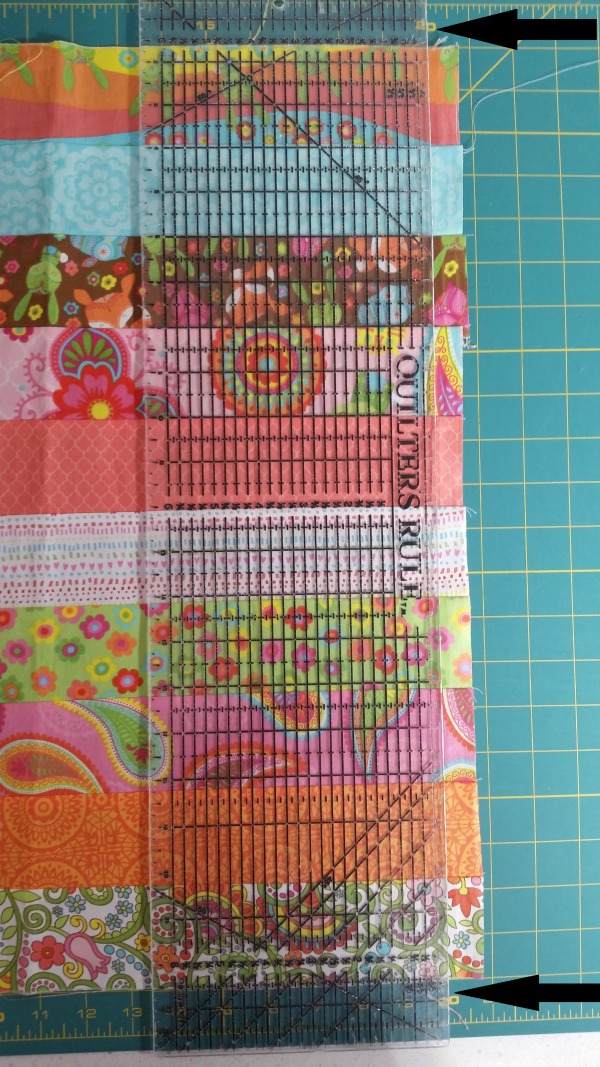
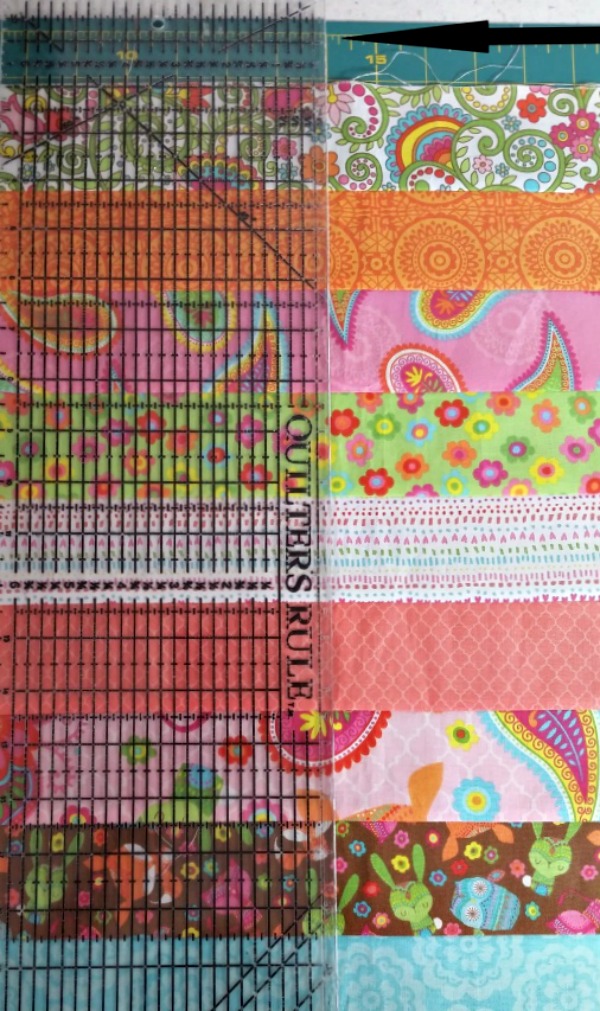
Put the strip-unit on your cutting mat. At the bottom of the photo, you’ll see that I have put one of the long sides of the unit on the 1” horizontal line on the mat.
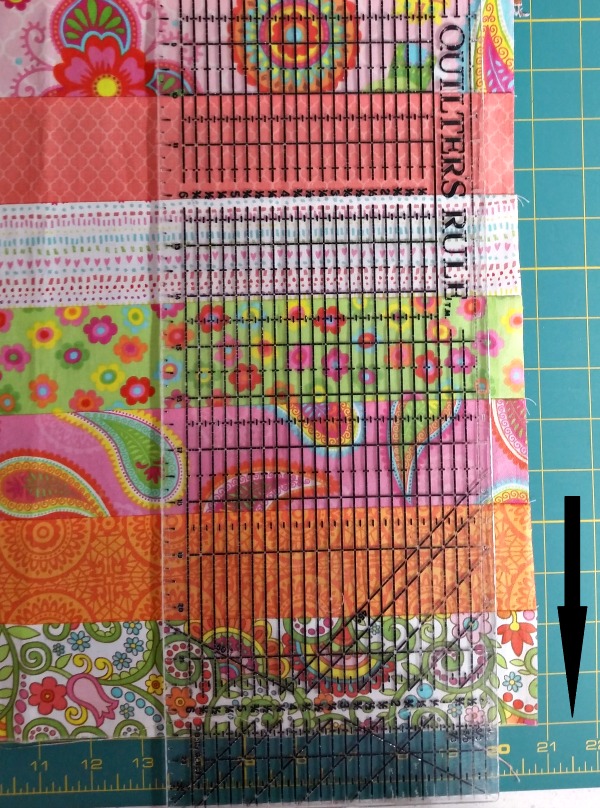
Then I have put my ruler on the 20” vertical line, making sure the top and bottom of the ruler are both on 20”. I can see that this short edge of the unit needs to be straightened.
Use your ruler and cutting mat to straighten this edge. (I’m right-handed, obviously. Make the necessary changes to these directions if you’re left-handed. )
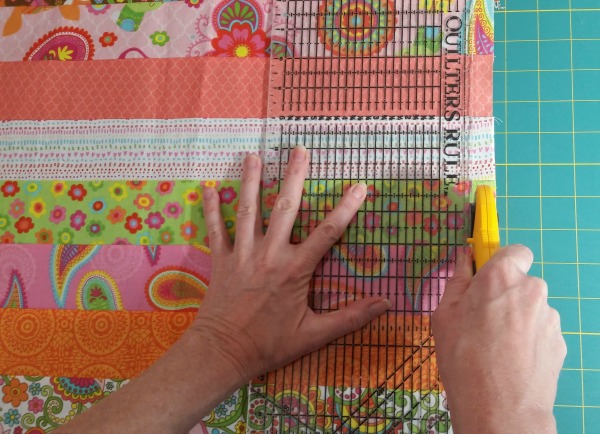
Now flip the strip-unit so the straight edge you just cut is on the left side of the mat. Put the left edge of the unit on the very left mark on the mat.
Make sure the bottom of the unit is straight by lining it up on one of the horizontal lines. I used the 1” mark. I want to cut a 14” rectangle, so I’ve put my ruler on the 14” mark, ready to cut with my rotary cutter.
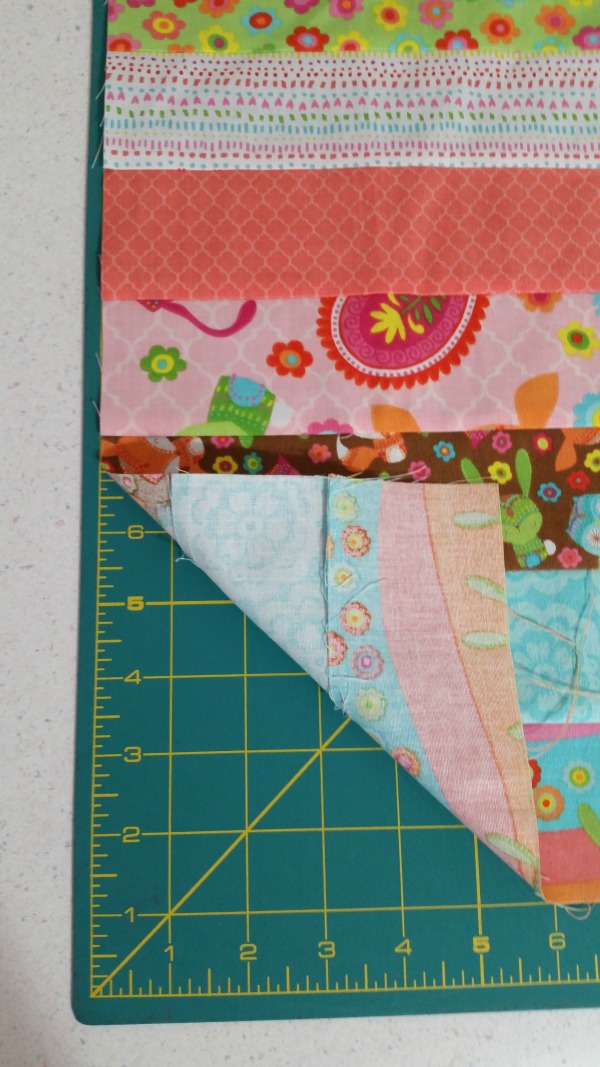
You have just cut your quilt top, and it should now measure 20 ½” x 14”. If you’re making a second table runner, cut another quilt top by moving the left edge of the strip-unit to the very left mark on the mat. Line up your ruler at the 14” mark, and cut. You now have two quilt tops.
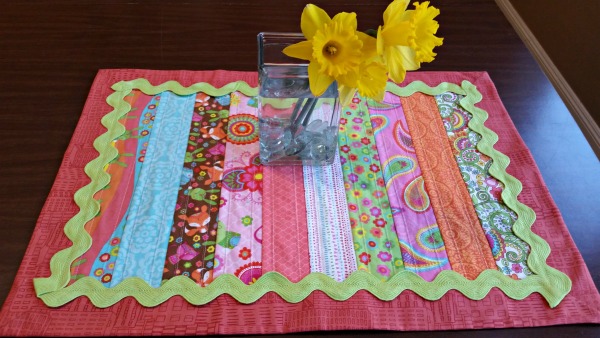
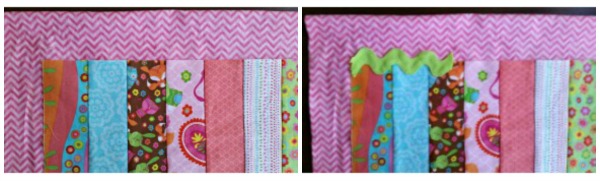
Now it’s time to pick our border fabric. Don’t cut them yet! Just pick them. The 10 fabrics in this quilt top include several colors, so I found more than one border fabric that I liked. I also knew that I wanted to add rickrack, so I tried it with each of the border fabrics. Here are my favorites:
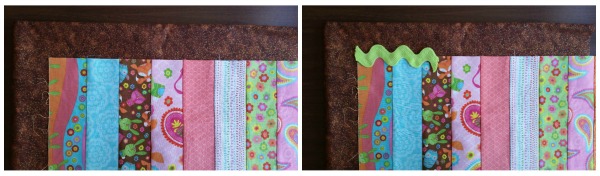
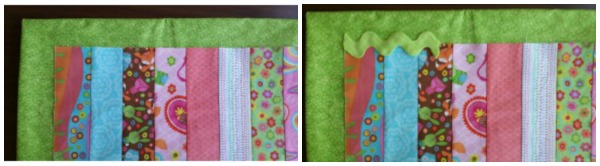
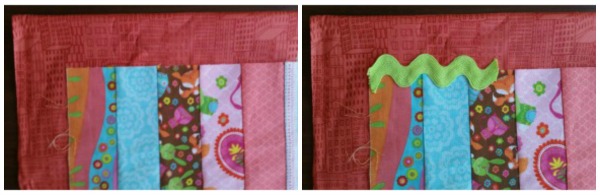
The green rickrack seems a little lost on the green border. Look at the rickrack with the rust-colored fabric:
I also love the blue, though it’s not my favorite with the rickrack.
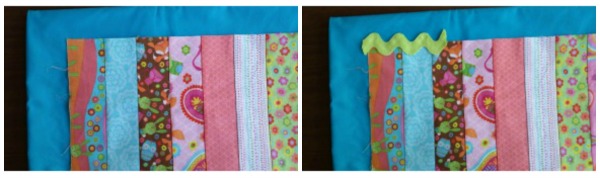
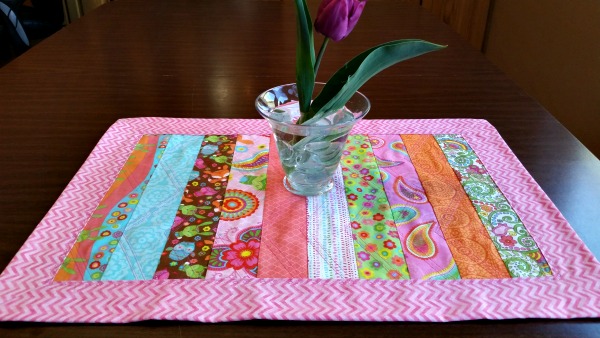
Notice that the border fabrics I’ve picked have very small (or none) patterns. A bigger pattern, like the ones in the strips, would be too much for this quilt top. But I loved the chevrons in the pink fabric:
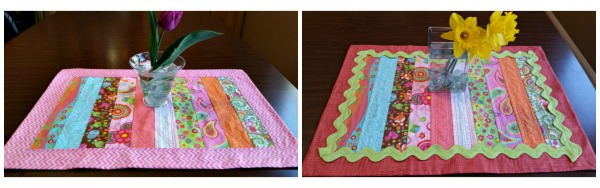
Just for fun, look at these finished runners, again. Can you see what a difference the borders and rickrack make in the look of the quilt? The strips are exactly the same, but these look like distinctly different runners.
Next week, I’ll show you how to create borders out of the back of your quilt. And we’ll even miter the corners! How cool is that?