
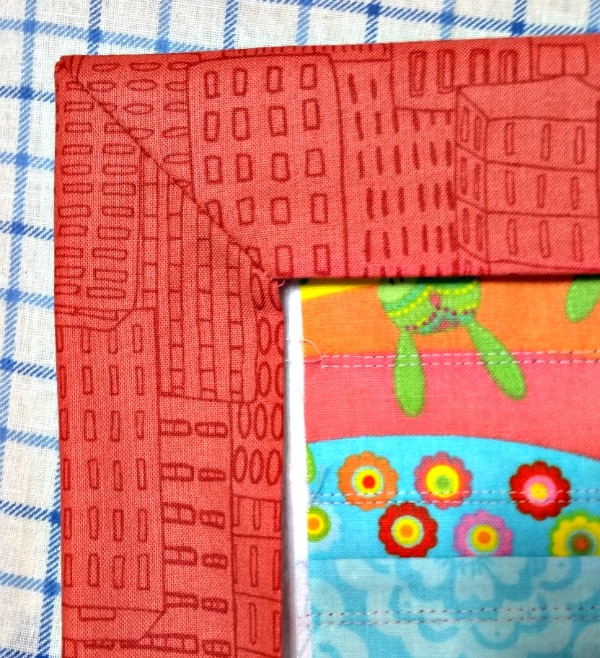
If you’ve been sewing with me the past few weeks, you have pieced the top of your table runner, made a quilt sandwich, and quilted everything together. Now it’s time to sew the borders and miter the corners. The photo above is a close-up of the border on the auburn table runner.
The mitered corners add a nice finish to this runner, and I’m excited to show you how easy they are to create.
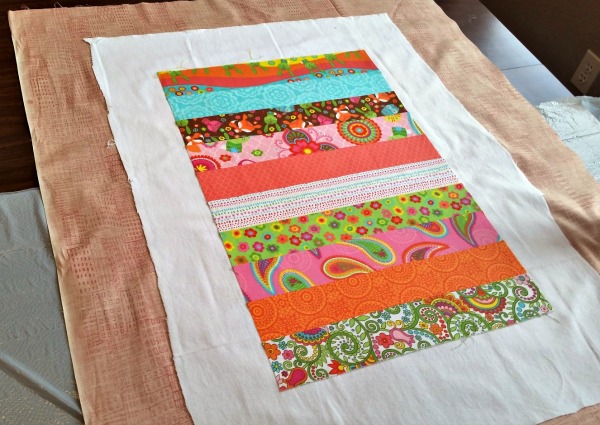
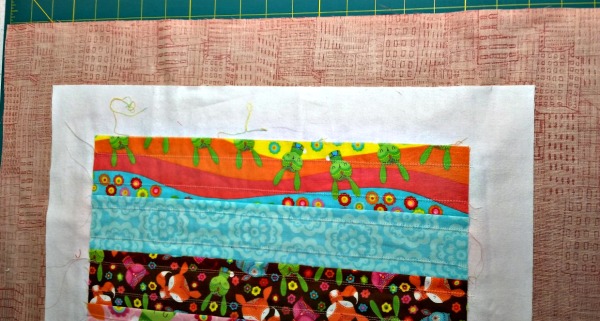
You will remember that I had you cut the backing and batting for this quilt several inches larger than the quilt top. Your quilt top probably looks something like this:
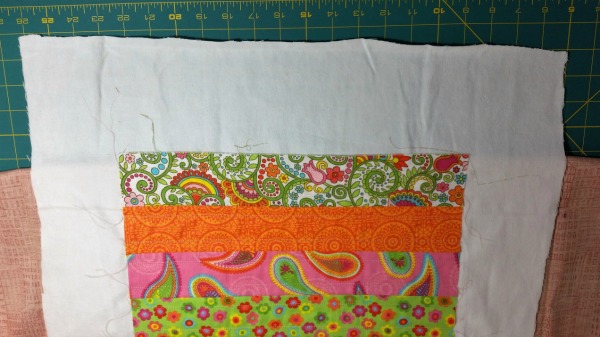
Step one: Trim the batting so that it extends 1-3/4″ from each side of the quilt top. And do this without cutting the backing fabric! Put your quilt right side up on the cutting mat, and fold the backing fabric out of the way, underneath the quilt. In the photo below, you can see that there is nothing underneath the piece of batting extending above the quilt top.
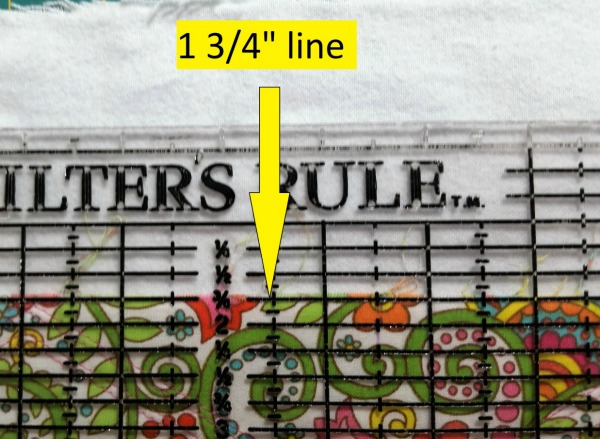
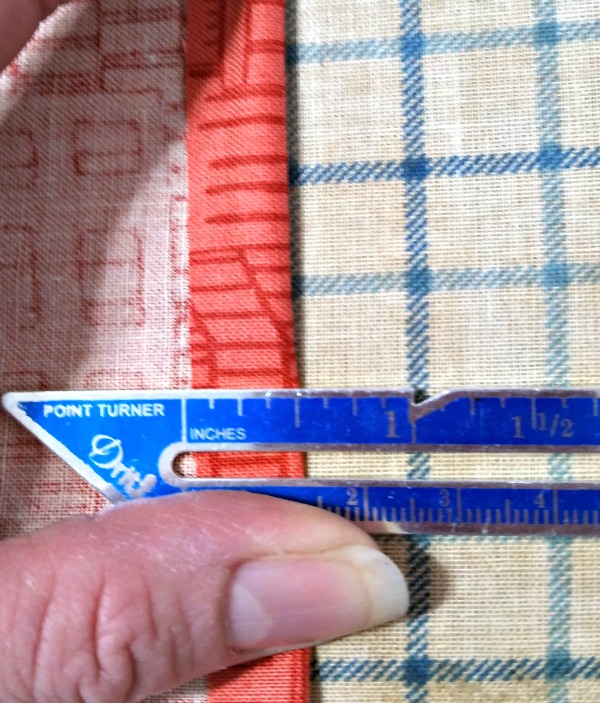
To measure 1-3/4″ away from the edge, put the 1-3/4″ mark of your ruler on the edge of the quilt. This means that 1-3/4″ of the ruler extends onto the batting and the rest of the ruler sits on the quilt.
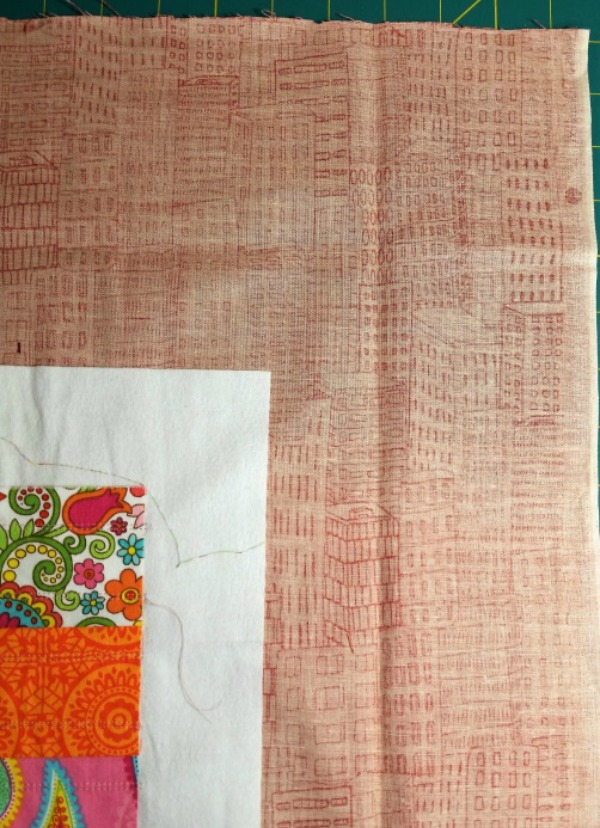
Put the rotary cutter against the edge of the ruler, and slice off the excess batting. Do this on all 4 sides of the quilt. The edges of your quilt top should now look something like this. The batting is neatly trimmed so that it’s 1-3/4″ away from the edge of the quilt top, and the backing fabric still extends several inches from the edge of the batting and quilt top.
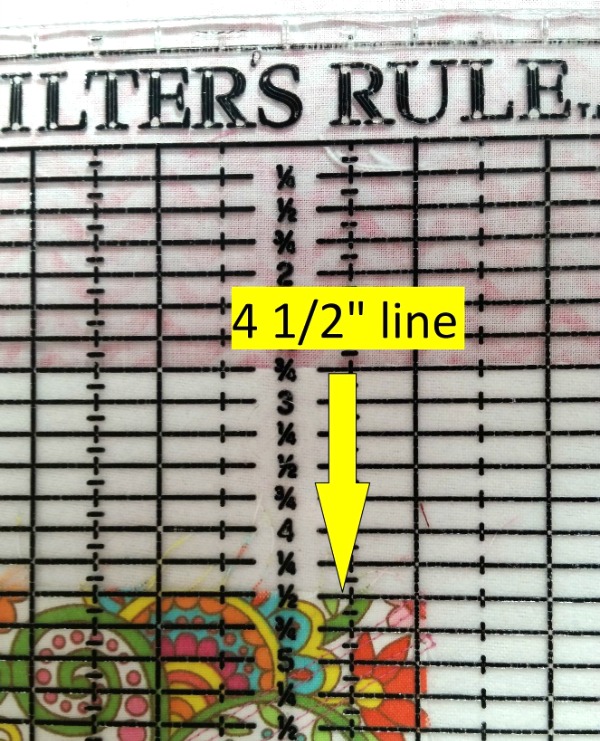
Step two: Trim the backing fabric so that it is 4-1/2″ from the edge of the quilt top, not the edge of the batting, but the edge of the quilt top. Again, put your quilt on the cutting mat right side up. Put the 4-1/2″ line of your ruler on the edge of the quilt top. This means that 4-1/2″ of the ruler extends away from the quilt top, over the batting, and onto the backing. The rest of the ruler is on the quilt.
Put your rotary cutter along the edge of the ruler, and slice off the extra backing fabric. Do this on all 4 sides of the quilt. The edges of your quilt should now look like this. The edge of the batting is 1-3/4″ away from the edge of the quilt, and the edge of the backing fabric is 4-1/2″ away from the edge of the quilt.
Step three: Fold down the edge of the backing fabric by 1/2″ towards the quilt top. Press. Put your quilt right side up on the ironing board. Fold 1/2″ of the outside edge of the backing fabric towards the quilt top.
Press well. Fold and press all 4 sides of the quilt. (Don’t worry that the corners look a little funky.)
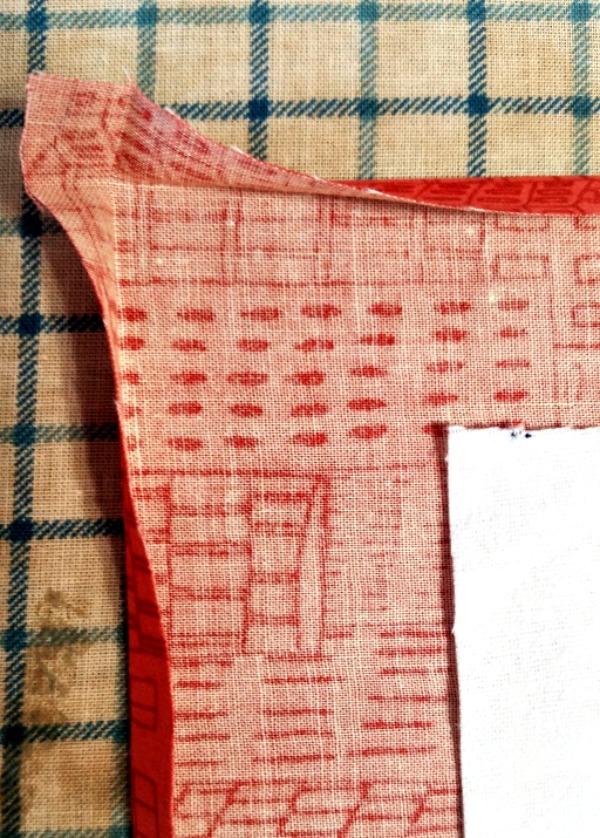
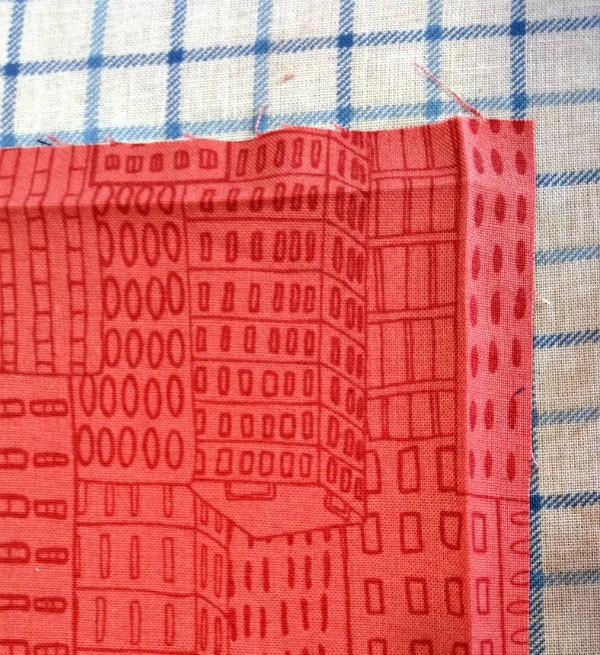
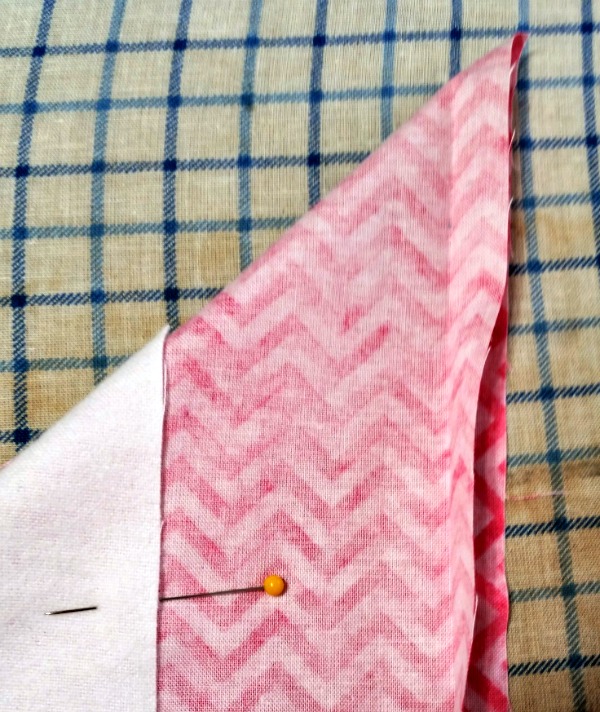
Step four: Miter the corners. Your quilt is sitting face-up on your ironing board; you can see your beautiful piecing work. Now turn it over so that you see the back of your quilt. The photo below shows the top right-hand corner of my quilt, and you can see that I’ve pressed under the edges of the back by 1/2″. (I am obedient to my own instructions.)
Take hold of the top of the quilt, about 6 inches from the top right corner.
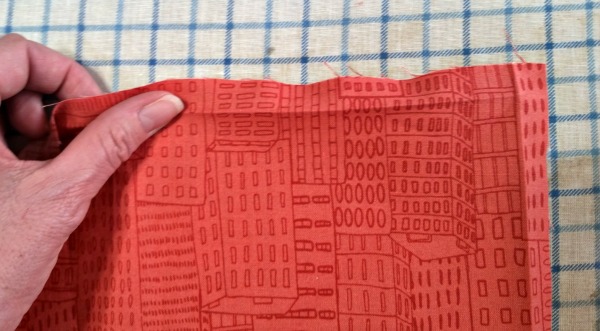
Move the top edge of the quilt towards the right-hand edge of the quilt.
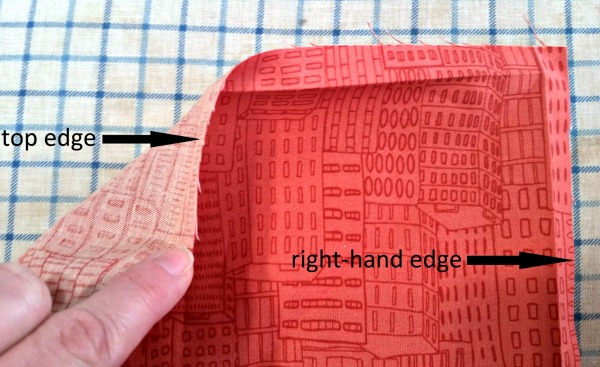
Notice that the backing fabric is now right sides together.
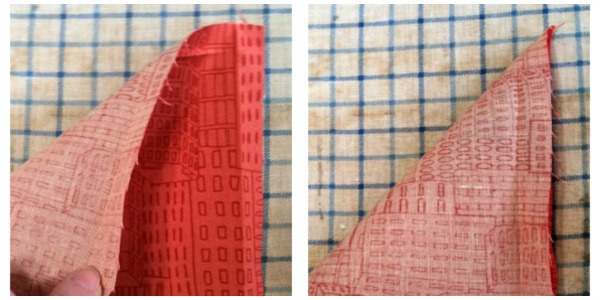
Here’s another view of the same corner on a different table runner.
Your ruler should be marked with a 45 degree line.
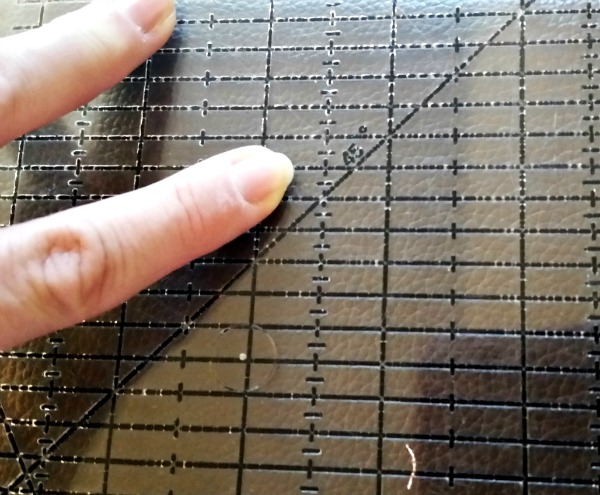
My 6-1/2″ square ruler also has a 45 degree line, and it runs diagonally through the ruler.

And what if your ruler does not have a 45 degree line? Cut a perfect square out of cardboard and draw a line diagonally from the right top to the bottom left. That line is your 45 degree line.
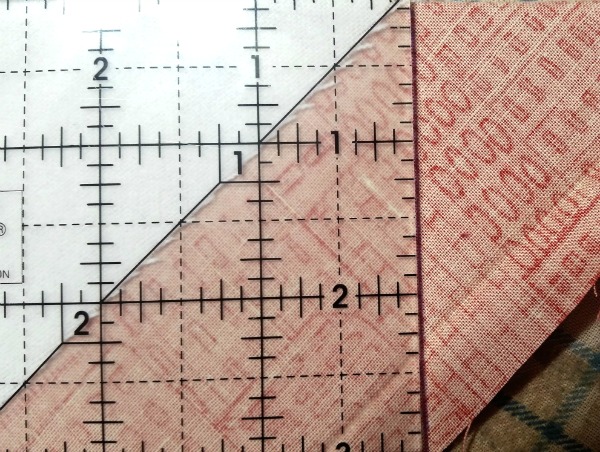
Look at the right-hand corner of your quilt again. You will see the fold you’ve created, the top point of the flannel, and the edge of the flannel.
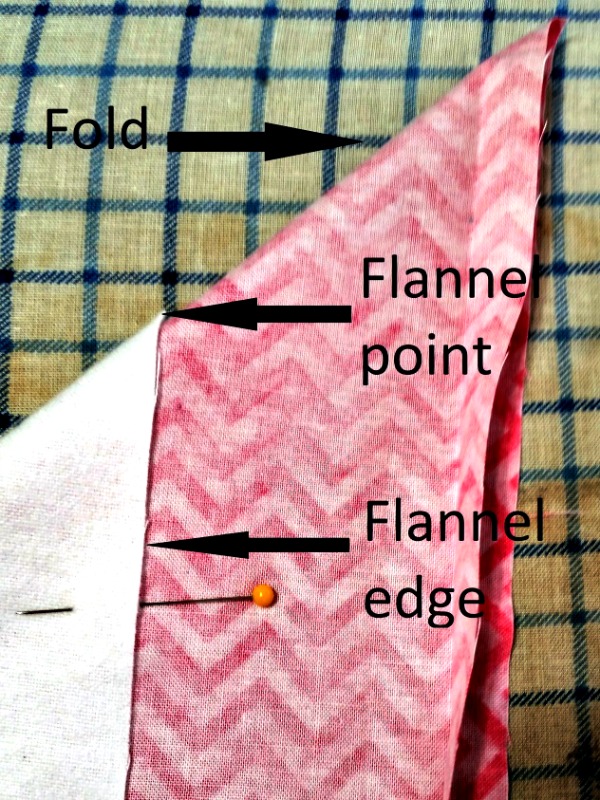
Put the edge of your ruler on the fold, and put the 45 degree line on the edge of the flannel.
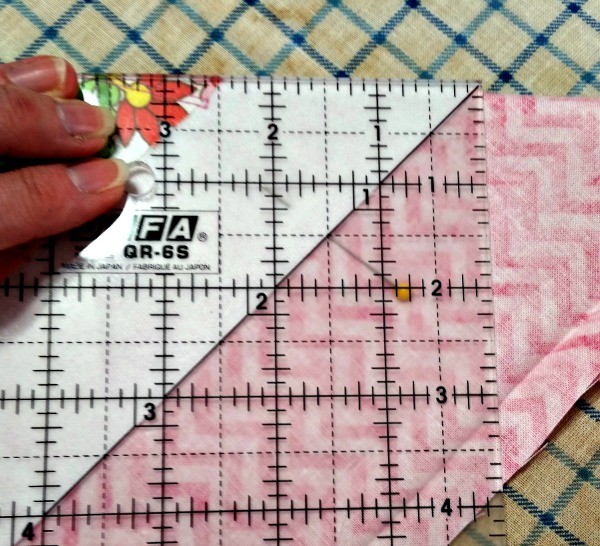
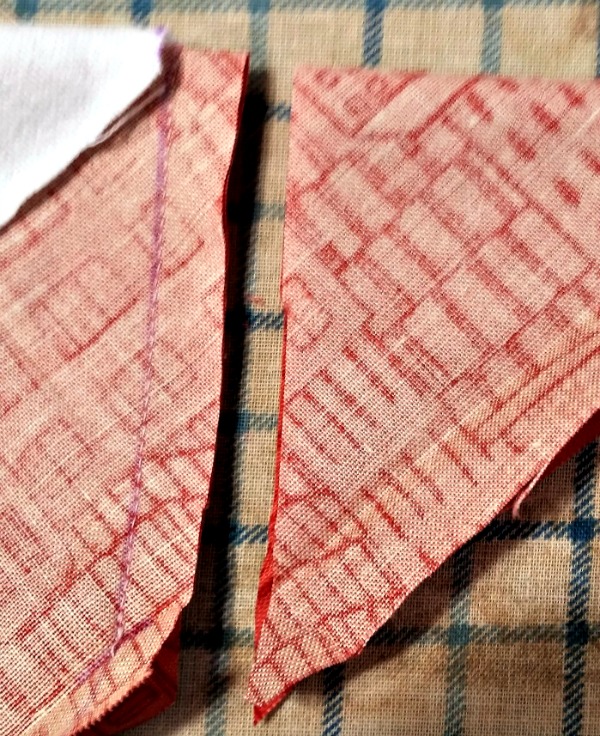
Using your fabric marker, draw a line down the right-hand side of the ruler. This line is perpendicular to the fold.
The corner of your quilt should look like this:
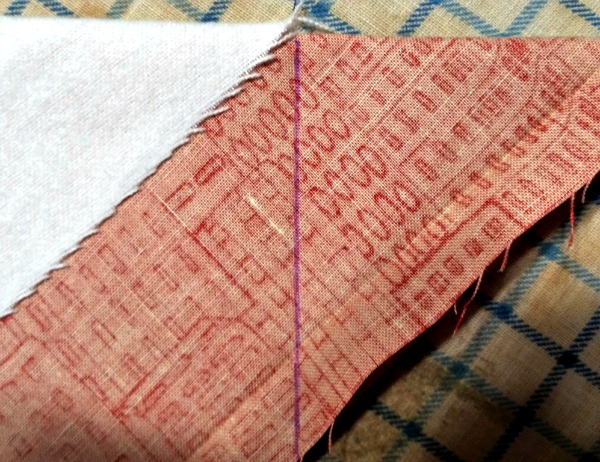
Add one more line right on the fold line you pressed where the fold intersects with the long, purple line you’ve just drawn.
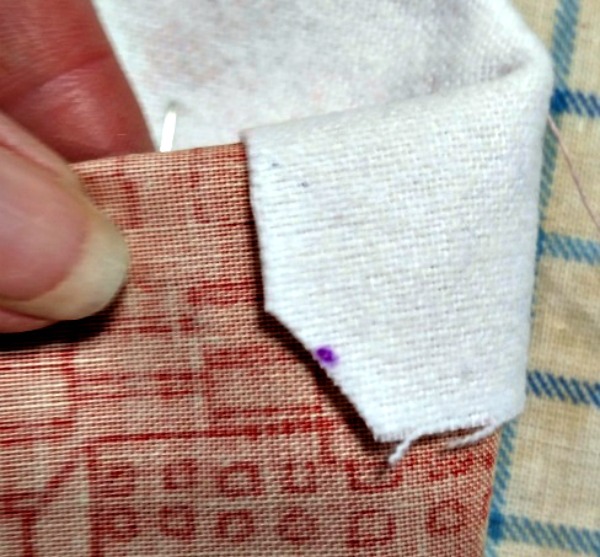
Clip off the very tip of the batting. (Ignore the purple dot in the photo. I put it there to remind me to trim.)
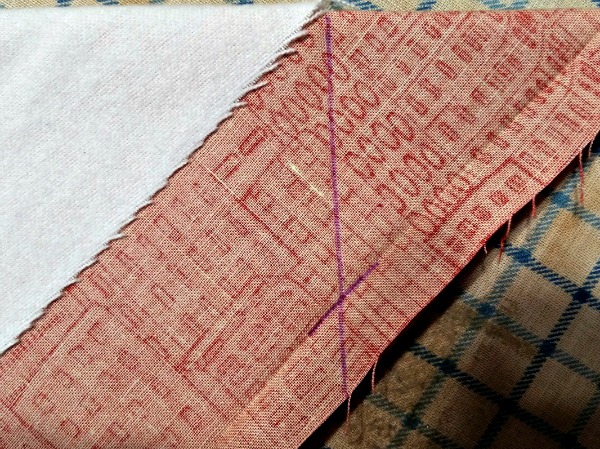
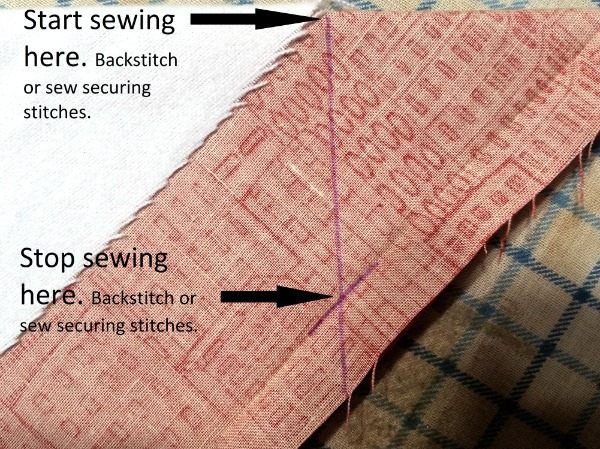
Add a few pins by the purple line, just to be sure nothing shifts, and then sew on the long, purple line. Use some securing stitches at the top. End the seam where the long, purple line intersects with the short purple line.

Trim the seam to 1/4″.
Trim the top of the seam. This will make it easier to turn.

Turn the corner right side out, and press the seam open. Yes, pressing this is a tricky maneuver, so don’t fret if it doesn’t look perfect.
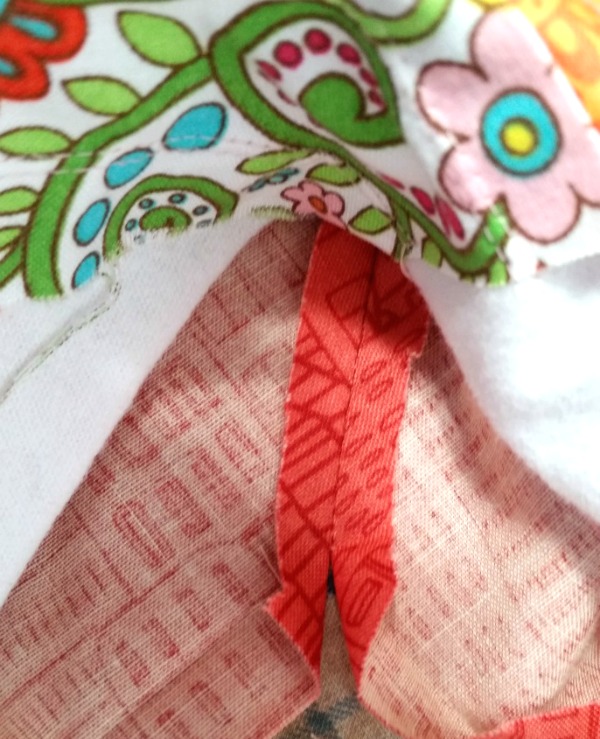
Use a chopstick or similar tool to push out the corner. In other words, make sure the point is pointy.
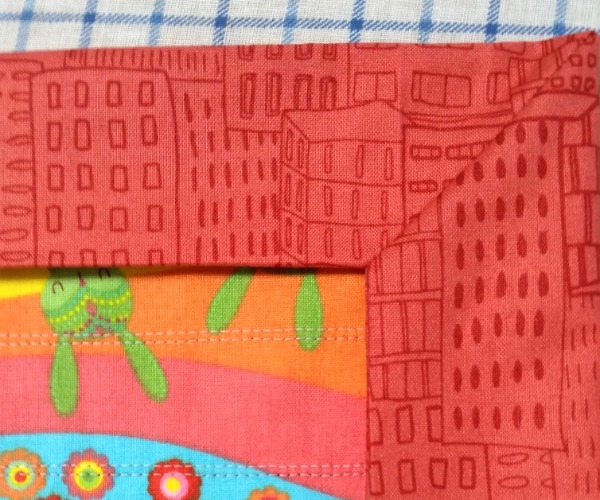
Smooth out the border and make sure the edges you pressed under are tucked beneath the border. Your corner should look something like this:
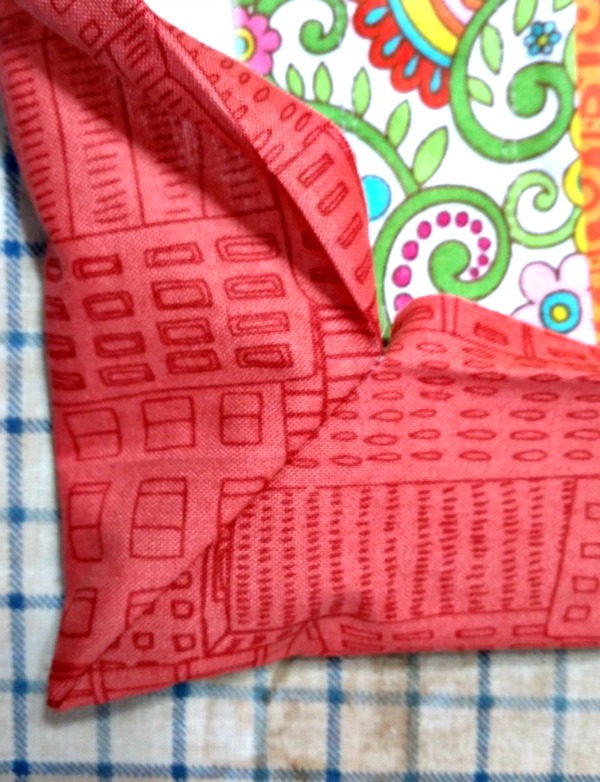
Now finish the top left-hand corner. After you smooth both corners and tuck under the pressed edges, what happens if one of your corners looks like this? The border has not covered the edge of the quilt.
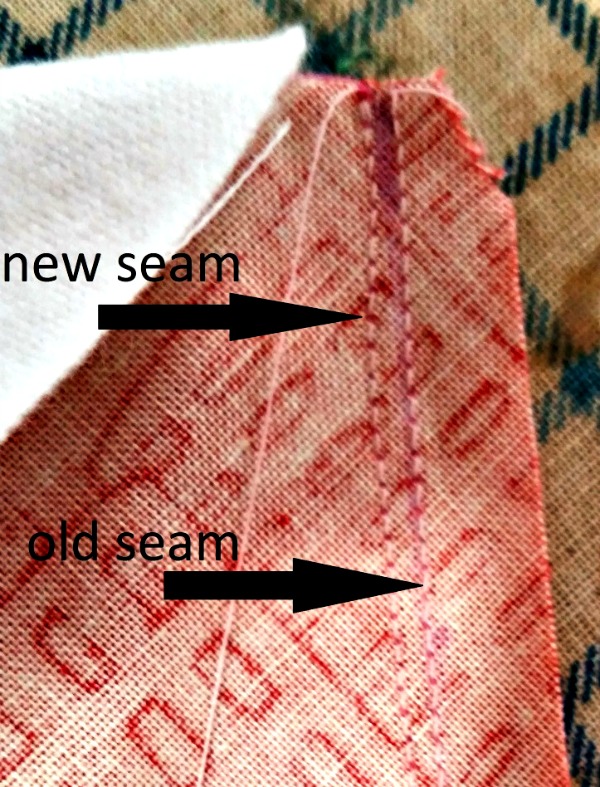
Don’t panic! This is what my second corner looked like, and I was not happy. This problem is usually caused by inaccurate use of your ruler, but it is easily fixed. Turn both of your corners wrong side out. Remember sewing this seam?
Sew it again, but stitch your new seam about 1/8″ closer to the rest of the quilt. Do this to both the left and right corners.
Now turn the corners right side out, and see if you have fixed your problem. You can re-sew this seam until your border covers the edges of your quilt. (I won’t tell you how many times I had to sew mine. It’s embarrassing.)
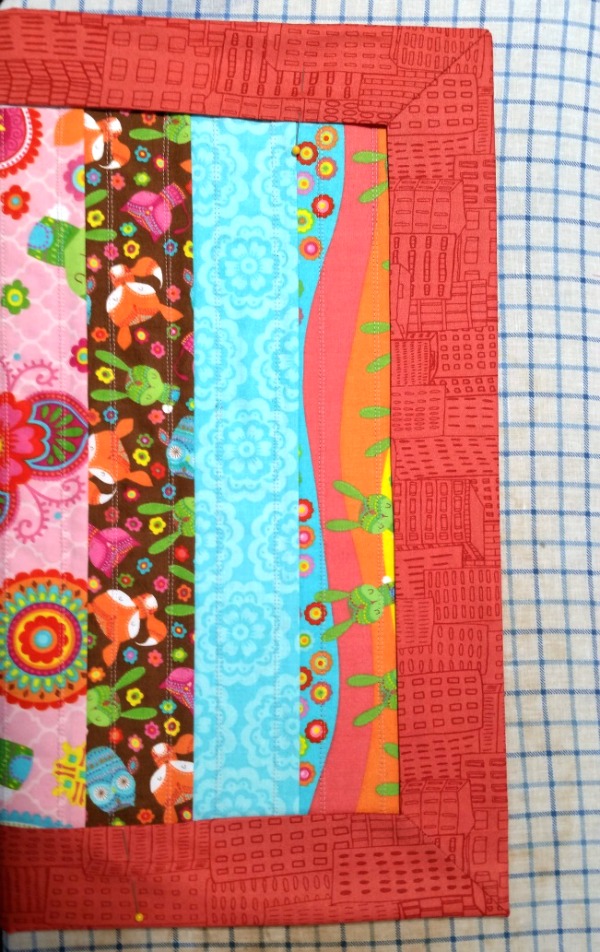
Sew the other 2 corners in the same way. Give the border a quick press, but don’t let the iron linger over your points. Too much ironing on a raised place in your fabric will make it shiny.
The top of your quilt looks great!
Join me again next week when we will stitch the border in place and finish our Spring Table Runner.


Loving the quilt
Thanks, Sherry!