| by Nicole Thorpe, Jennifer’s daughter |
It was my birthday last week! I made my own birthday dinner, and my own birthday cake, but my husband did 100% of the clean-up, so it was actually a sweet deal. I’ve always wanted to experiment with caramel flavors in a layer cake, but was always intimidated as caramel seems sort of “one note” to me. Well, this little beauty did not disappoint, and I’m excited to share it with you all.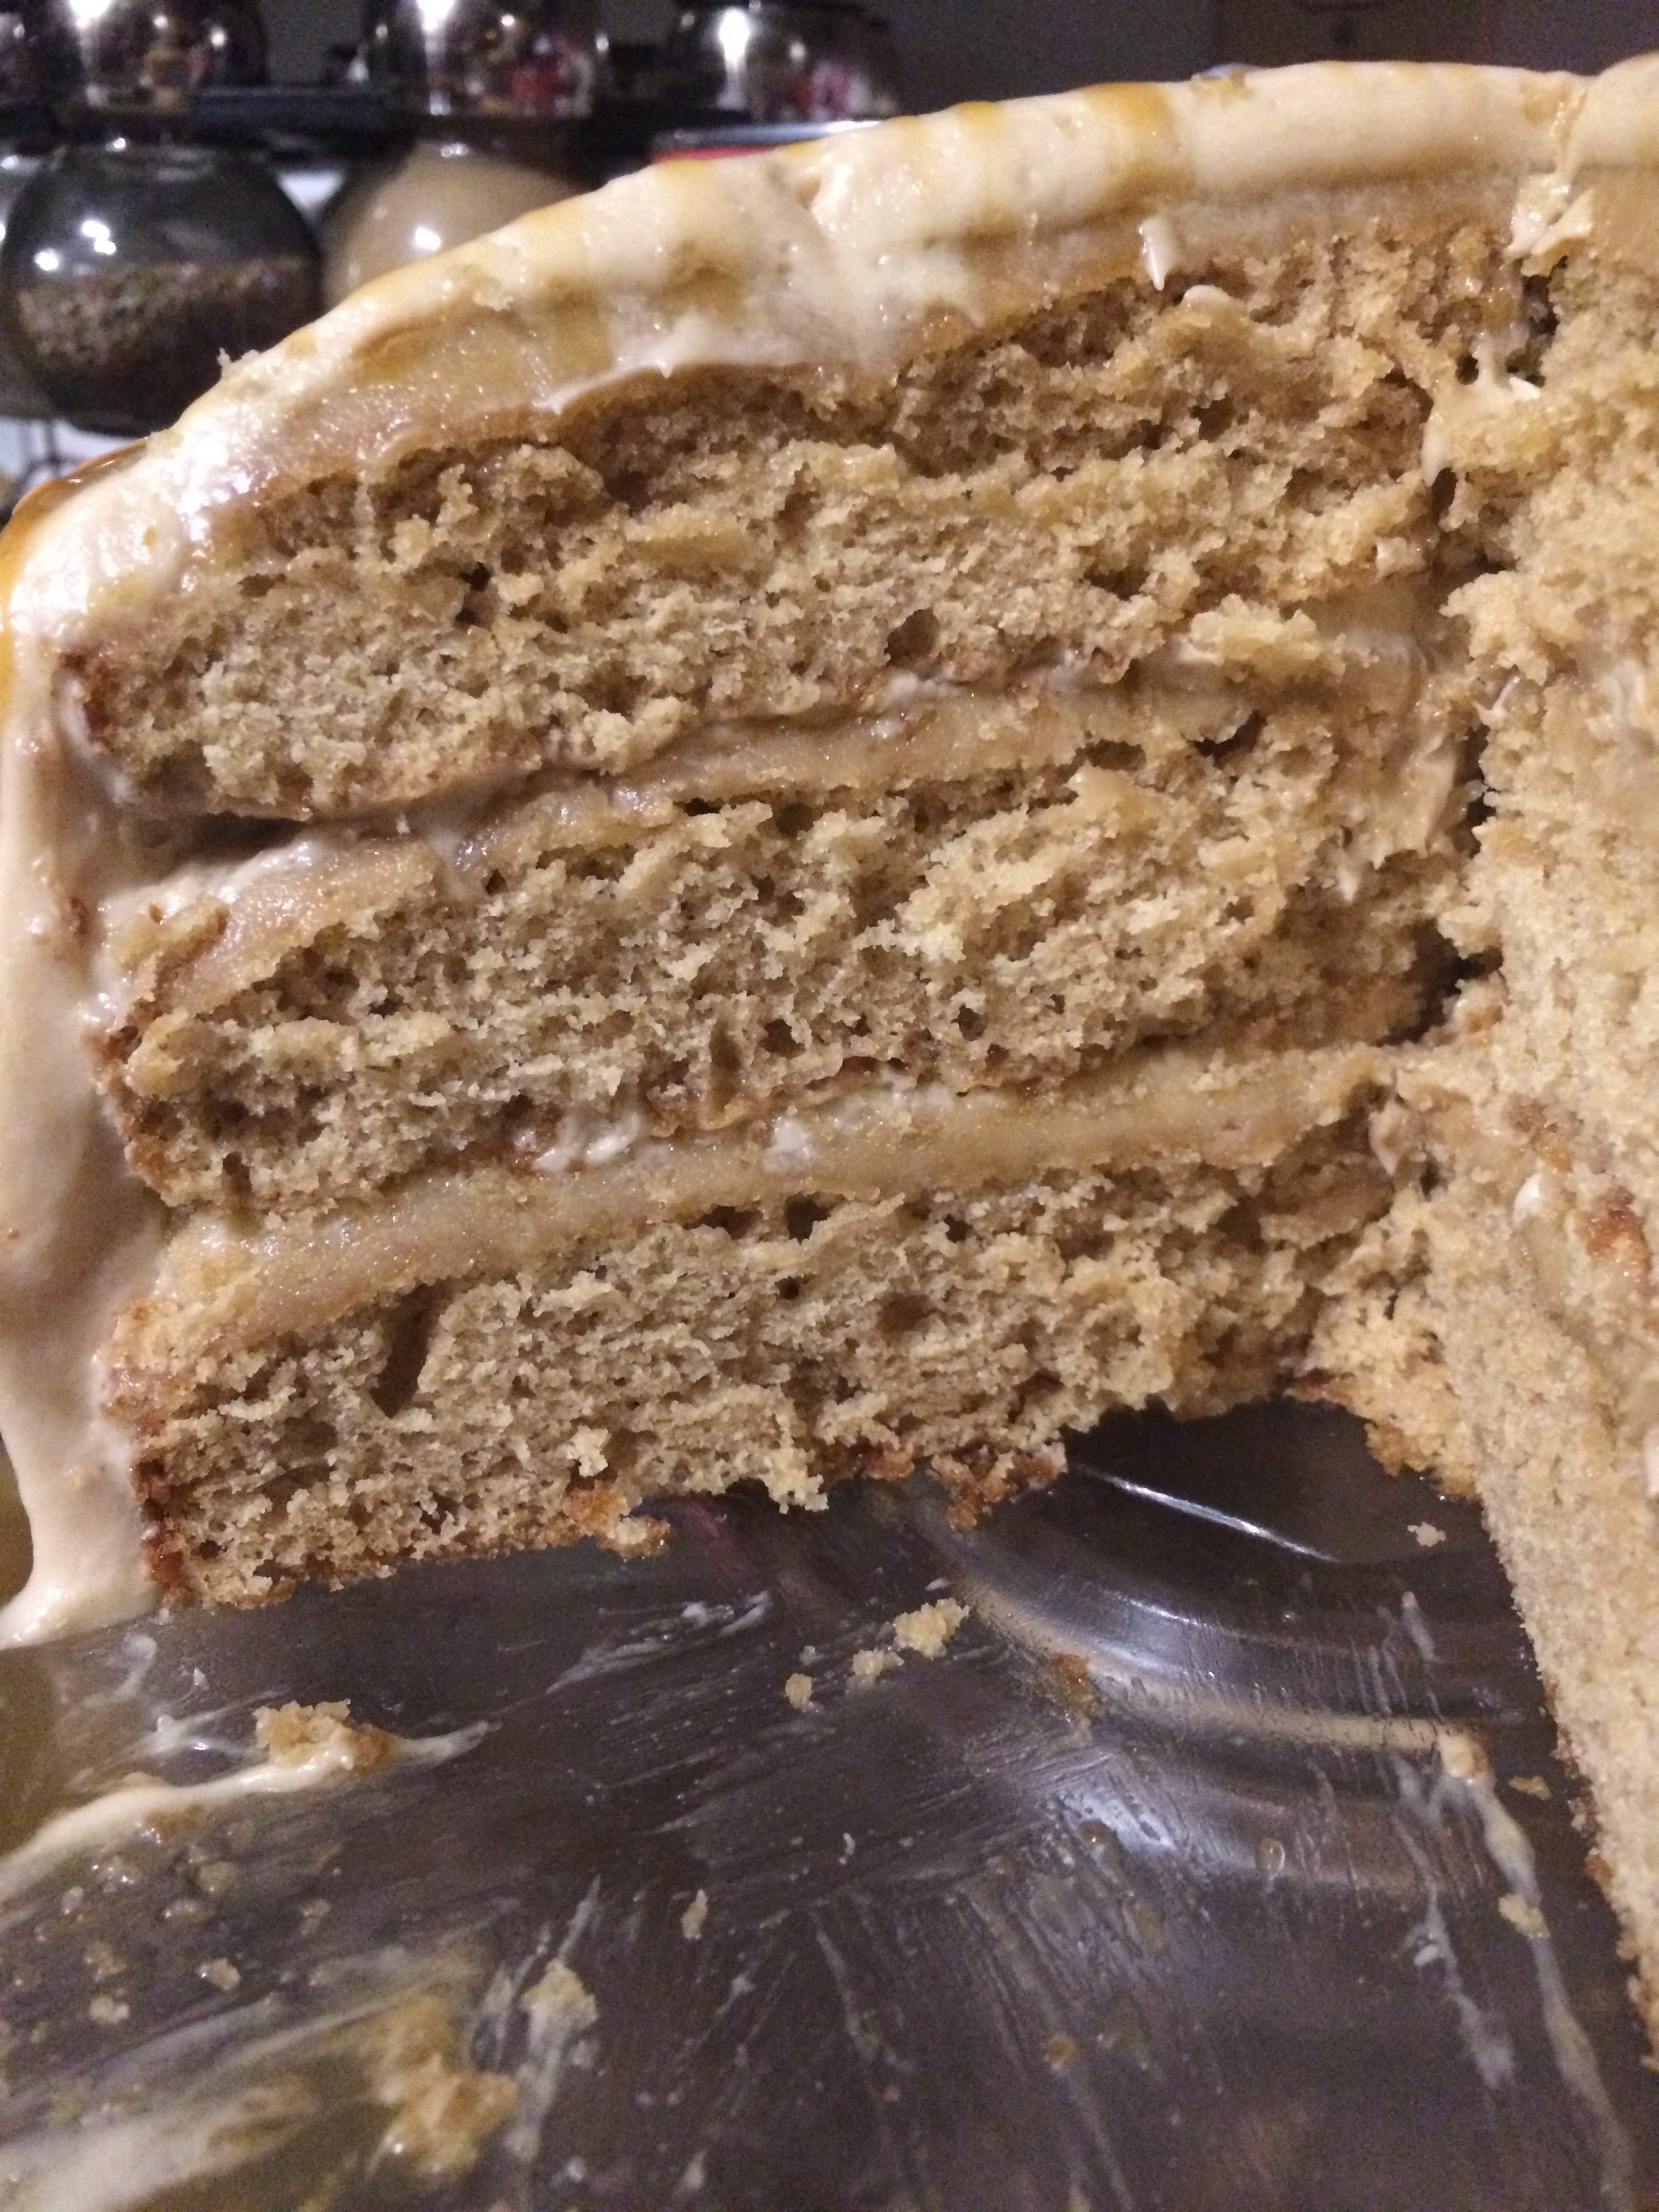
It consists of cake, a sugared cream layer–I invented this when I messed up making caramel candies once. It’s actually a great textural and creamy addition to any non-fruit flavored cake you want to bump up a bit. It’s somehow grainy and smooth all at the same time, and is SO delicious–lastly, to die for, salted caramel cream cheese frosting (yes, it’s as good as it sounds).
Make your cake batter and bake. I do this a day or two before and then wrap them in plastic wrap and store them in the freezer. Just take them out to thaw for a few minutes before you poke holes in them. Making the cakes in advance and freezing them makes the whole process shorter, cleaner, and actually makes frosting the cakes a bit easier. I think it enhances the flavor as well. You can’t lose if you make them in advance.
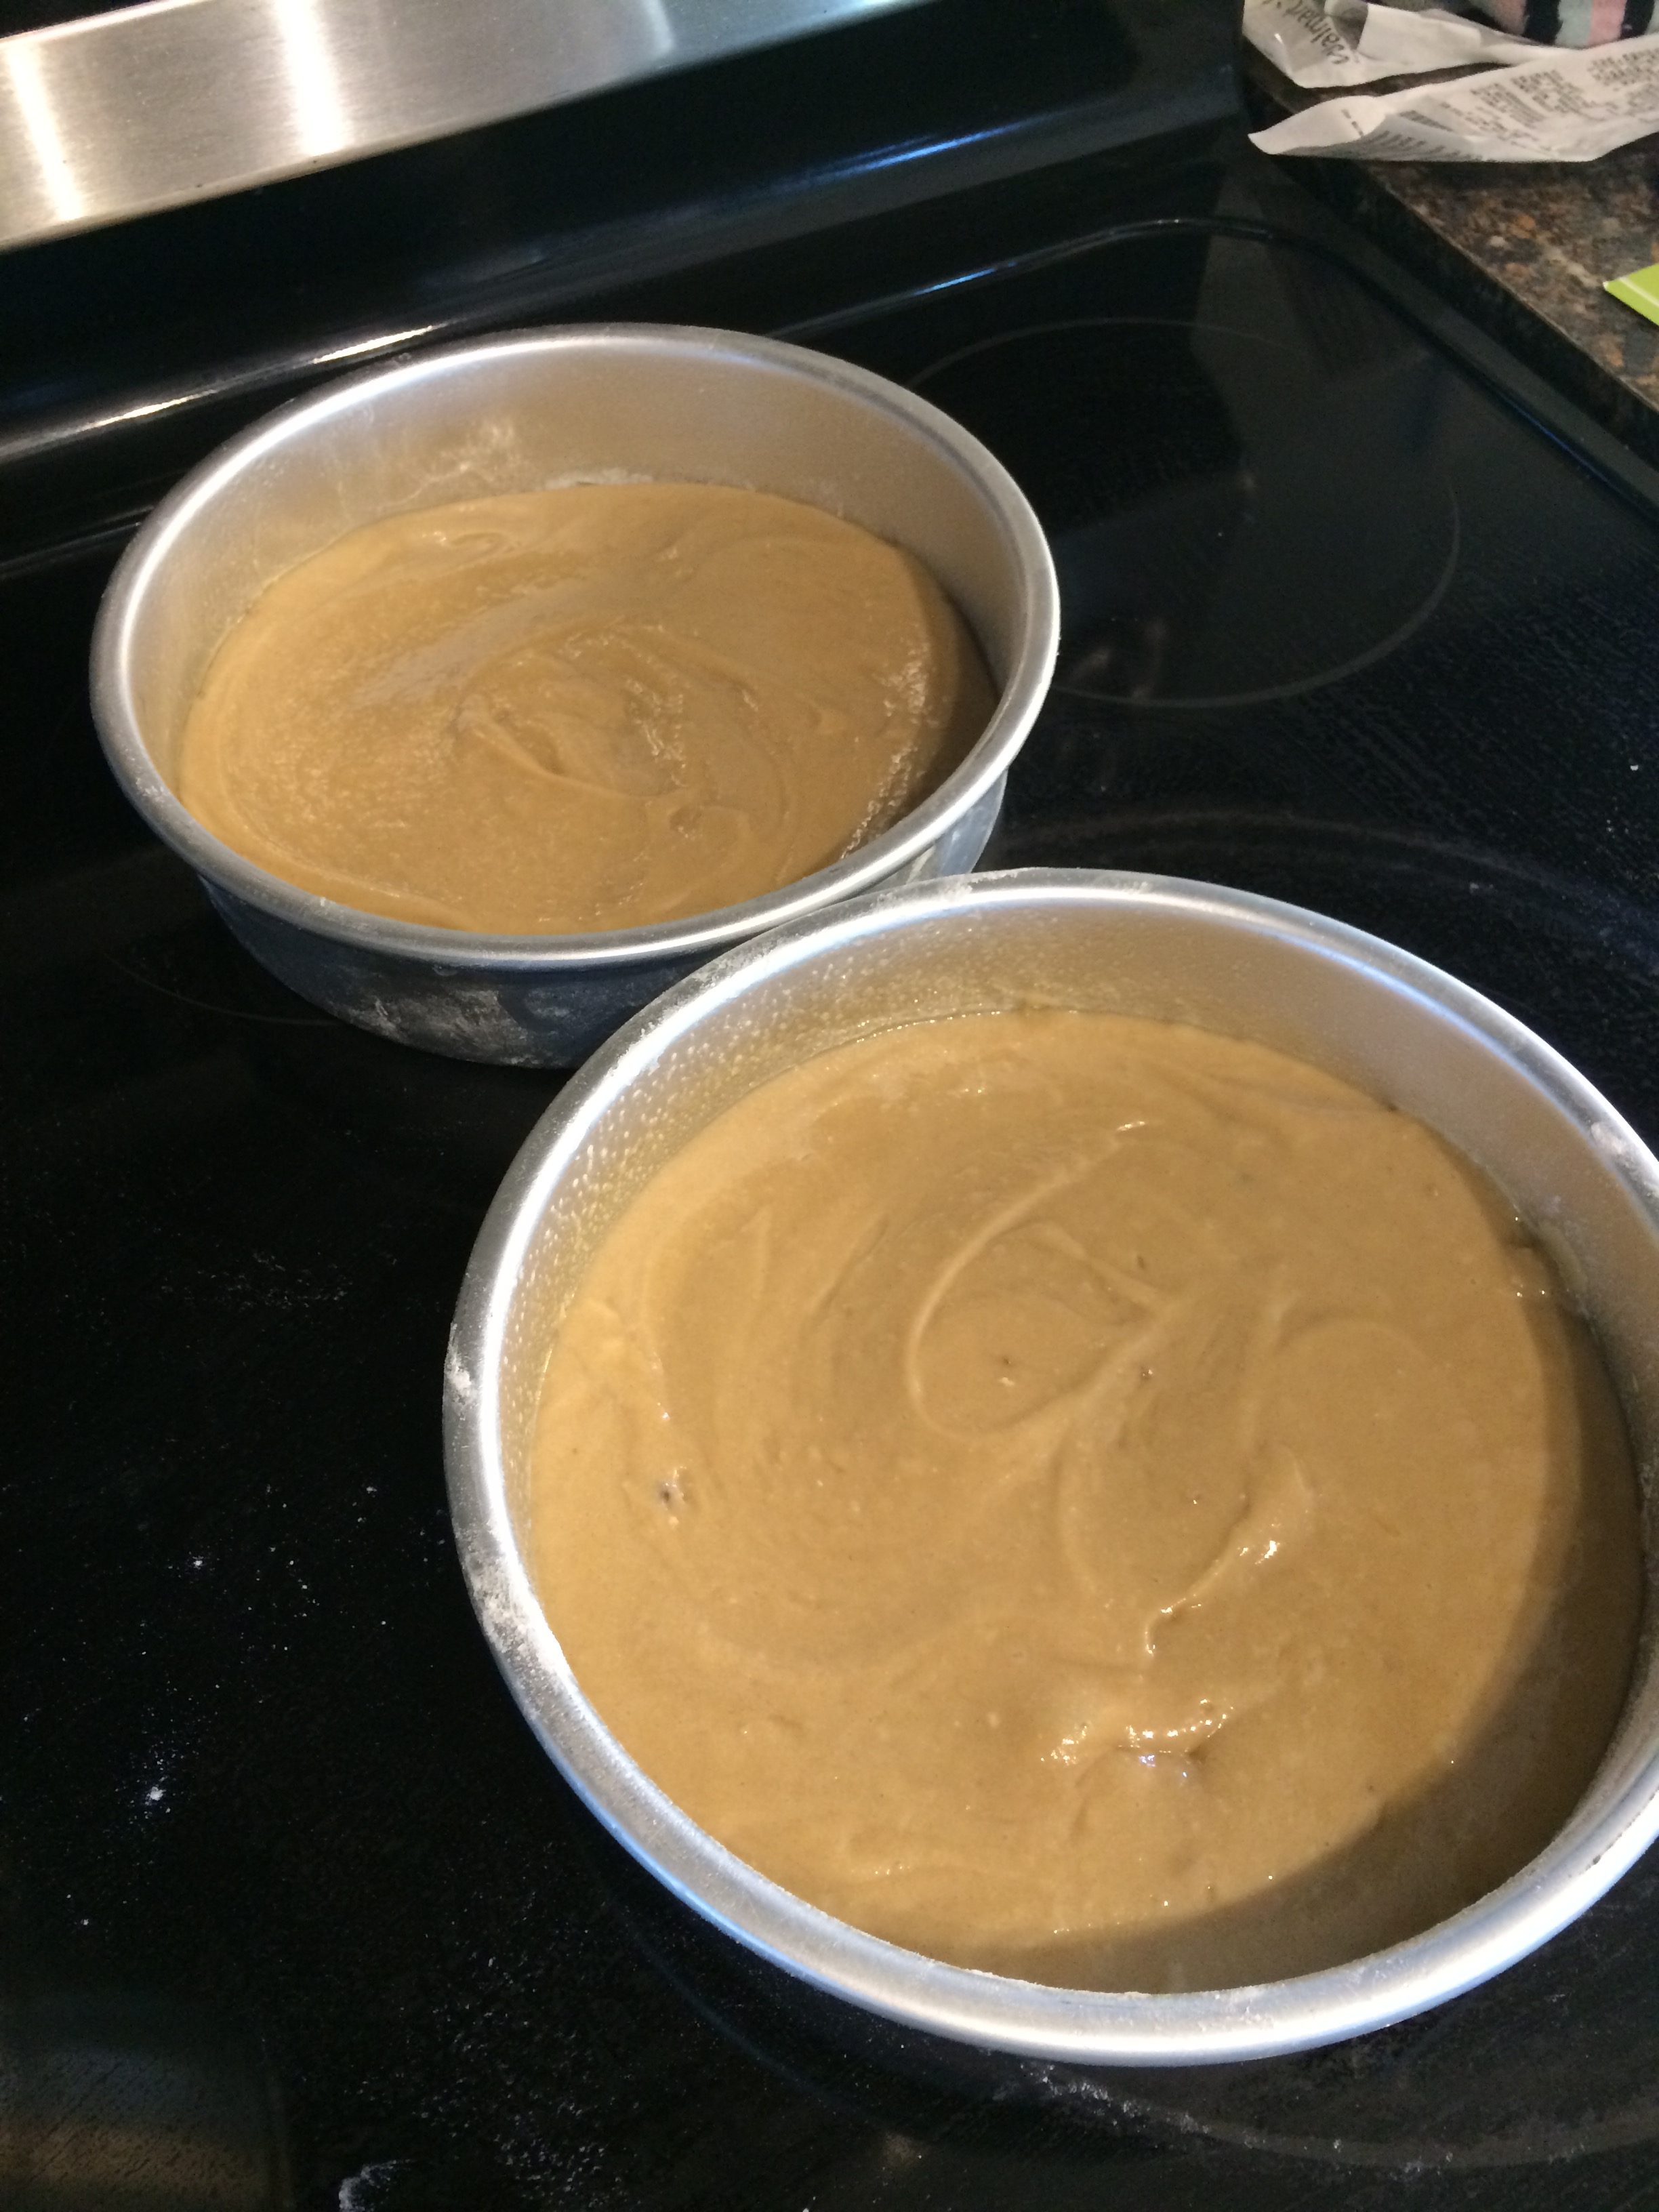
The batter instructions are pretty straightforward. You won’t feel like your cake pans are very full, but all that good vinegar and baking soda aeration are going to help them puff up in the oven. So never fear.
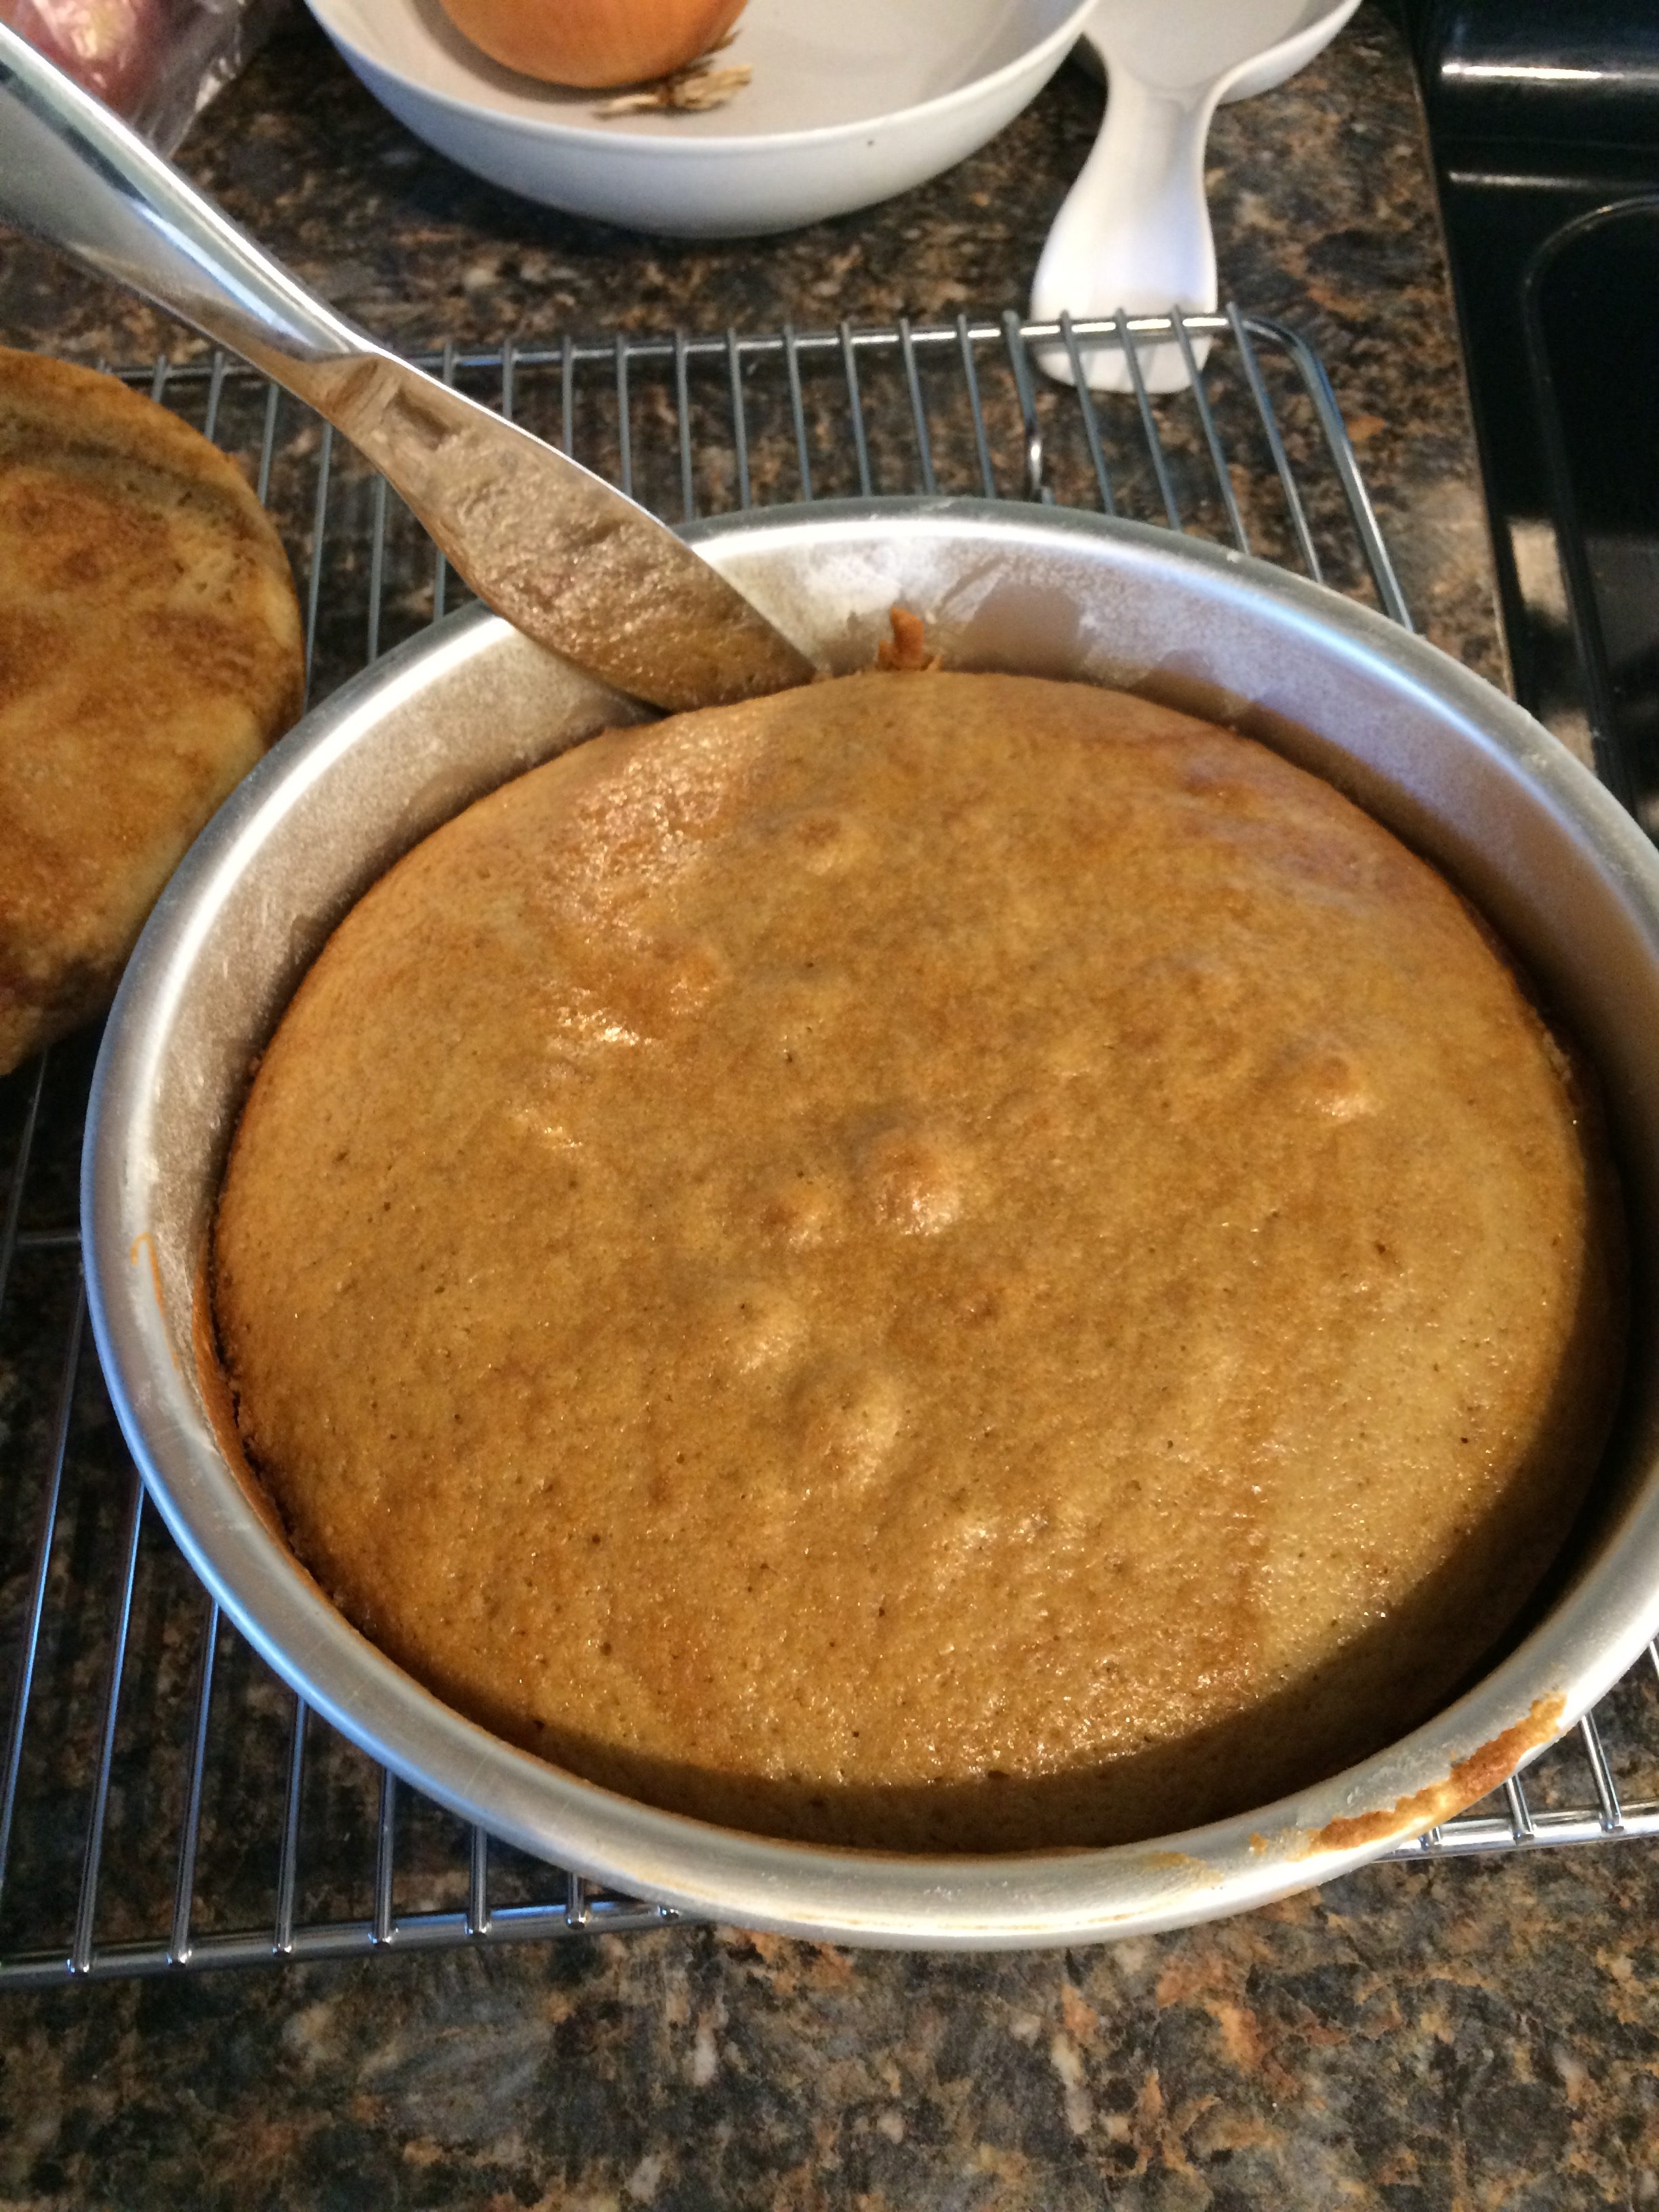
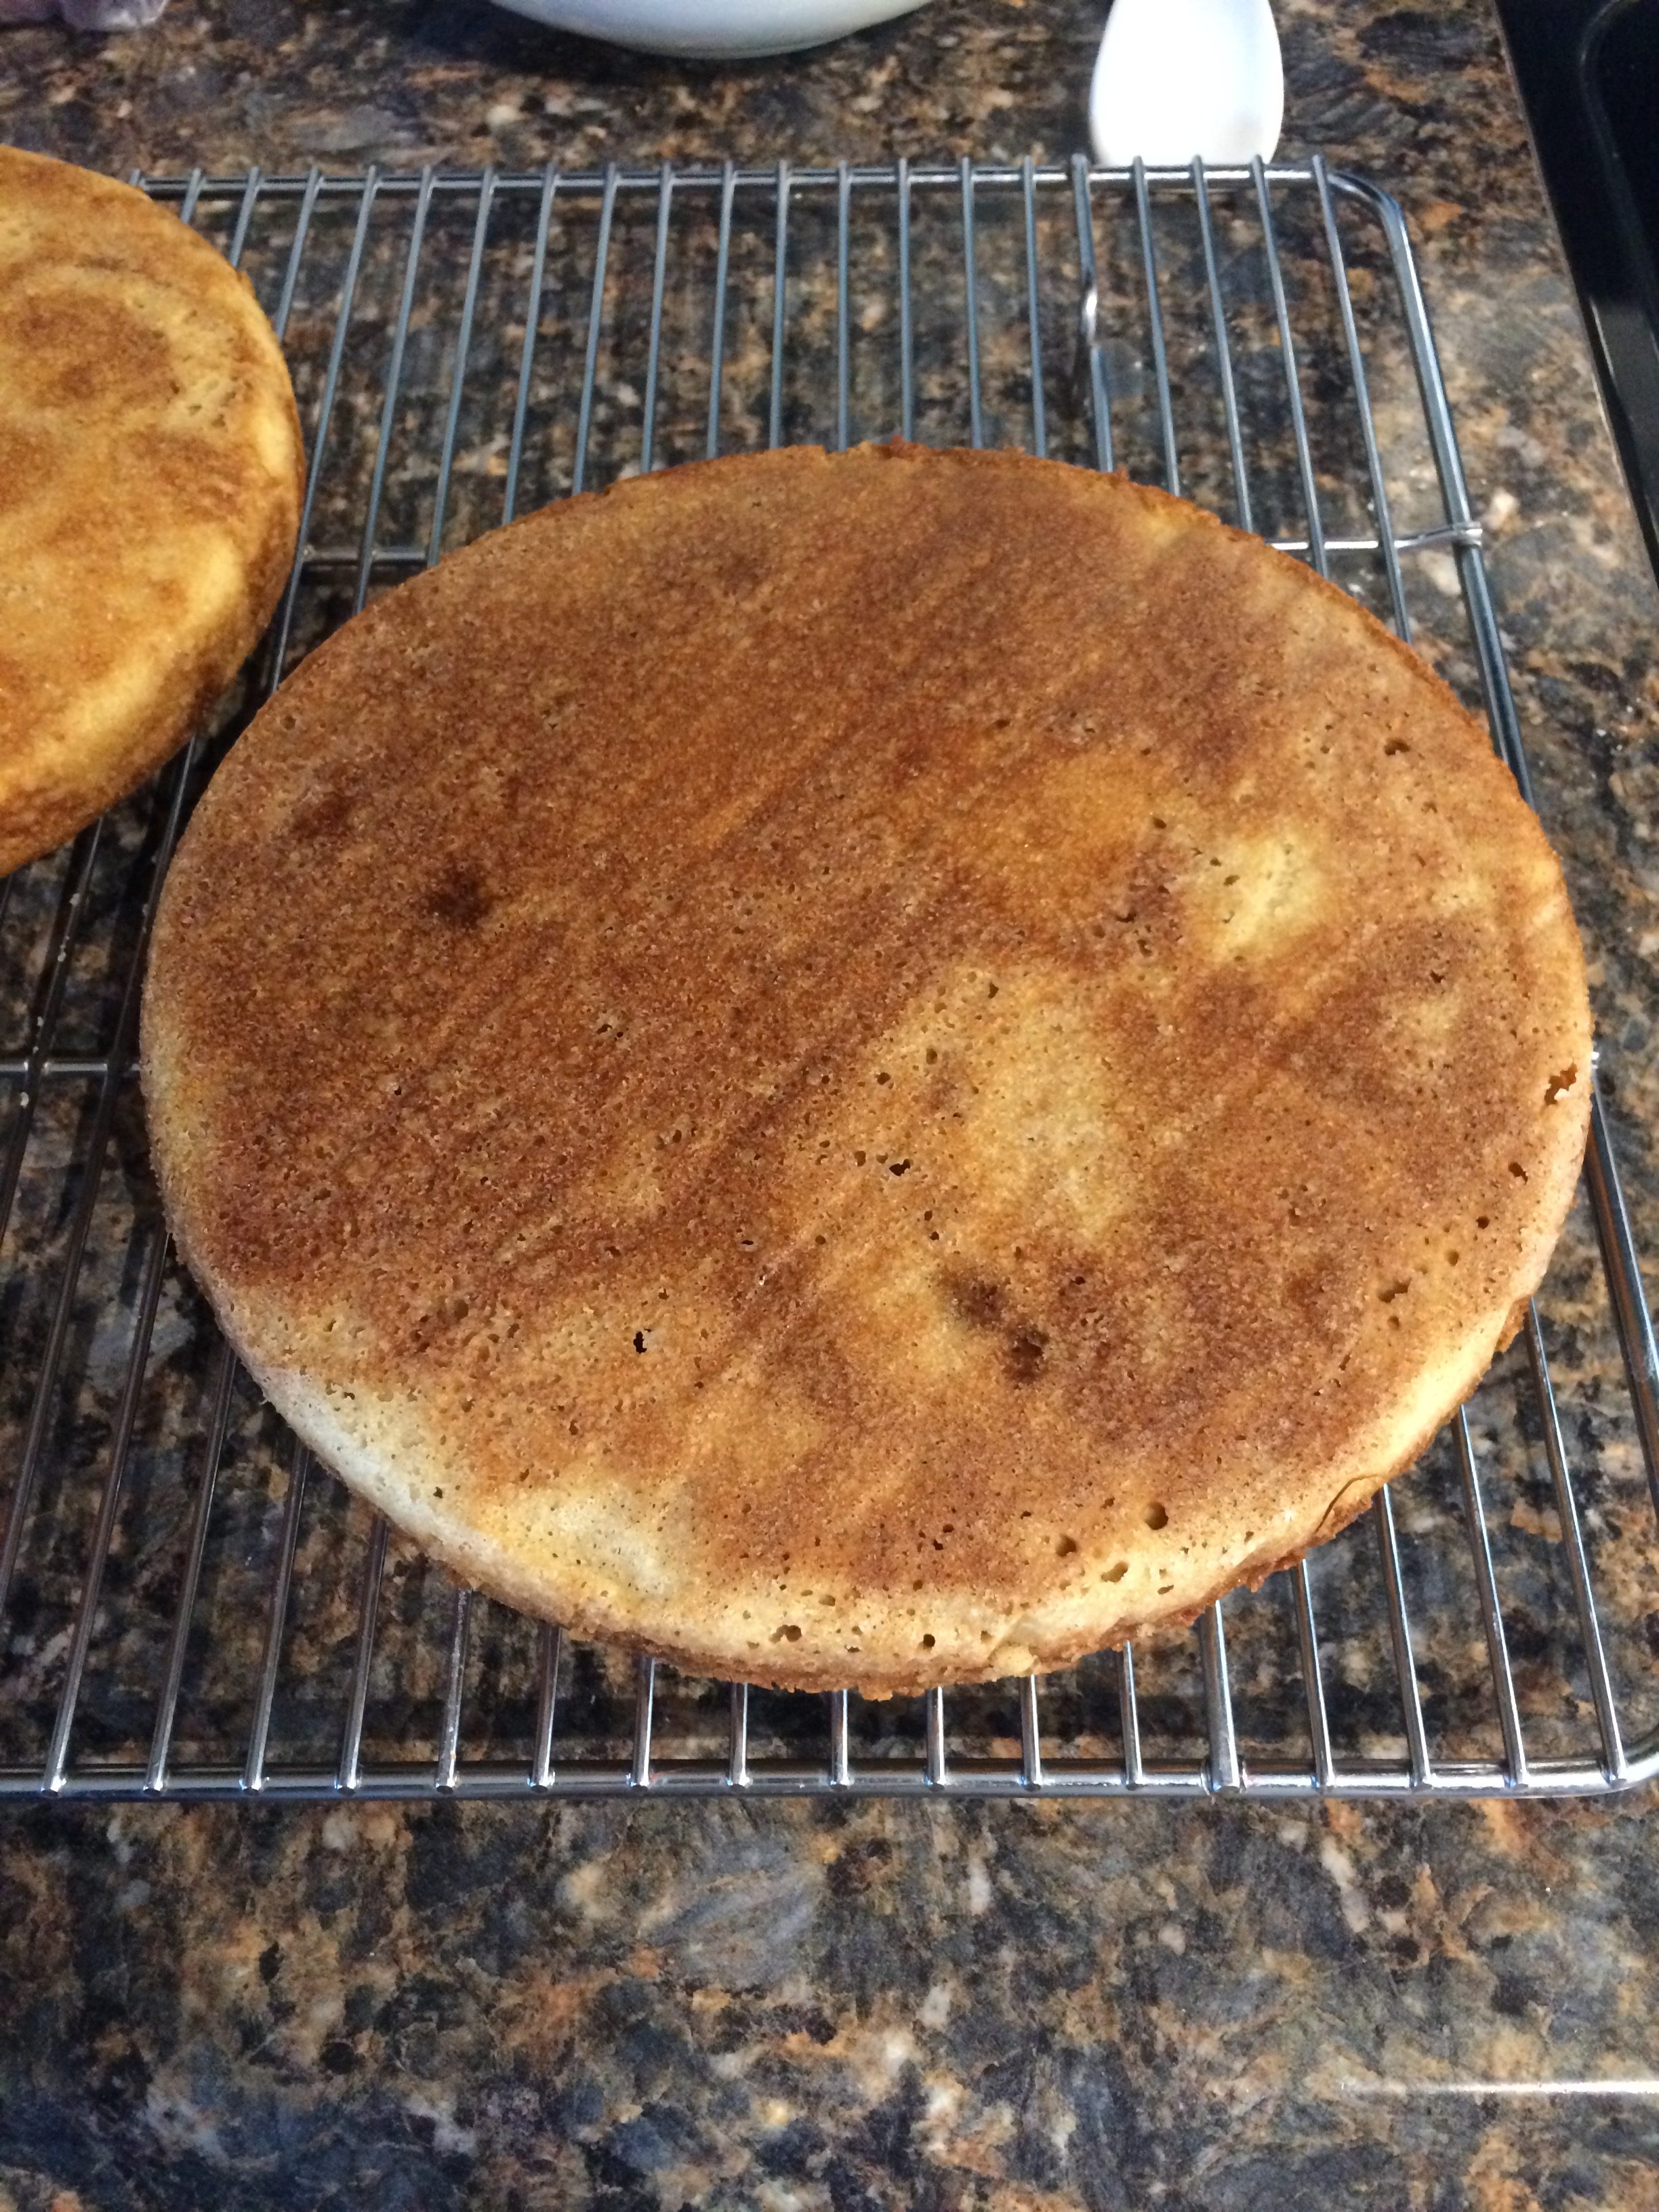
 These babies bake in 20 minutes and should look golden brown when they come out.
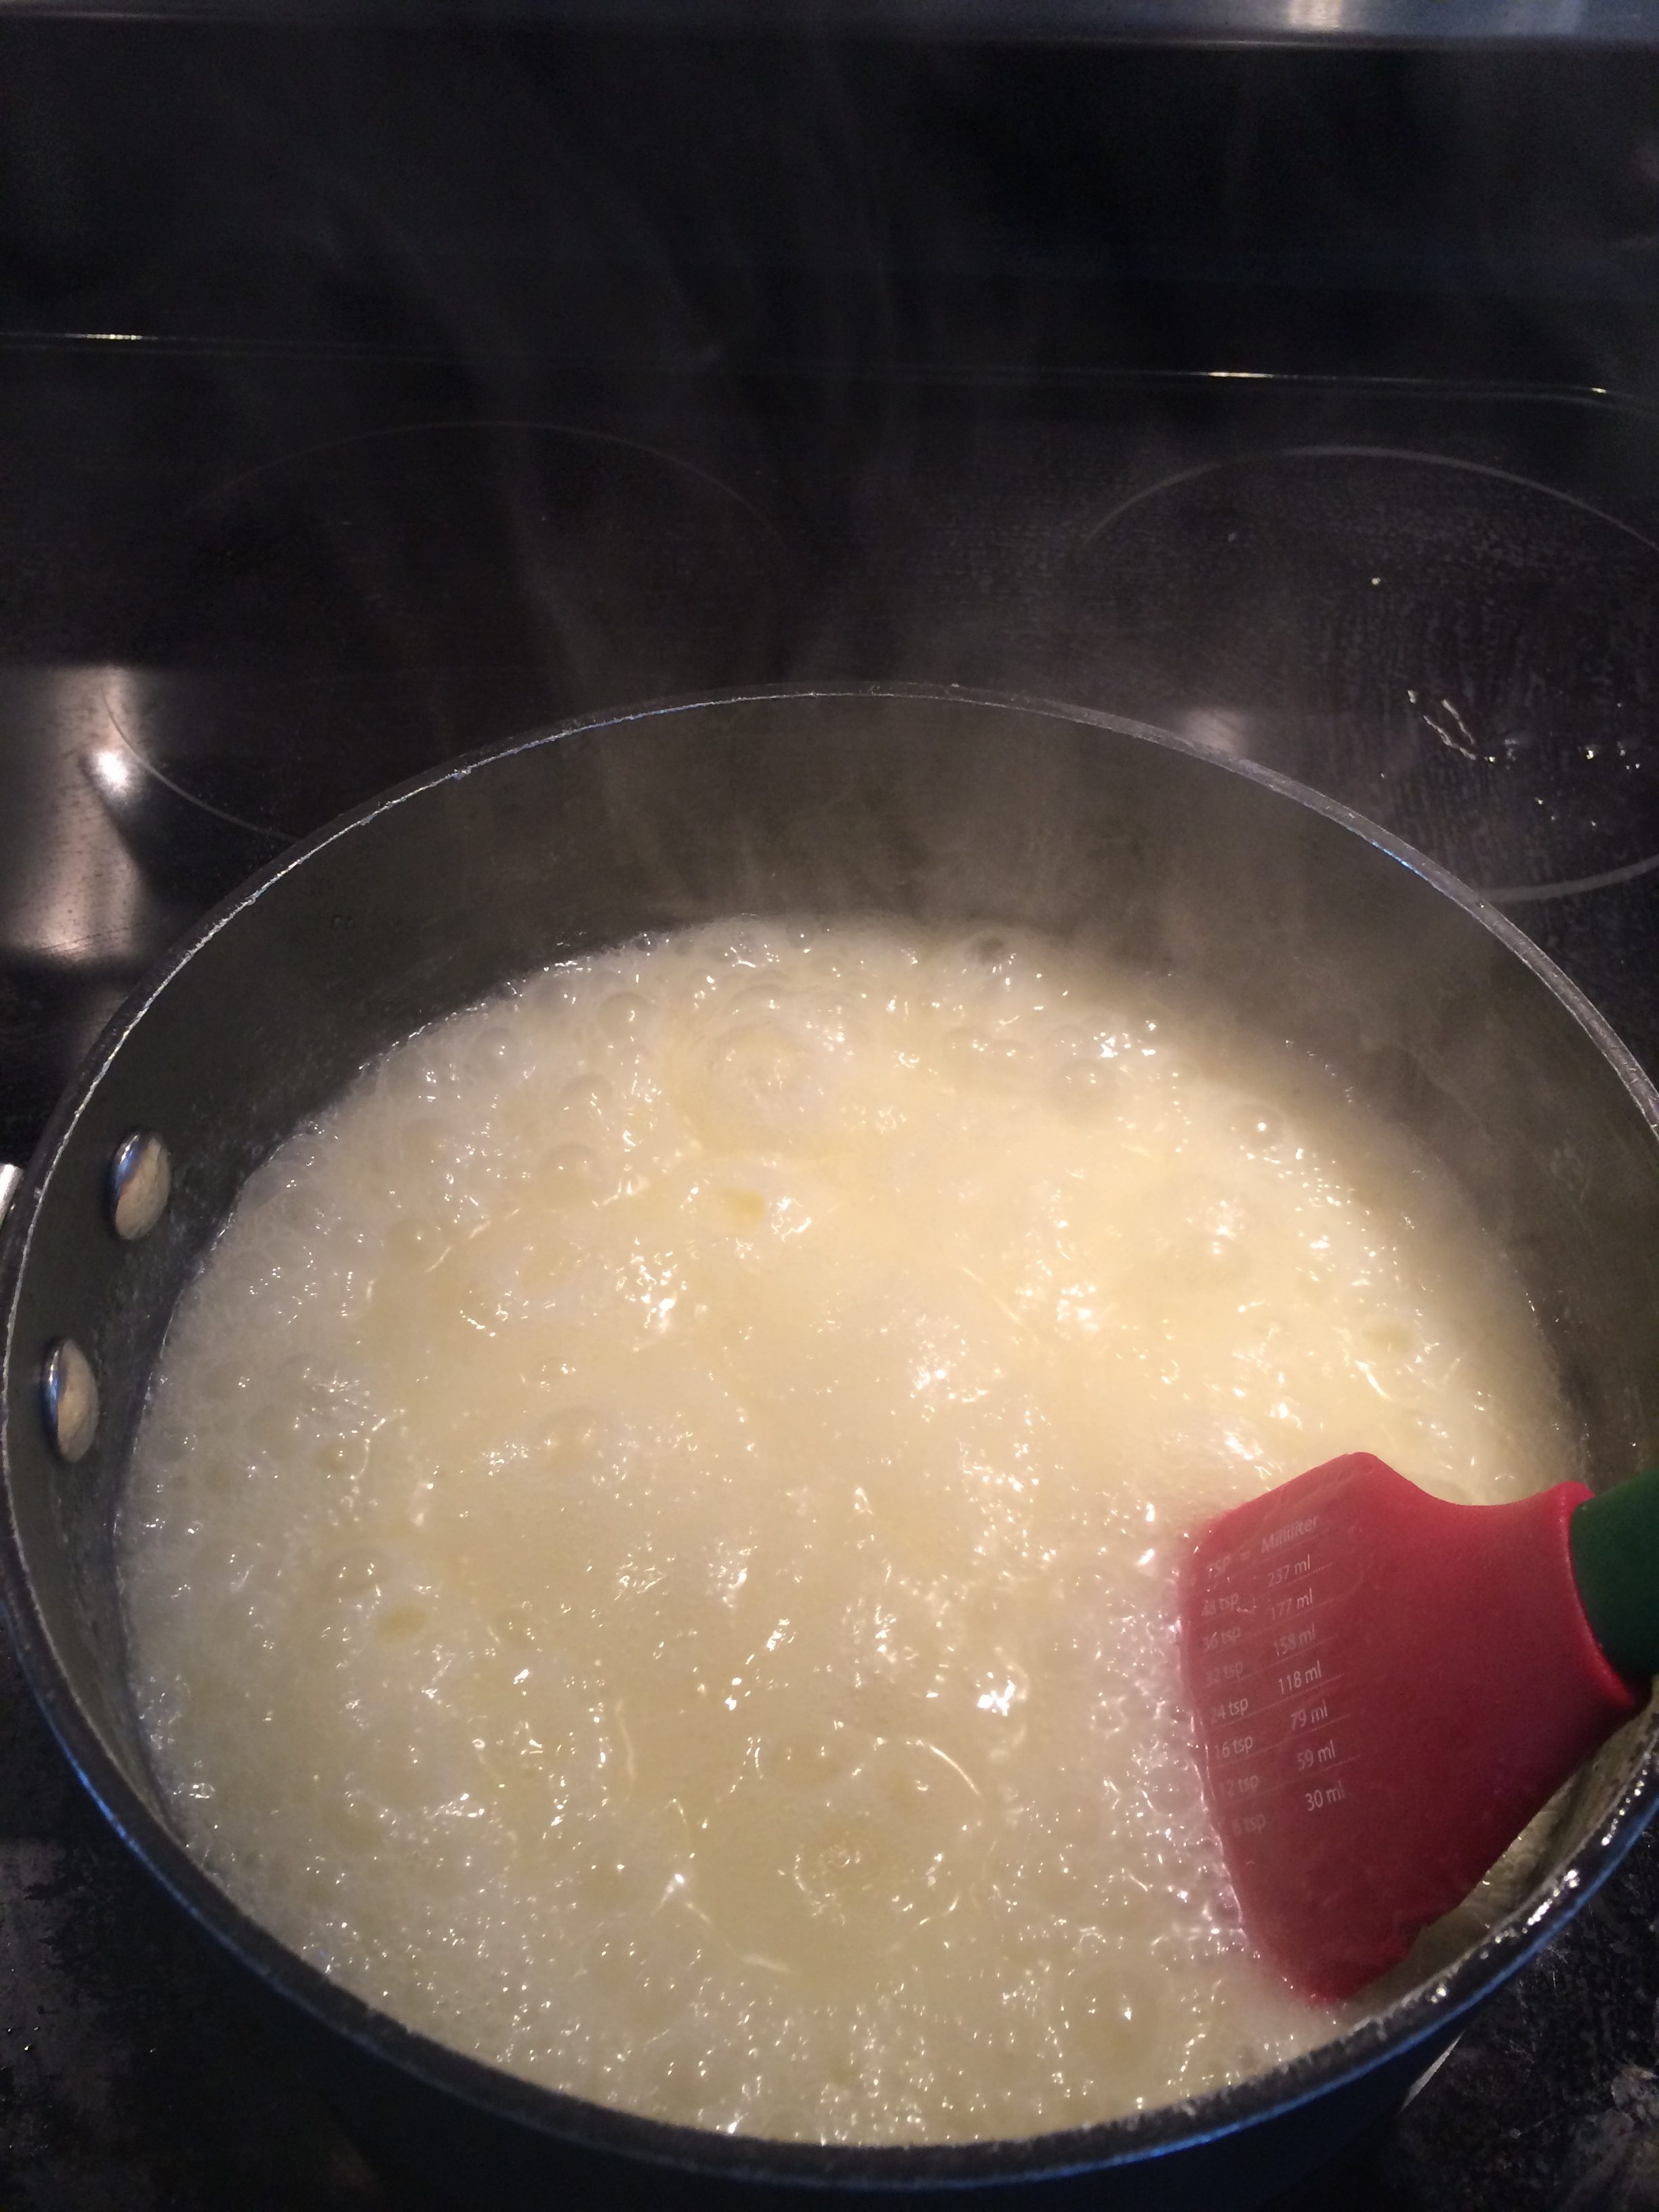
 Now for the second layer, the sugared cream layer. Combine your sugar, butter, and cream in a saucepan and stir constantly as you bring to a boil. Really let this mixture bubble for a good 5-6 minutes while you stir.
Remove from the heat and add your sea salt. I like using sea salt. It’s in bigger pieces, and doesn’t dissolve too much, so each bite can have varying tones of saltiness. But table salt will work well if you don’t want to buy sea salt. Just decrease the amount you put in by about ¼ tsp. and add then add more if you want a stronger salt flavor.
Let this cool for 30 minutes before use, but you can make this in the morning and use it several hours later. Another make-ahead element!
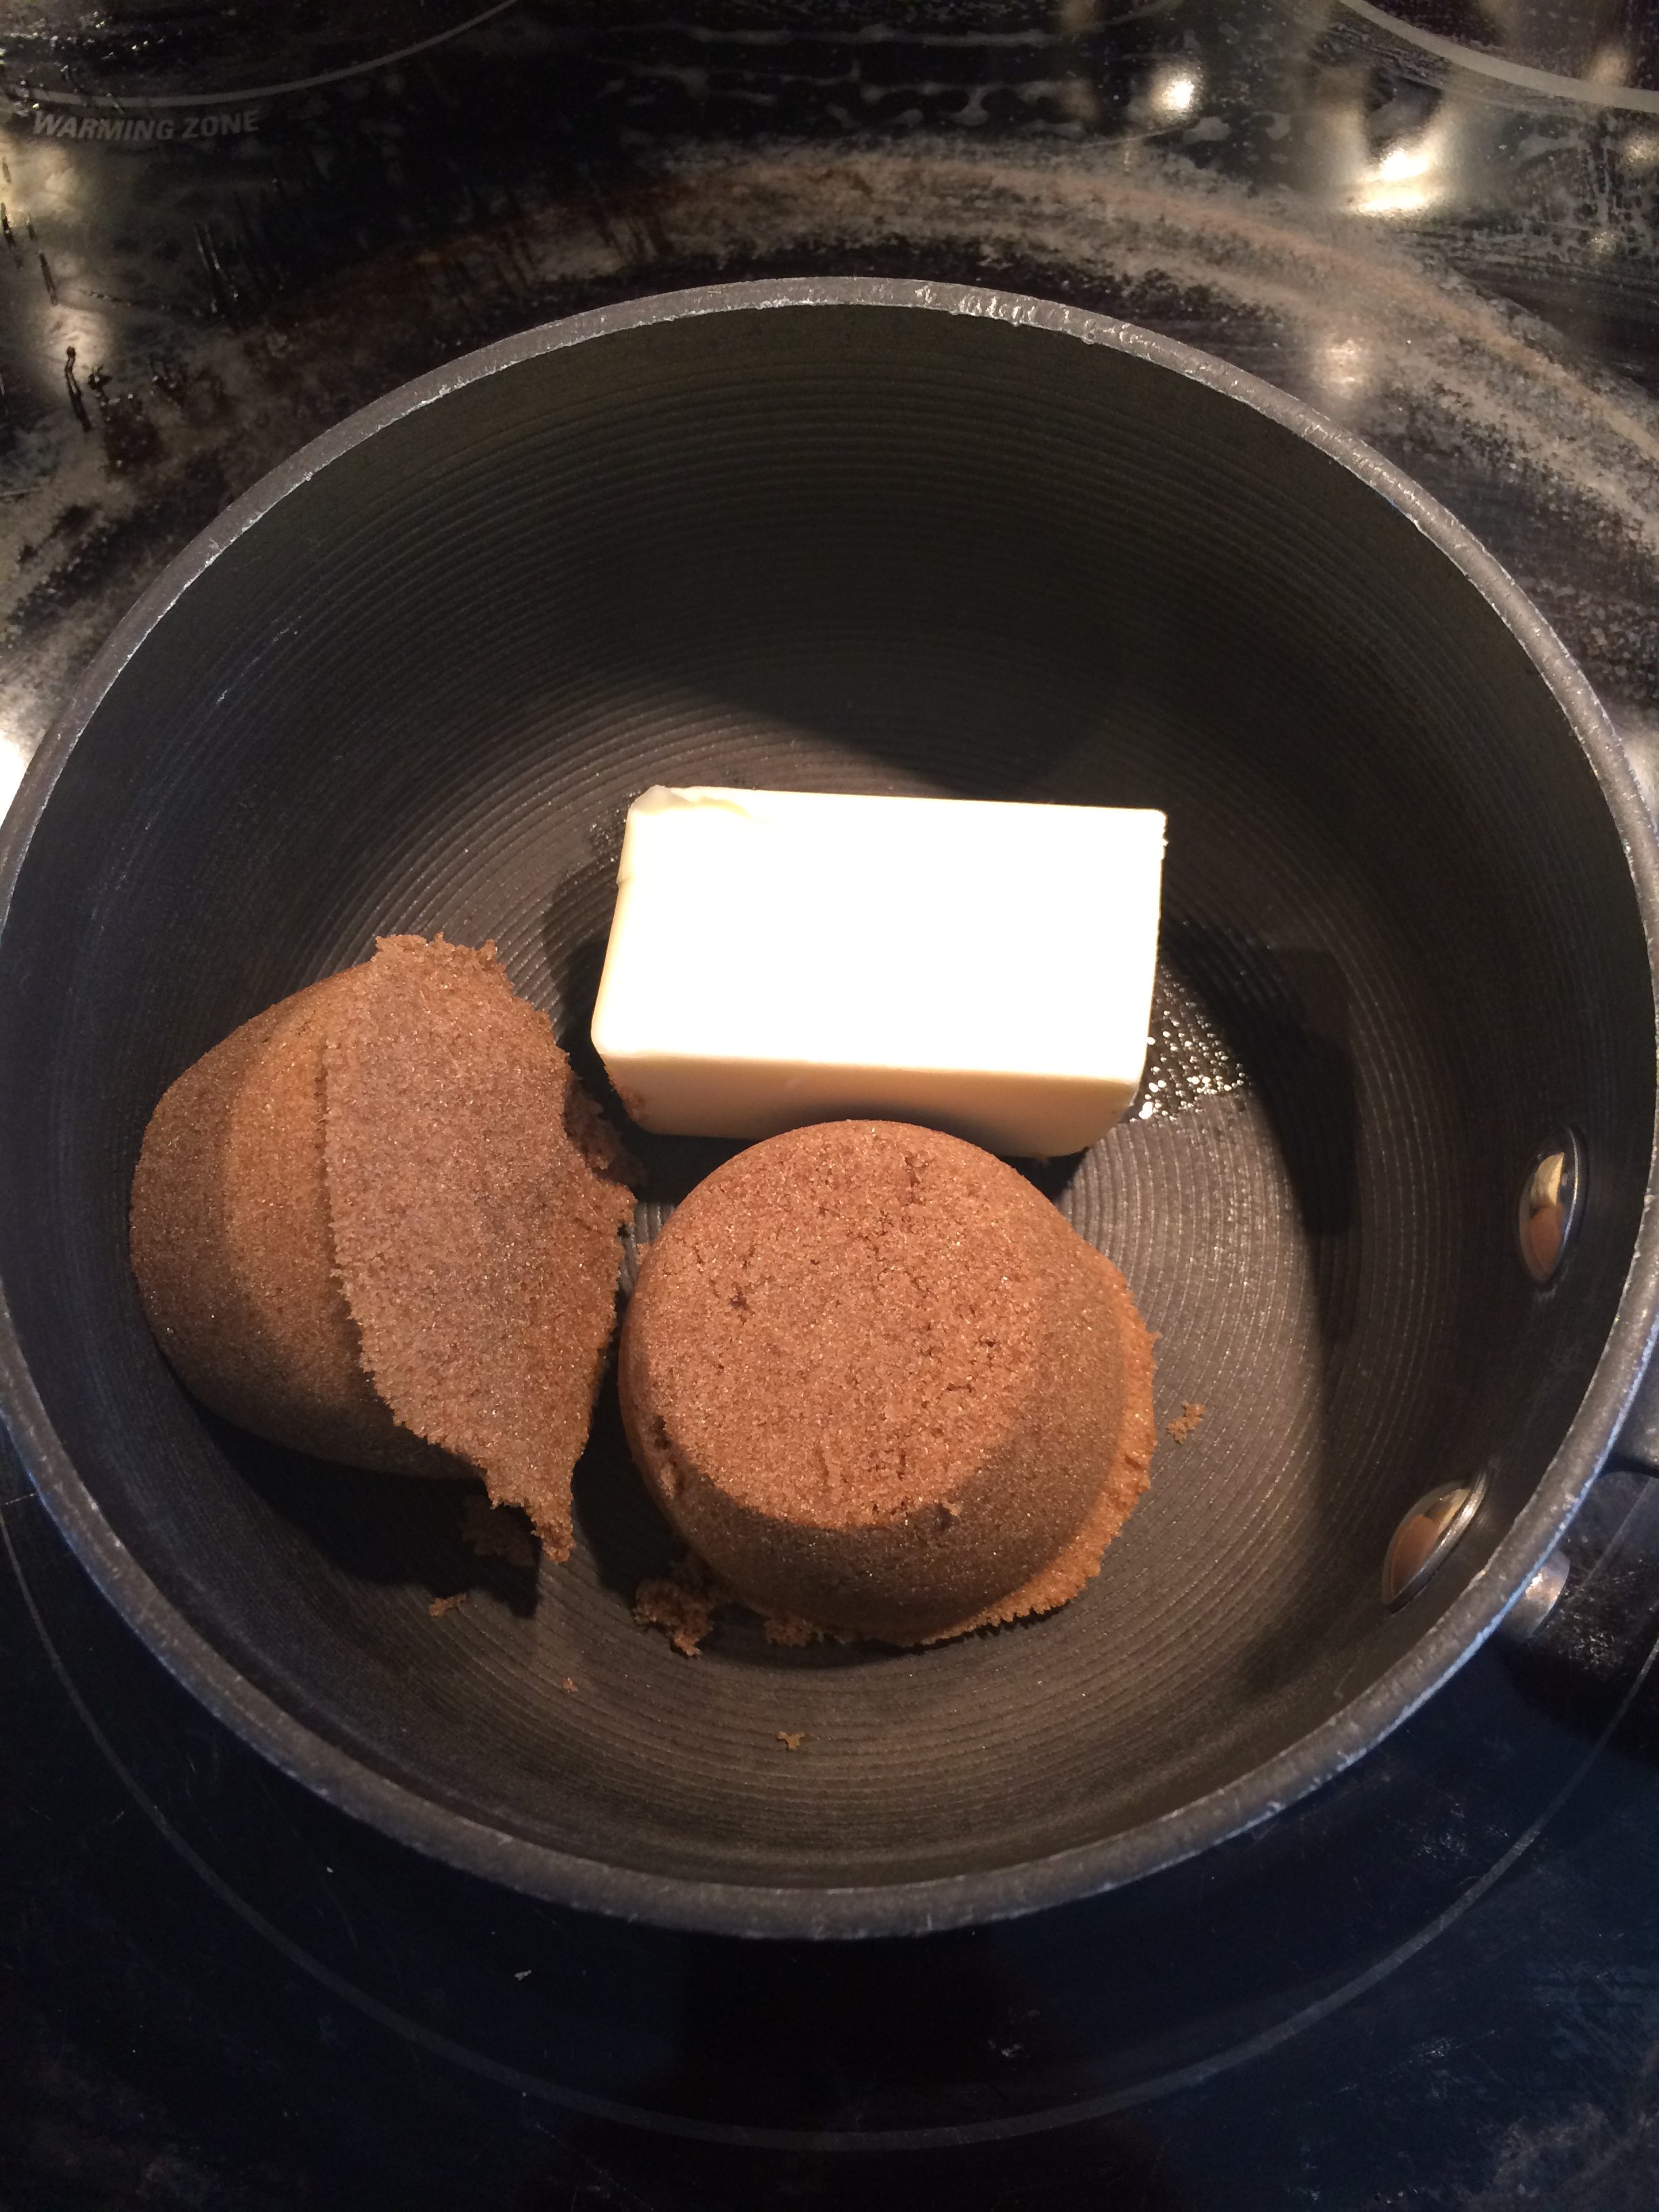
Now it’s time for the frosting. I usually avoid frostings that start on the stove. It always seems like too much effort. Well this one is 150% worth the effort. Combine your brown sugar and 3 Tbs. of butter in a saucepan on medium-high heat.
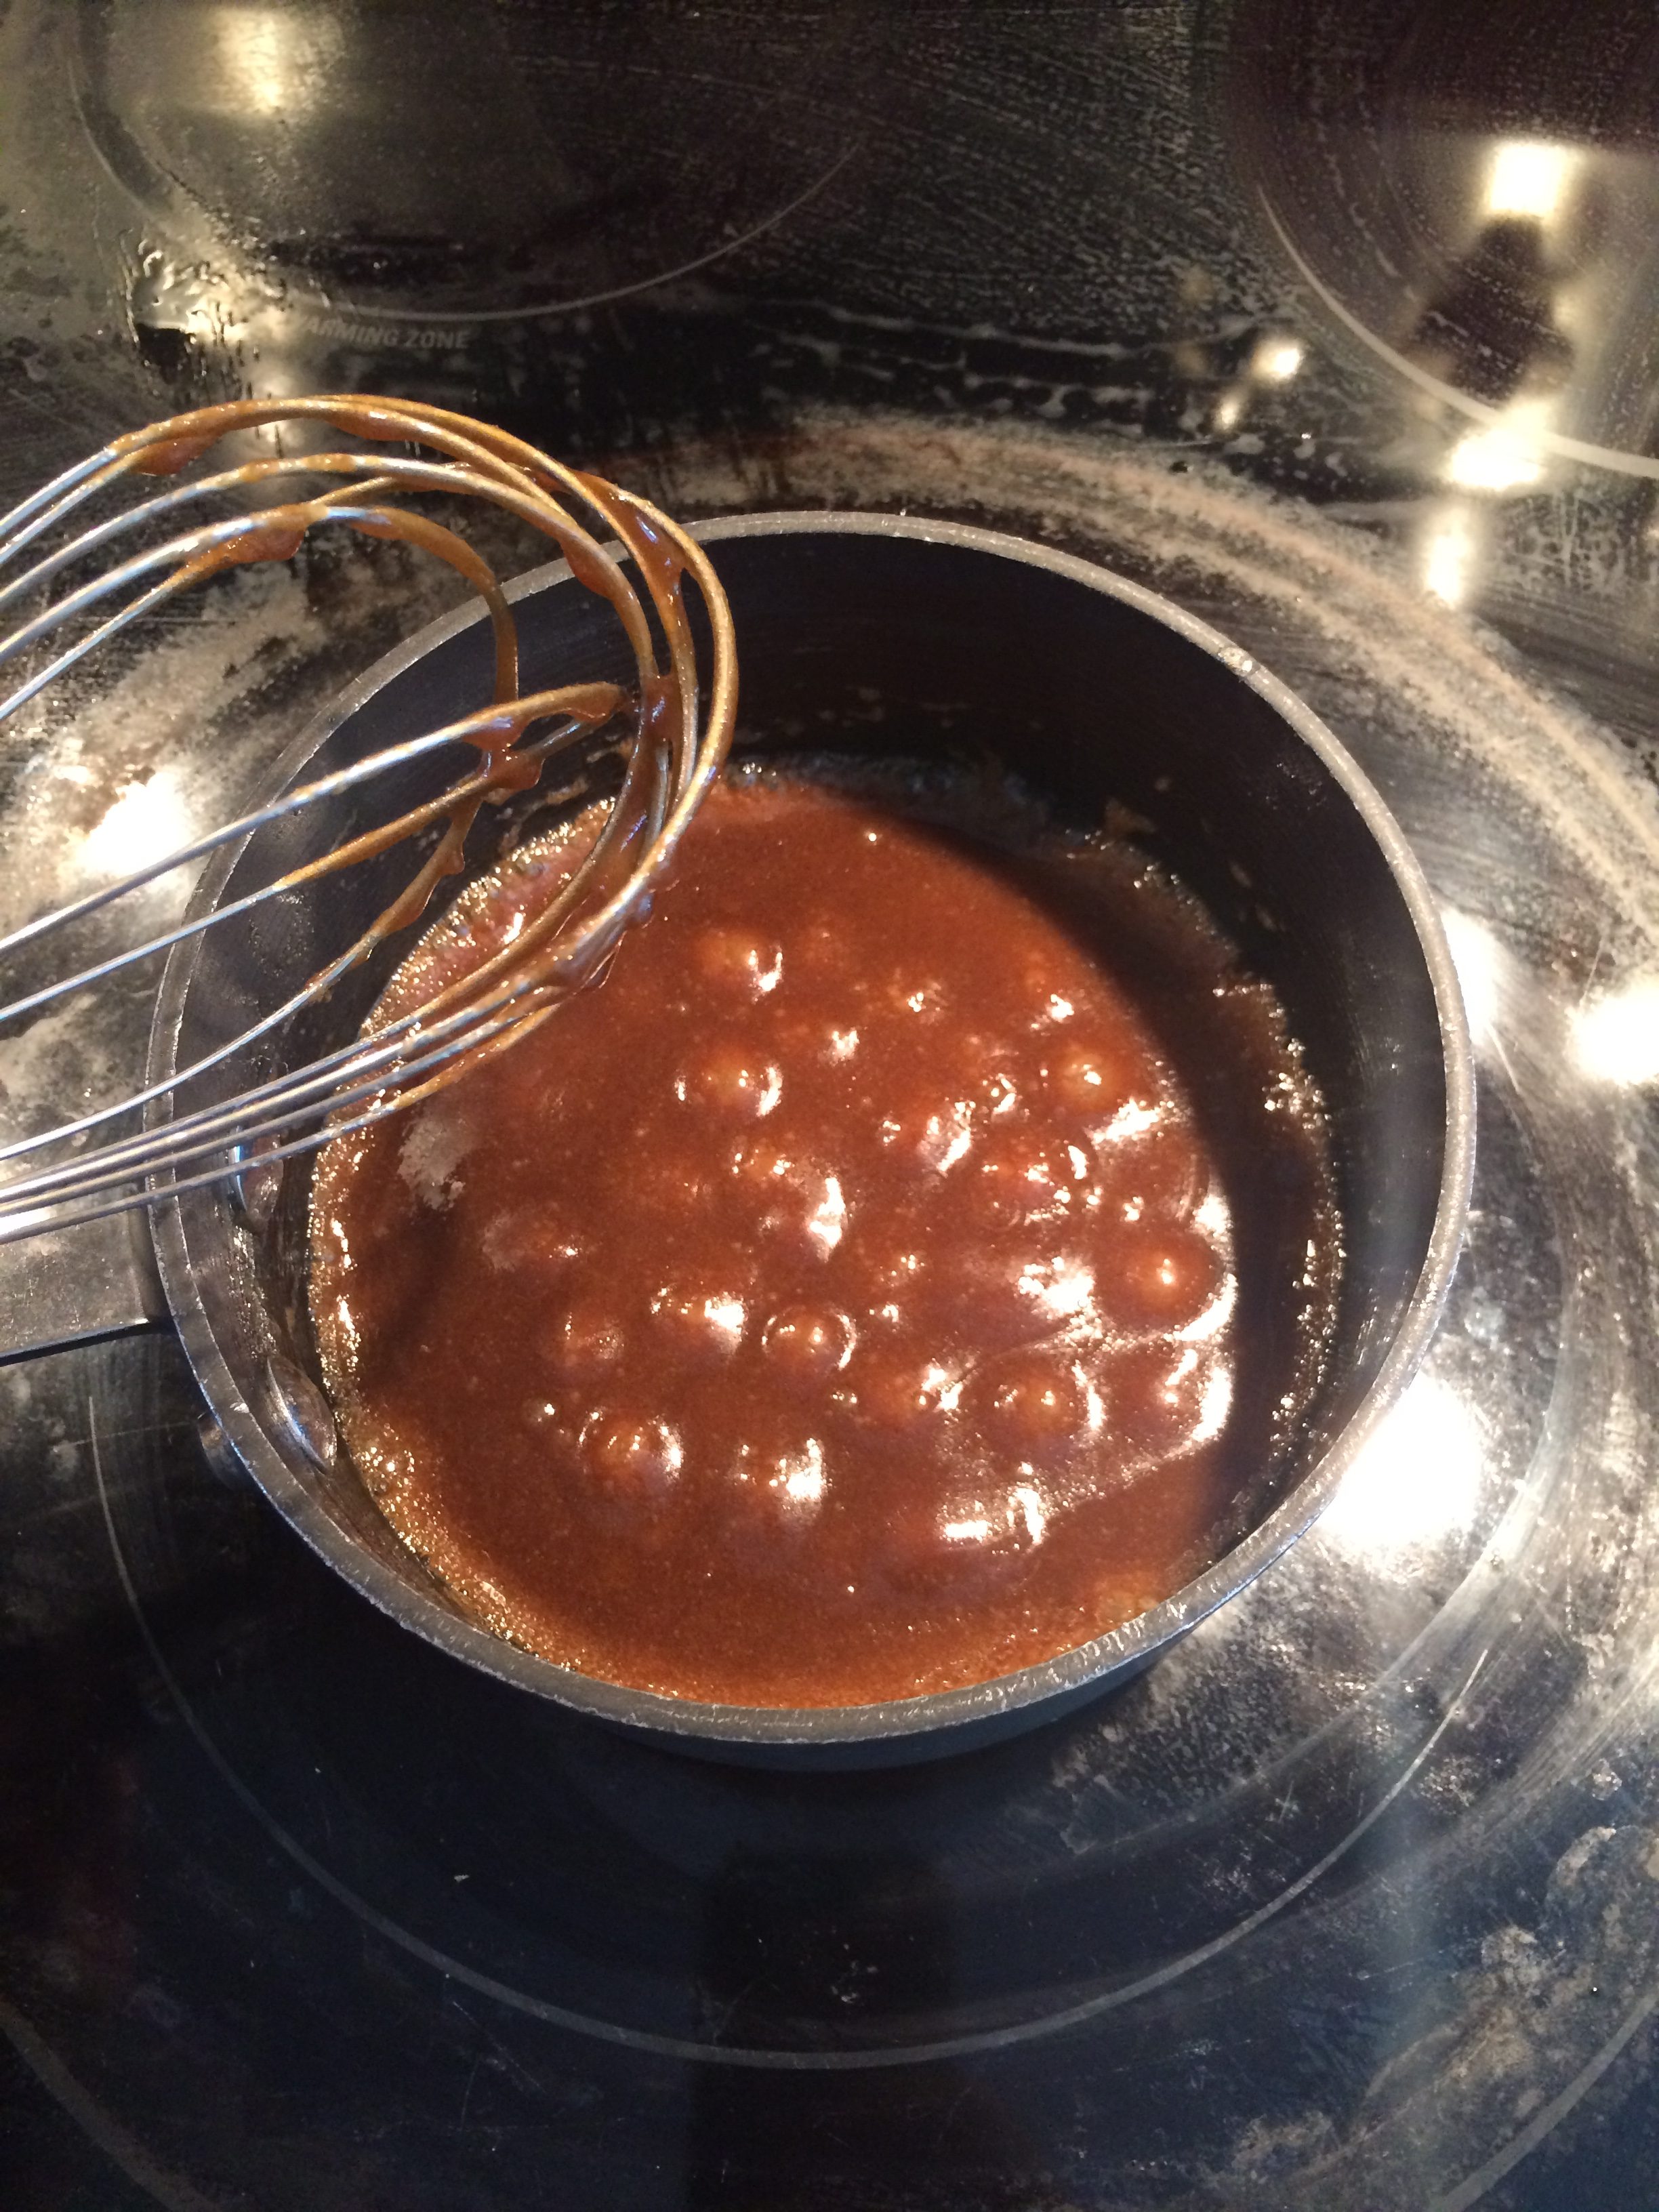
Bring this mixture to a boil as you stir. Let it boil for about 8 seconds before you remove it from the heat. So a bubbly boil for several seconds is all it takes. Remove from heat, and whisk in the 1/3 cup heavy cream.
 Let this cool to room temperature before you use it. The fridge is a good cheat if you want to speed that process along.
In a stand mixer (if you have one) combine the rest of the butter and your room-temperature cream cheese. Cream cheese is an easy ingredient to use–IF–it’s room temperature. If you try to cream it cold it usually just clumps. So take the time to soften your cream cheese. Cream the butter and cream cheese together until smooth. Add your salt.
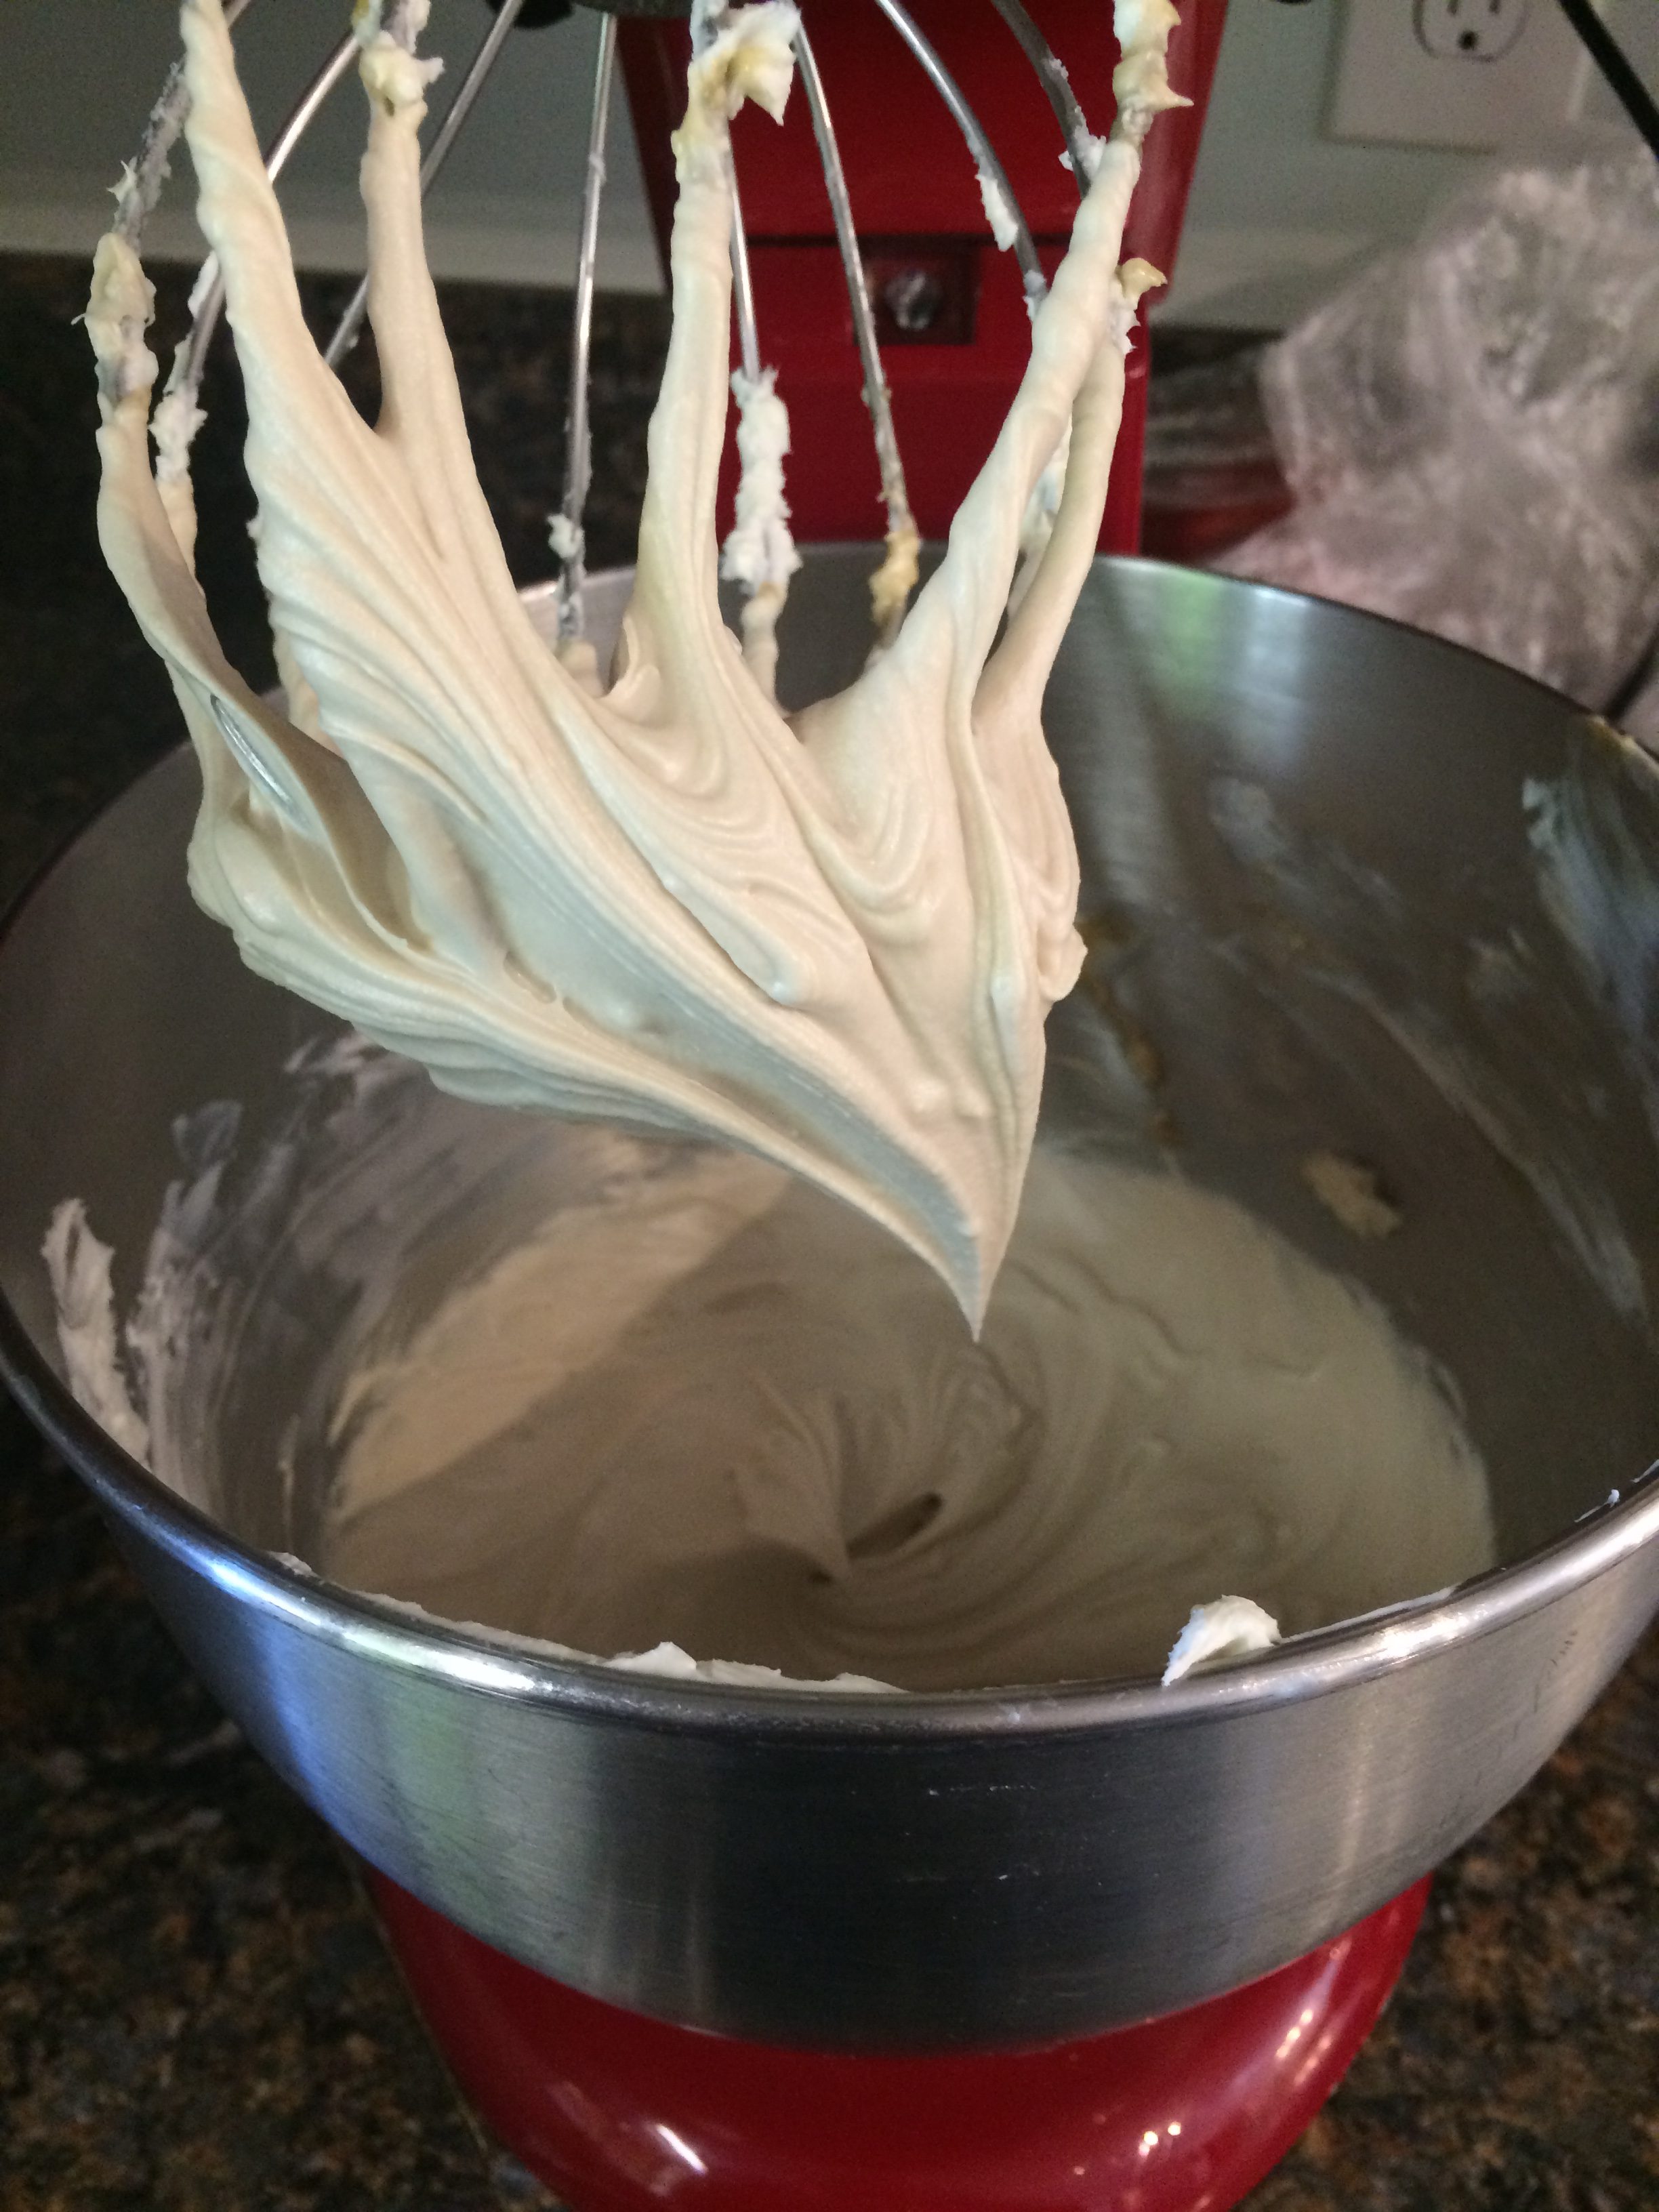
On a low mix, slowly add your caramel liquid from your sauce pan. Increase your mixer speed to fully incorporate. Add your powdered sugar and incorporate fully. This has the most beautifully beige coffee color when it’s done.
 To assemble your cakes, poke a few holes in each layer. I used a skewer, but a table fork would work if you don’t have anything else. Spread a layer of the sugared cream over each cake. Then a thin layer of frosting (think, ½ cup).
 Stack your three cakes. Then complete by frosting the entire outside with the remaining frosting.
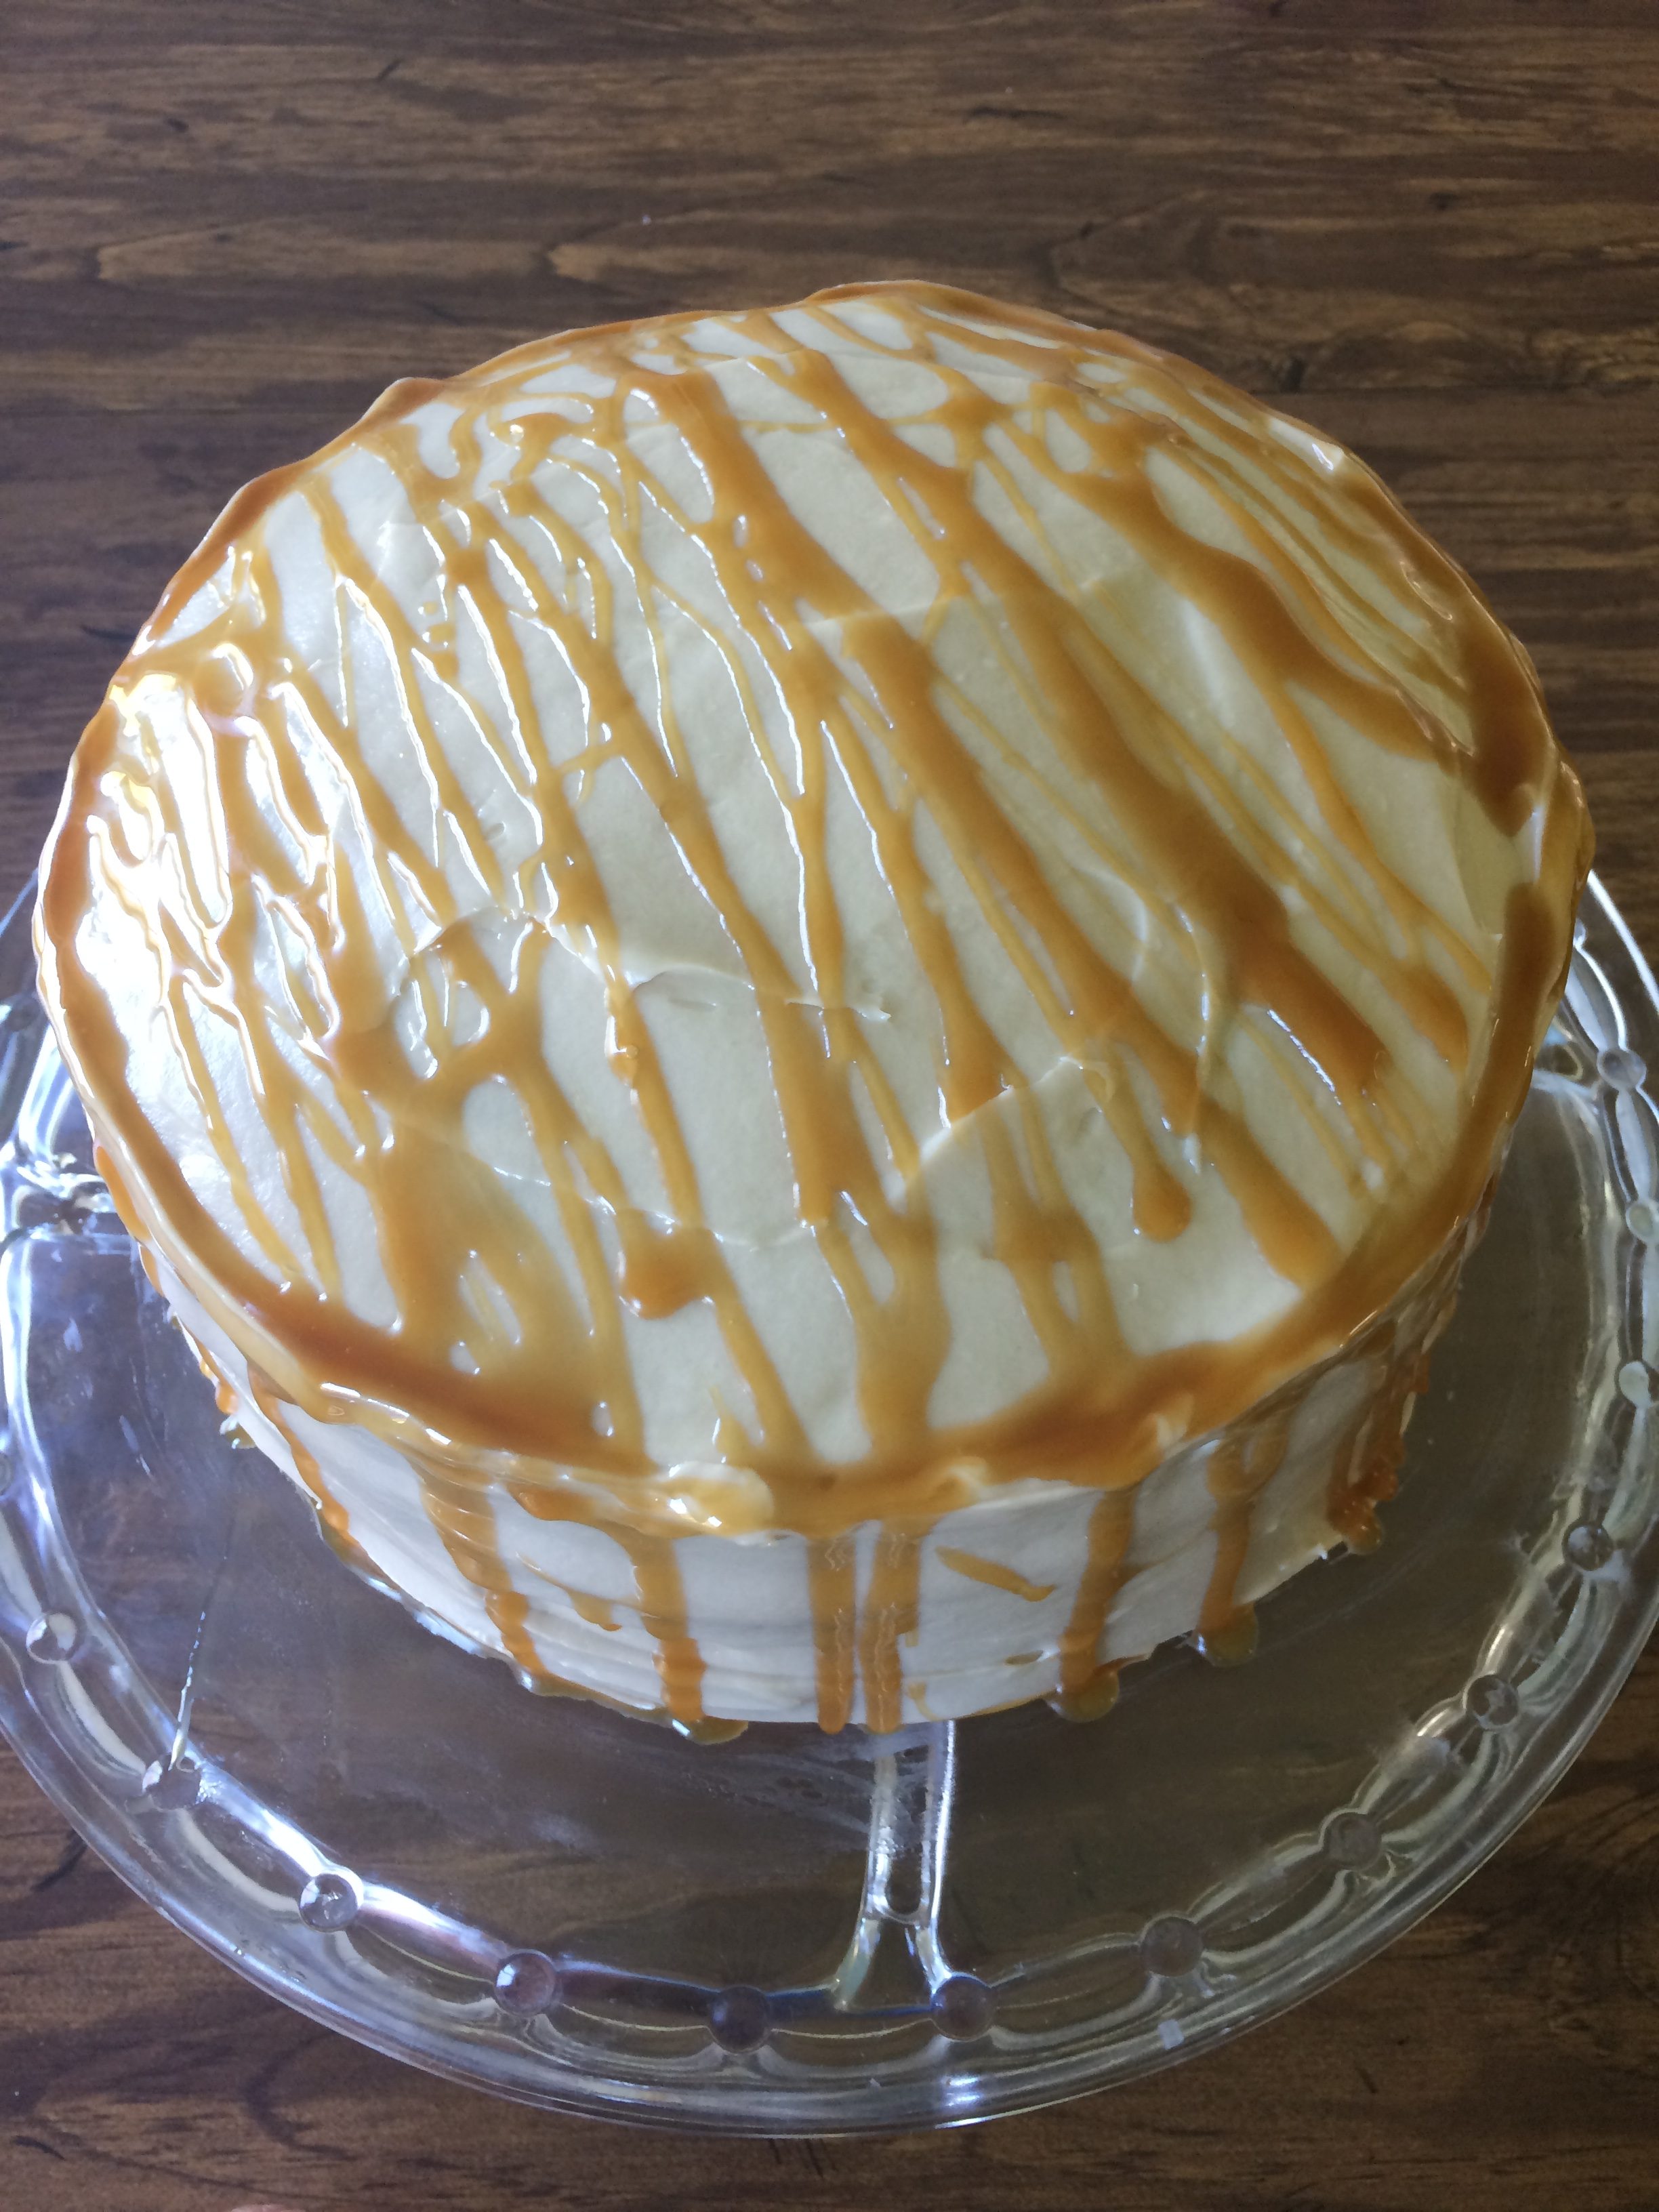
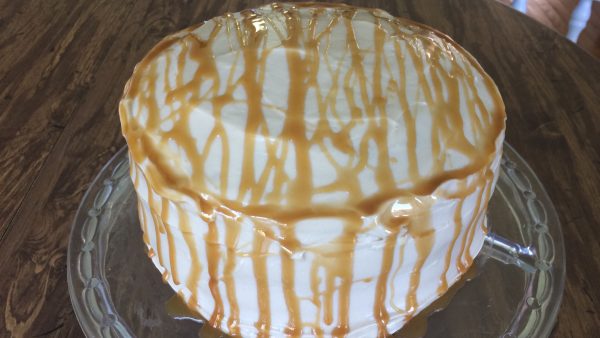
You can decorate your cake anyway you’d like. Or leave it bare. I had some extra caramel ice cream topping in the fridge so I did some drizzling. But some caramel candies around the base or clustered on top is fun too. Go crazy!
 This cake may seem like “a lot,” but you can make each item in advance and bring them together for assembly. I love to put lots of love and care into birthday cakes. It makes the day feel special, and delicious food adds so much to any celebration. This one got RAVE reviews from the kids and hubby alike. Heavenly layers!

Ingredients
BROWN SUGAR CAKE:
- ½ cup unsalted butter (room temperature)
- 1 cup sugar
- 1 cup DARK brown sugar (pack this in)
- 3 eggs
- 1 Tablespoon vanilla
- 2 cups flour
- 1 cup buttermilk
- 1 tsp. baking soda
- 1 Tablespoon apple cider vinegar (can use white vinegar also)
SUGARED CREAM:
- 1 cup sugar
- 3 Tbs. butter
- ½ cup heavy cream
- ½ Tablespoon sea salt
SALTED CARAMEL CREAM CHEESE FROSTING:
- ½ cup packed DARK brown sugar
- 8 Tablespoons butter (divided into 3 Tbs. and 5 Tbs.)
- 1/3 cup heavy cream
- 8 oz. cream cheese
- 1/2 tsp. table salt
- 2 cups powdered sugar
Instructions
BROWN SUGAR CAKE:
- Line three 8’’ rounds with parchment paper (THIS IS NOT THE SAME AS WAX PAPER), and grease. Don’t skip the parchment paper, it’s never worth the risk.
- Preheat oven to 350.
- Cream butter and sugars.
- Add the eggs while mixing. Add the vanilla, and mix.
- Alternate adding 1 cup of flour and then ½ cup of buttermilk, then the other cup of flour and the other ½ cup of buttermilk. Do not overmix, just until it’s incorporated.
- Put the baking soda and vinegar together in a bowl--your kids may enjoy watching that chemical reaction. Then pour that mixture into the batter and mix--again, just until incorporated. I counted to 5 slowly.
- Divide the batter equally among the three cake pans.
- Bake for 20-22 minutes. The tops will be golden brown.
- Remove and let cool for about 10 minutes before removing from pans onto a cooling rack to finish the cooling process.
SUGARED CREAM:
- Place the sugar, butter, and cream in a sturdy saucepan.
- Bring to a boil, stirring constantly.
- Boil for 5-6 minutes on medium-high heat, until mixture begins to “glop” off the stirring spoon or spatula (I know this isn’t very technical, but hang in there.)
- Remove from the heat, and stir in the salt. The mixture will be grainy- the sugar hasn’t dissolved.
- Let this cool for about 30 minutes before using. But I usually do this in the morning and let it sit until afternoon, so no rush to use it.
SALTED CARAMEL CREAM CHEESE FROSTING:
- In a small saucepan whisk the dark brown sugar and 3 Tbs. over medium high heat. Bring to a boil--on a good bubbly boil (stirring), count to 8 and then remove it from the heat. So it’s only boiling for a few seconds. Remove from heat, and whisk in the 1/3 cup heavy cream.
- Allow this to cool to room temperature (use the fridge if you want to speed that along).
- In a separate mixing bowl (I used the KitchenAid) cream together the remaining butter and cream cheese, until it’s smoothly combined.
- Mix in your table salt.
- As you mix (on low) pour in your caramel liquid from your sauce pan. Bump the mixer up to medium and mix until incorporated.
- Scrape down the sides and bottom of your bowl and mix it all again.
- Refrigerate the frosting before use (at least 15 minutes)
ASSEMBLING THE CAKE!
- Poke holes in your cooled cake tops (I used a skewer and fork).
- Spread a ¼ inch layer of your sugared cream mixture (you should use most or all of it for the three cakes) over each of the three cake layers.
- Place one cake on your cake stand, then spread a small amount (maybe ½ cup) of frosting over your sugared cream layer.
- Stack your second cake and spread the same amount of frosting over it.
- Stack your final layer and then frost the entire outside of your cake with your remaining frosting.
- Decorate your cake as desired (some unwrapped caramel candies around the entire base or drizzled caramel topping if you have some or whatever else you can come up with).


Oh. My. Goodness. I know what I want for my next birthday. This looks and sounds amazing, as I am such a caramel lovin’ girl. My cake baking doesn’t usually go beyond a boxed cake mix and a tub of prepared frosting, but I do believe this one would be 100% worth all the time and effort involved.
Nichole makes the best desserts! I’m so excited to try the one! Happiest of birthdays to you Nichole!