Are you ready to finish your table runner? Today is the day! Last week, we created beautiful mitered corners for our table runners.
Today we will sew the borders and corners to the quilt.
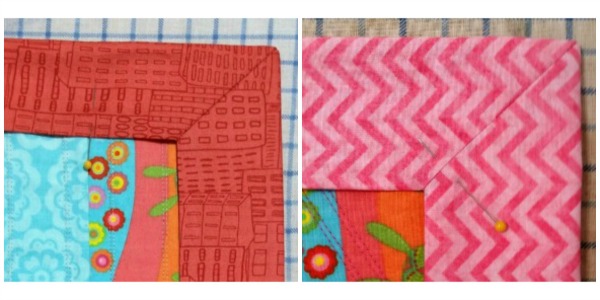
Step one: If you haven’t already done so, press your borders and corners, and add a few pins to make sure nothing shifts.
Step two: Decide which of the many different techniques you are going to use to sew the borders to the quilt. I’m going to give you several options. Pick the one that you like best.
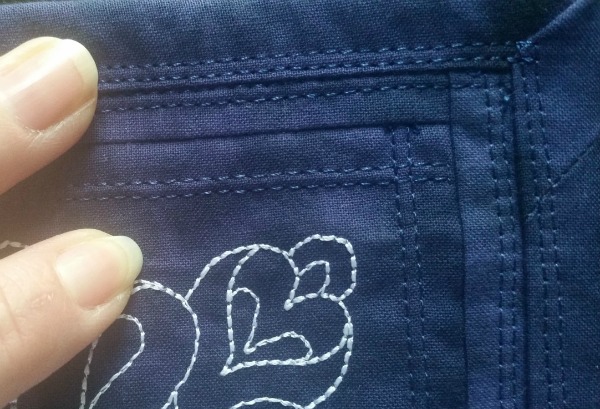
Option one: Sew the borders to the quilt using a straight stitch. First, decide how close to the edge of the border you want your stitch. The stitches in the photo on the left are quite close to the border’s edge. The right-hand photo shows stitches about 1/4″ away.
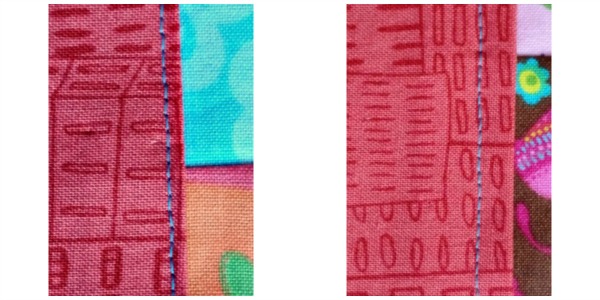
The photo below shows two rows of stitches on the border.
And you’ll notice that I’ve used a contrasting color of thread. This makes the stitching pop out of the quilt and become part of the decorative quilting you’ve done, so decide if this is the look you want. And remember that stitches that are easy to see look better if they are straight. Thread that matches the border is much more difficult to see, so more easily hides mistakes.
You can also sew these stitches with a double needle. You can put one needle on the border and one on the quilt. I’ve done this in three places on the quilt in the photo below.
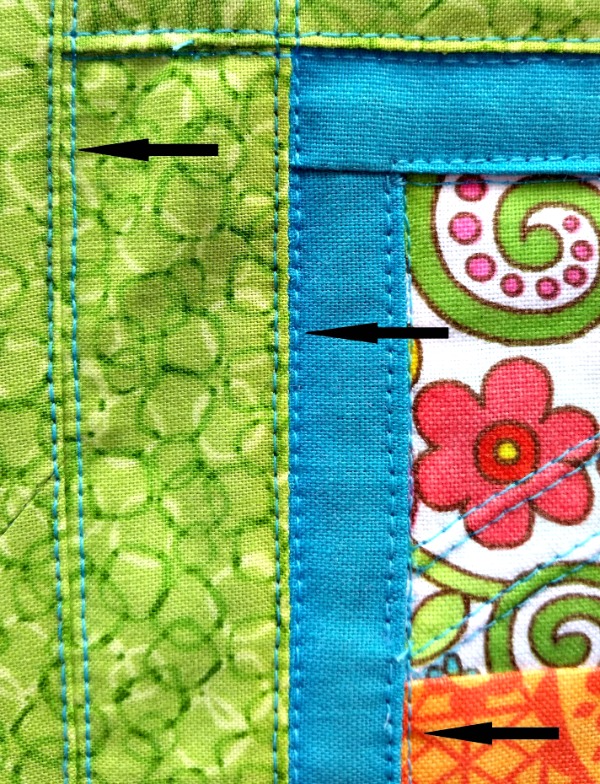
Sewing this way is slow and a little tedious because I have to sew slowly to make sure the needles straddle the edge of the border. If you decide to try this, I recommend you use a twin needle that has needles farther apart than 2 millimeters. That’s what I used in the quilt above, and something farther apart would have been easier to sew with. Try at least a 2.5 or 3.
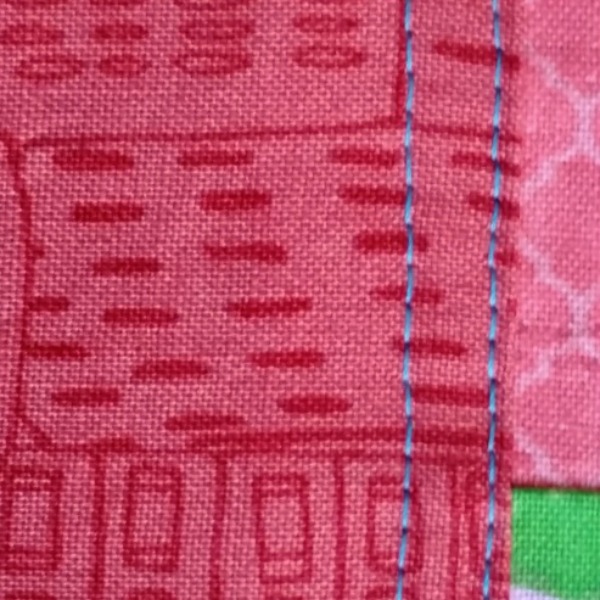
If you don’t want to straddle the seam—with one needle on the quilt and one on the border—put both needles on the border. In the quilt in the photo below, I used the double needle on the outside border, the inside border (which is also dark blue), and the quilt itself (dark blue, again). Note: I had a hard time keeping my stitching lines straight. Next time, I will sew much more slowly.
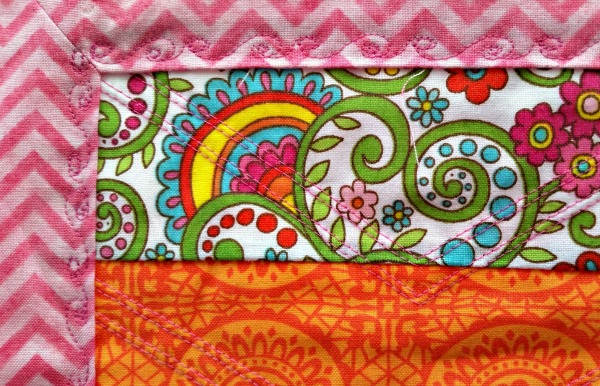
Option Two: Sew the borders to the quilt using a decorative stitch. If your sewing machine has some decorative stitches, use one to sew around the edge of the border. I love the circular stitch on the quilt in the photo below. And notice how much harder it is to see pink thread on pink fabric. These stitches would have practically danced in a contrasting color.
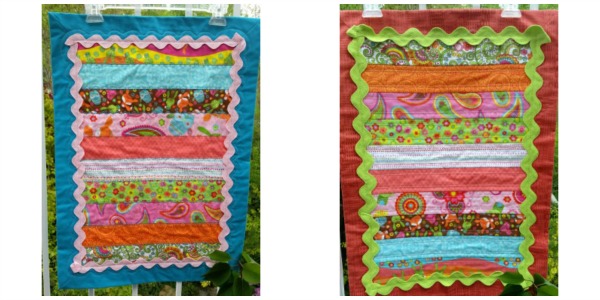
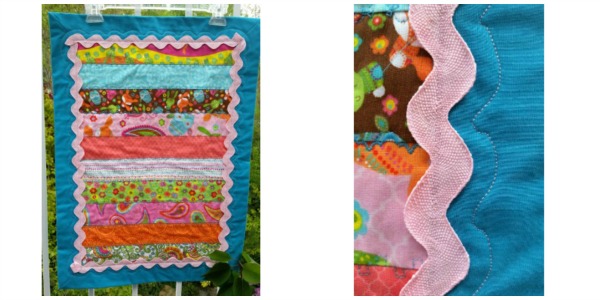
Option Three: Sew the borders to the quilt at the same time you add rickrack or another decorative trim to the border. My husband does not like rickrack, so he would never have added it to any of my table runners. But I love it! I think it makes the runners look playful and happy. And I did not choose shy colors of rick rack. You could use something more muted if that appeals to you. (Also notice in the photos below the difference the border colors make in the look of the quilt. The strips in both quilts are exactly the same, yet the different borders make these look like two different quilts.)
Supplies:
- 2-2/3 yards rickrack
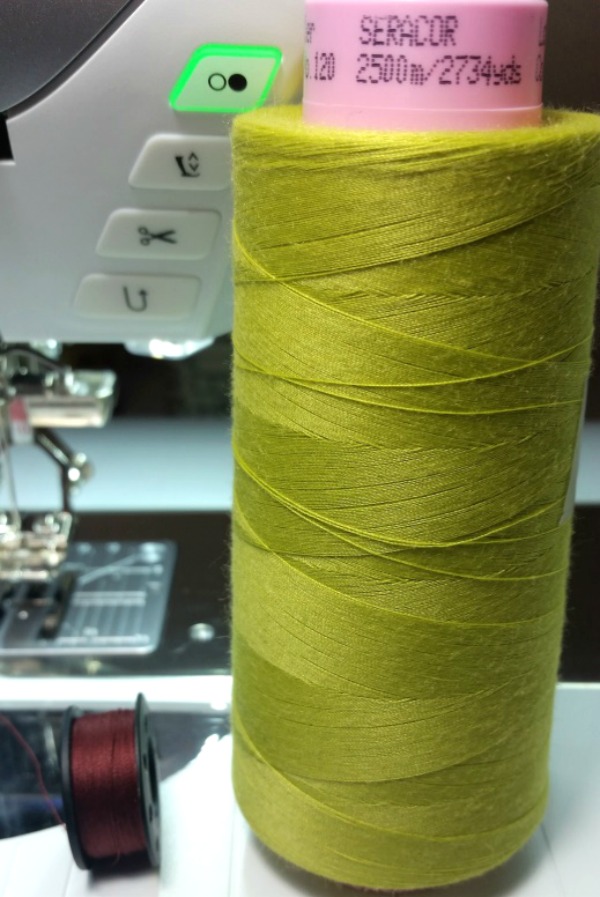
- Thread the same color as the rickrack
Your rickrack will look better if you use a thread color that matches the rickrack. For this quilt, I have green thread on the top and a color to match the back in the bobbin.
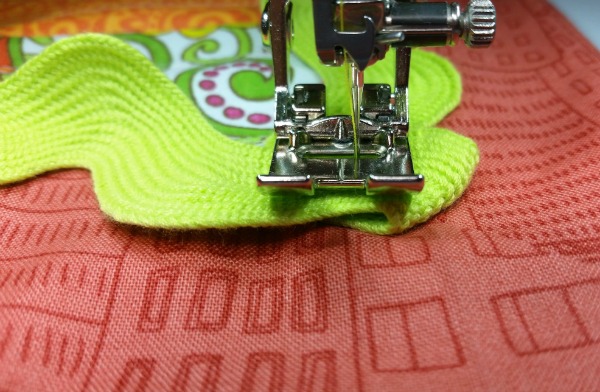
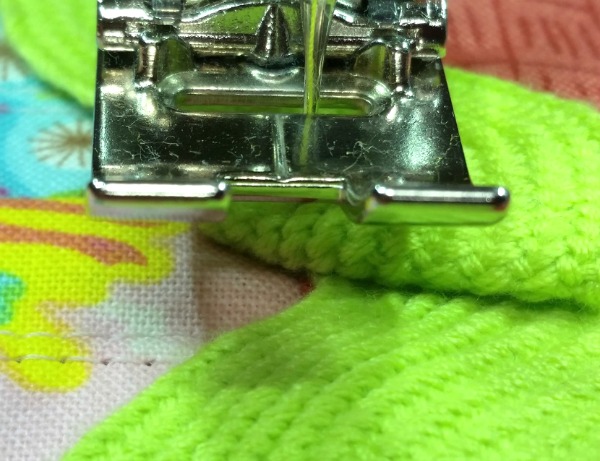
Change your stitch to a small zigzag. The photo below shows how the stitching looks on the rickrack. Notice how difficult it is to see the zigzag! You don’t even notice that my stitching line is a little wavy.
Before you sew, put a few more pins in the borders, so that you know that nothing is going to shift. Now take your table runner and your rickrack to the sewing machine. Position the runner so that the border is to the right of the needle and the rest of the runner is to the left. This gives you much less fabric on the sewing machine itself.
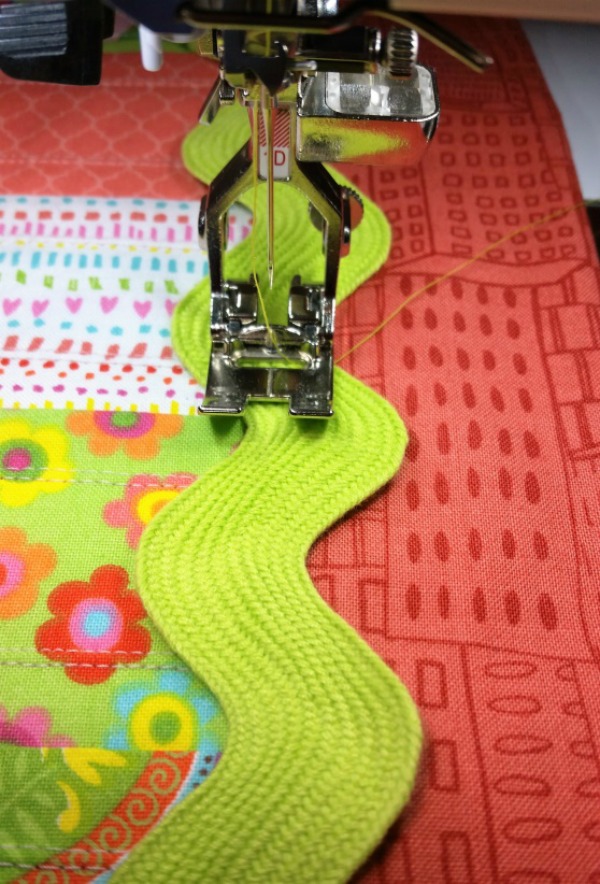
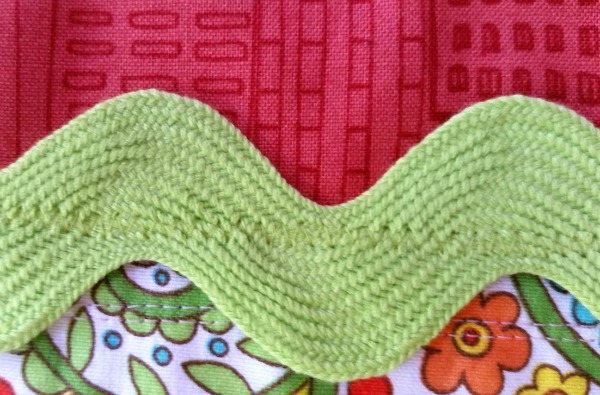
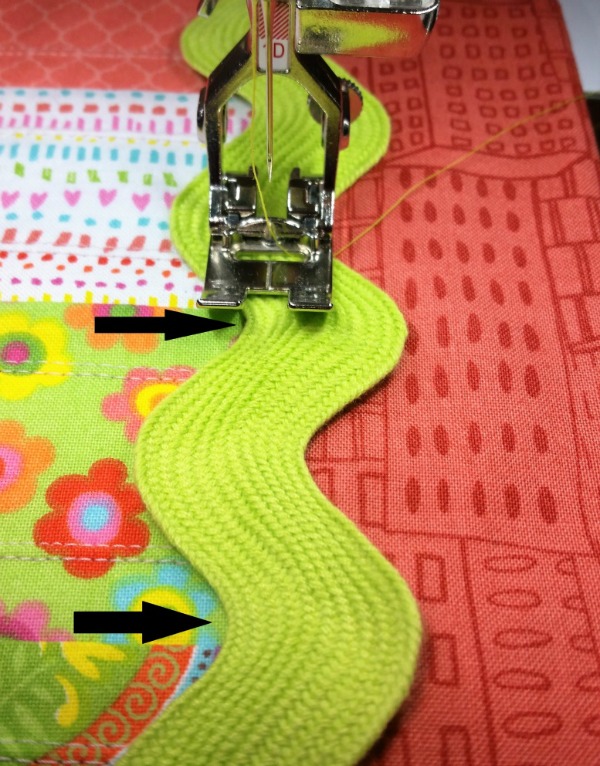
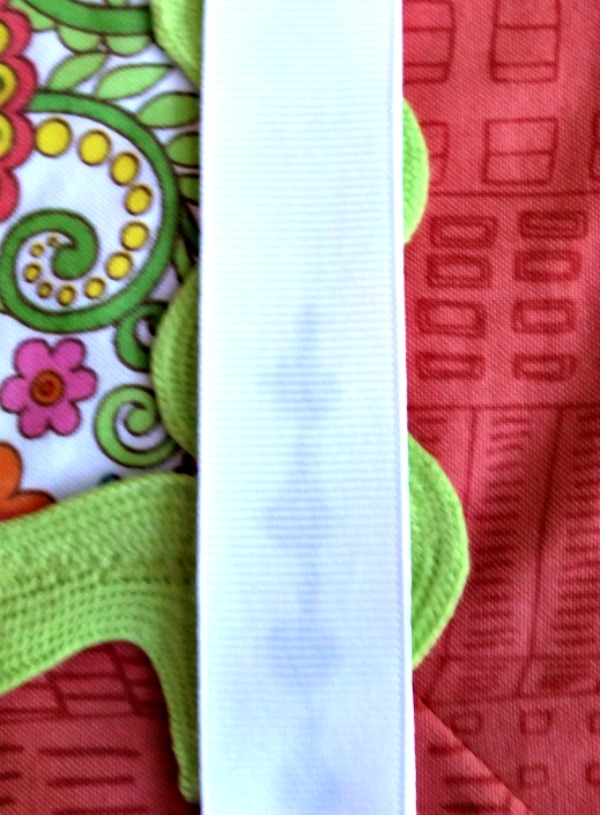
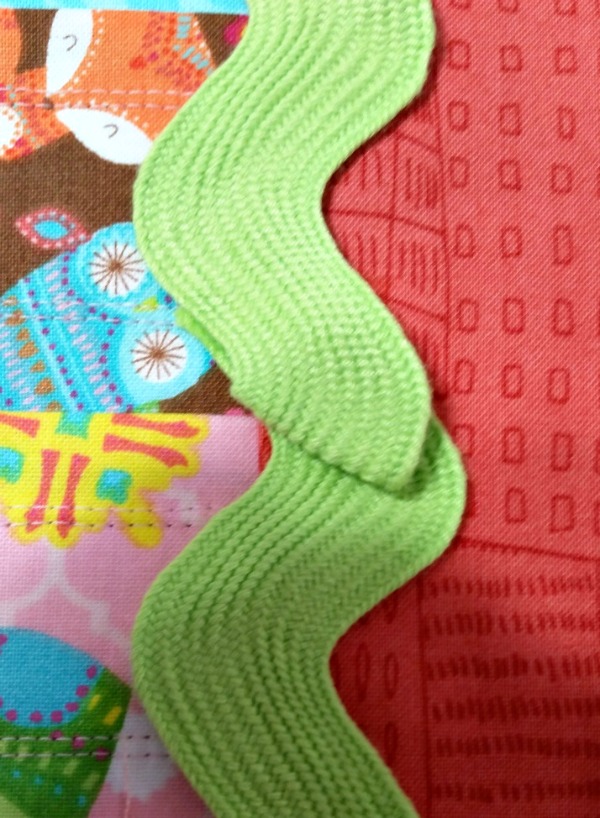
Start in the middle of one of the long sides, and give yourself a tail of rickrack five or more inches long. (In the photo above, you can see the tail behind the presser foot.) Don’t sew yet! Lay the rickrack on the border. I put the bottom inner curve of the rickrack just over the edge of the border. The arrows in the photo below are pointing to this curve.
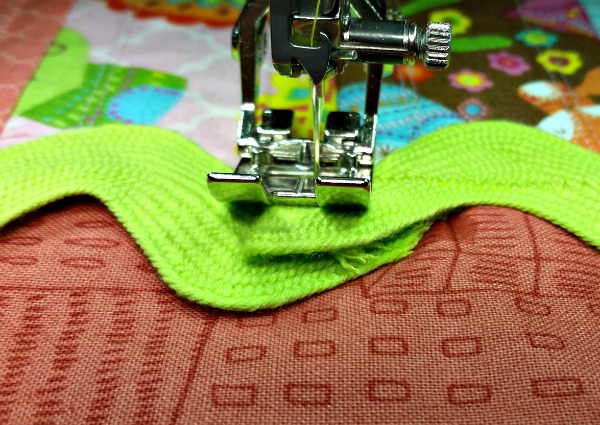
Place the rickrack right where you want it by picking up a little of the rickrack in front of the needle. Then carefully lay the rickrack just over the edge of the border. Sew some securing stitches, and then sew with the rickrack for about two inches. (Check to make sure you are using a zigzag stitch.) Stop sewing, carefully place the next few inches of rickrack on the border, and then sew another two to three inches.

Continue placing the rickrack, sewing a few inches, stopping, and then placing the rickrack again. Continue until you reach your first corner. (Notice, I haven’t pinned any rickrack. You don’t need to.)
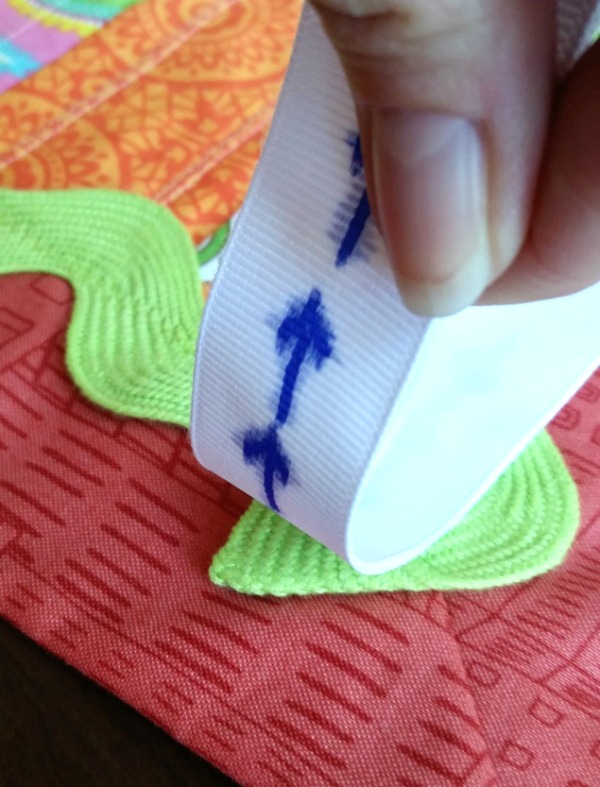
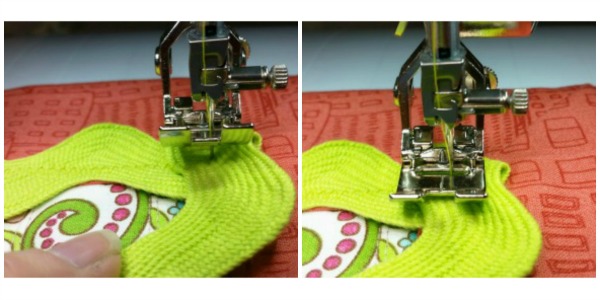
Stop sewing and take a deep breath. Making the corner look good is much simpler than you might think. In the photos below, I use a white ribbon to demonstrate what to do with the rickrack when you reach a corner. I’ve marked the back of the ribbon with blue arrows. (Blue for back.)
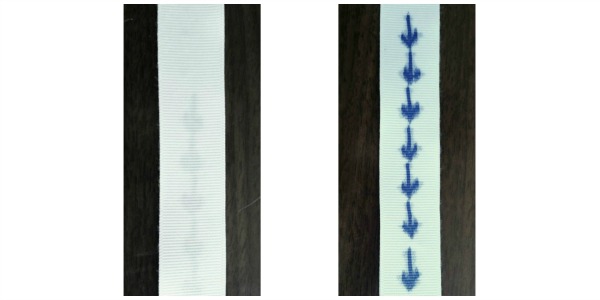
Notice in the photo below that the back of the rickrack is against the quilt and the top is up where we can see it. This is how your rickrack will be lying on your quilt. (Just for this demonstration, I put the ribbon over the rickrack that has already been sewn to the runner.)
When you get within a few inches of the corner, stop sewing. Pick up about two inches of the rickrack.
Fold the rickrack so that the back of the rickrack is now on top and the top of the rickrack is now sitting against the quilt top.
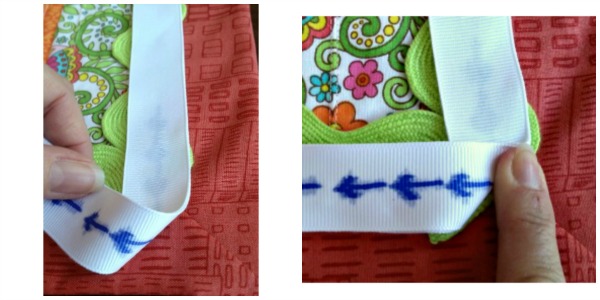
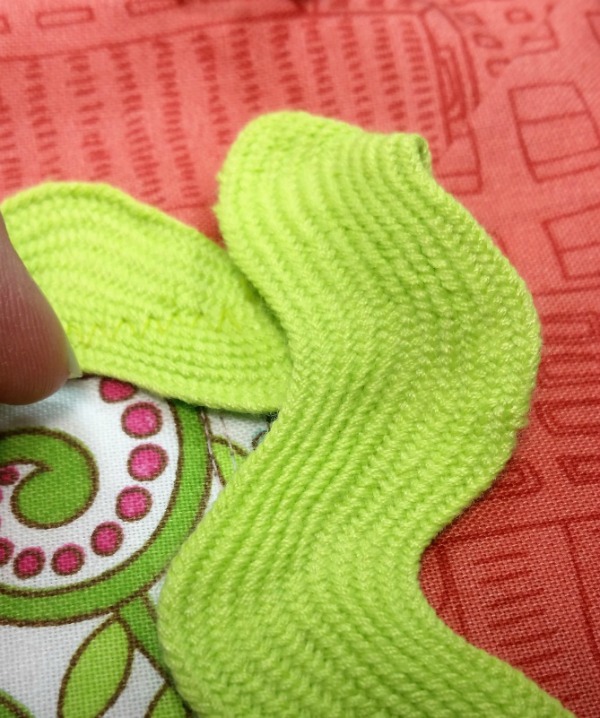
Here is how the rickrack looks when it’s folded in the same way:
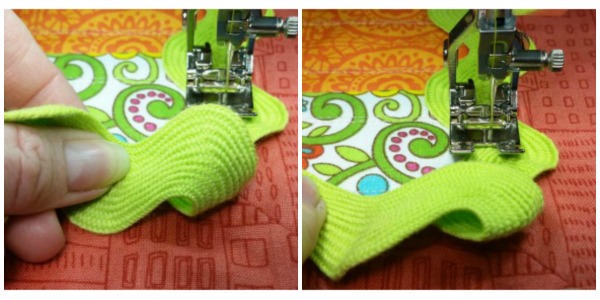
In the photo above, you can see that I have stopped sewing a few inches before the corner. Because rickrack is more zigzaggy than ribbon, you may have to manipulate the rickrack a little to get a corner that you like. When the rickrack is folded just the way you want, put a few pins in it and continue sewing. Sew into the folded rickrack, making sure that the fold is stitched to the quilt.
Now pivot your fabric counter-clockwise by lifting your presser foot while the needle is still down in the rickrack. Your presser foot is now pointing down the next side of the quilt. Lower the presser foot.
Your corner should now look something like this:
Note: your corners will probably look different from each other. This is completely normal with rickrack, so don’t worry. Smile and think how great your quilt looks.
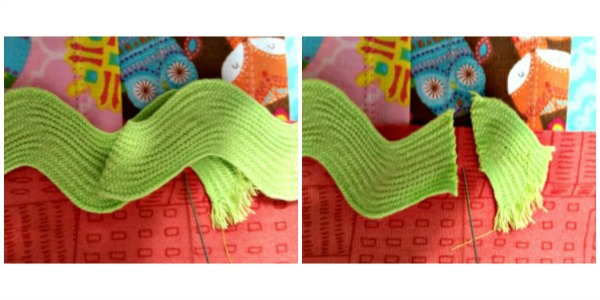
Finish sewing the rickrack around the quilt. When you are about 5 inches from where you started stitching, stop. Lay the two ends of rickrack on top of each other and see how well they line up.
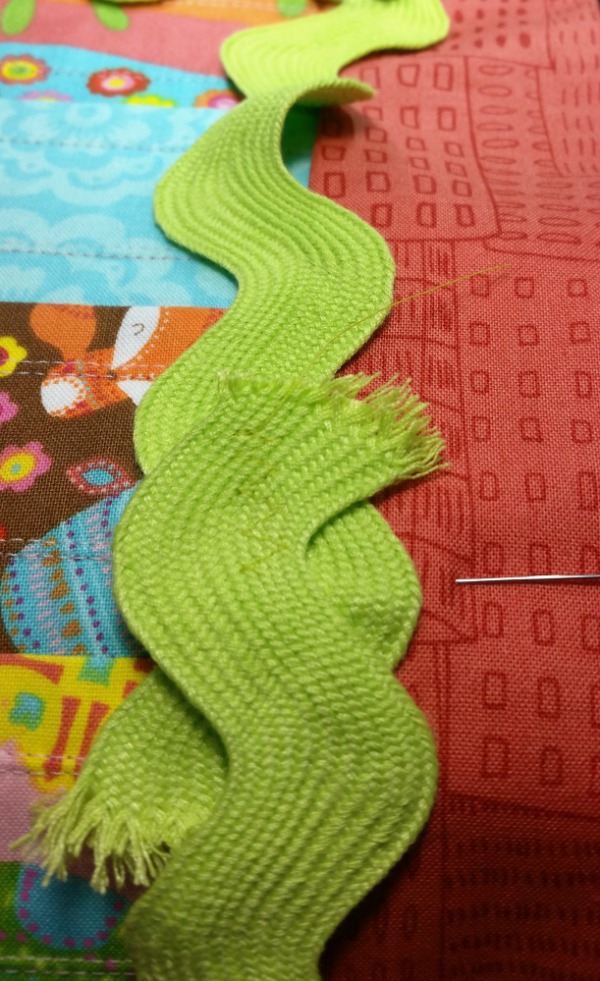
If the stars are in alignment, they will match perfectly. Otherwise, maneuver the two ends until you like how they look.
Fold back the top piece of rick rack.
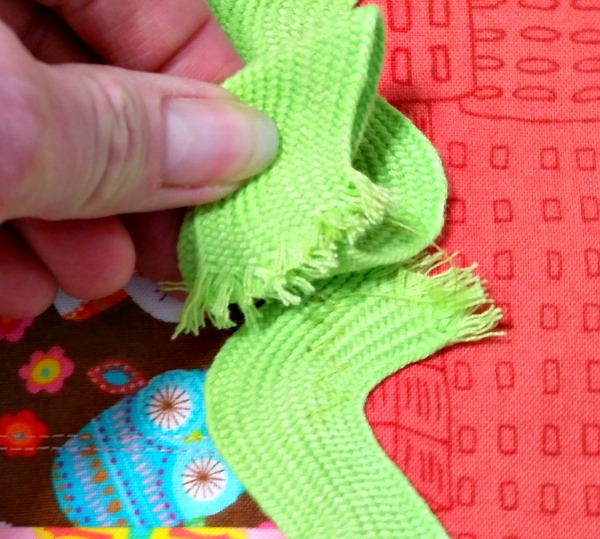
You’ve probably noticed that rickrack frays very easily. Cut off the very end of the top rickrack, and cover the new edge with Fraycheck.
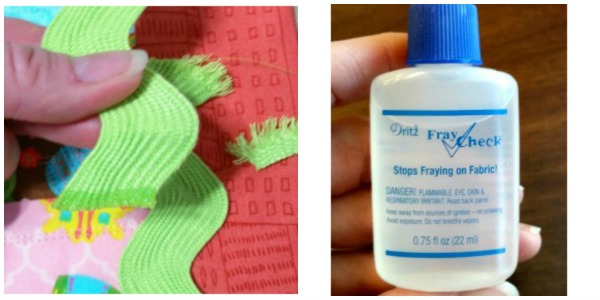
Now fold under this new edge and lay it on top of the other piece of rickrack.
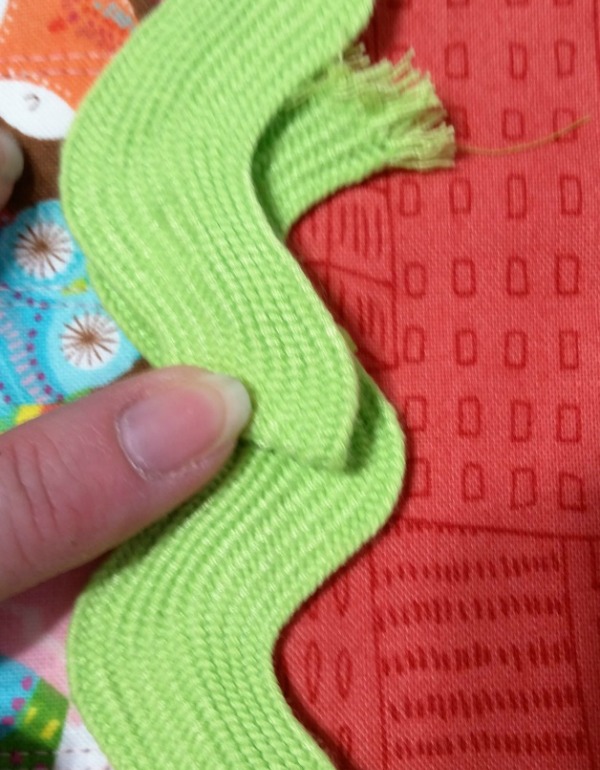
Trim the bottom piece of rickrack so that it lies underneath the top piece by 1/2 — 1″. I’ve marked this point with a pin.
Slather Fraycheck on the end you just cut so it won’t fray. Now tuck the bottom rickrack underneath the top, making sure that the raw edges of both pieces of rickrack are completely covered.
Continue sewing, through both layers of rickrack. When you get to the folded end of the top rickrack, stop. In the photo below, you can see that I made sure that I sewed through all the layers of rickrack, including the very left-hand edge.
Now pivot your fabric counter-clockwise so that you can sew up the side of the fold in the rickrack. I also used the pointy end of my seam ripper to push the unfinished edge of the bottom rickrack underneath the top rickrack.
The photo below shows how I stitched the end of the rickrack. And notice how hard it is to see the stitches!

If you get to this point and still have a few scraggily ends of rickrack showing, don’t fret. Cut off any tiny threads and make sure any remaining raw edges are covered in Fraycheck.
Here’s another photo of the finished runner. Notice all the things you don’t notice: the differences between the corners, the spot where I joined the two edges of the rickrack.
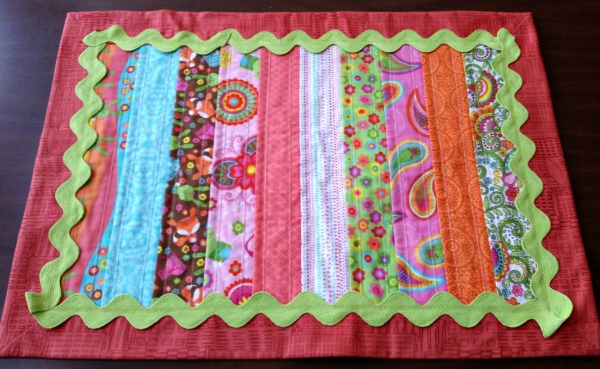
Here’s another example of a runner with rickrack, and you’ll see that I added a row of stitching close to the outside edge of the rickrack. The stitches aren’t perfect, especially if you look at them closely, but I think they add a nice finish for that quilt.
I have loved making these runners, and using the pre-cut strips made the project easy and quick. I can’t wait to see your Spring Table Runners! Post any photos or questions in the comments. And join me next week for another great sewing adventure at The Quilting Bee.