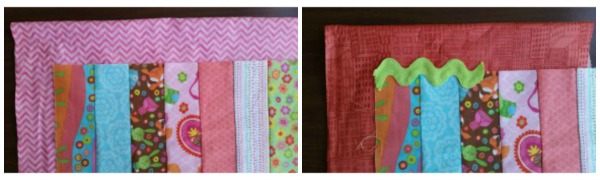
Hello, fellow quilters! Last week, we pieced our quilt top out of jelly roll strips and picked our border fabric. (Find these instructions here.) I picked two border fabrics, by the way. I couldn’t decide which I liked best.
Today we are going to make our quilt sandwich in preparation for quilting the table runner next week. Don’t run away! I know this doesn’t sound very exciting, but this is a relatively easy job, and a good quilt sandwich facilitates wonderful quilting.
Our Spring Table Runner uses part of the backing fabric to create the borders, so the back needs to be several inches larger than the quilt top.
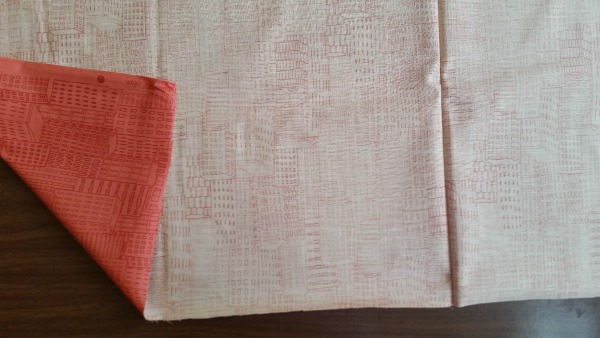
- You will need 1 yard of fabric for the back and borders. Cut this into a 36” x 29” rectangle.
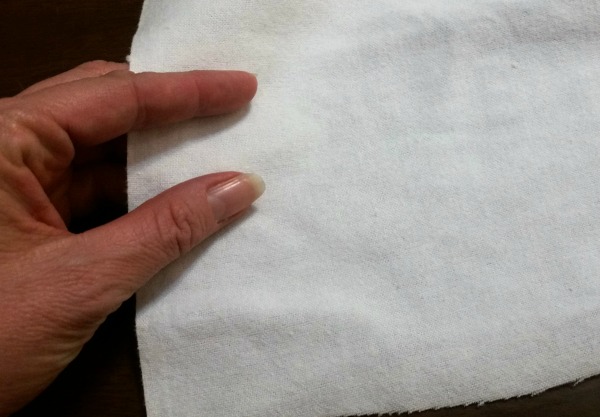
The Spring Table Runner works best with a thin batting, something to give the runner a little dimension, but nothing so puffy that it makes a vase of flowers wobble.
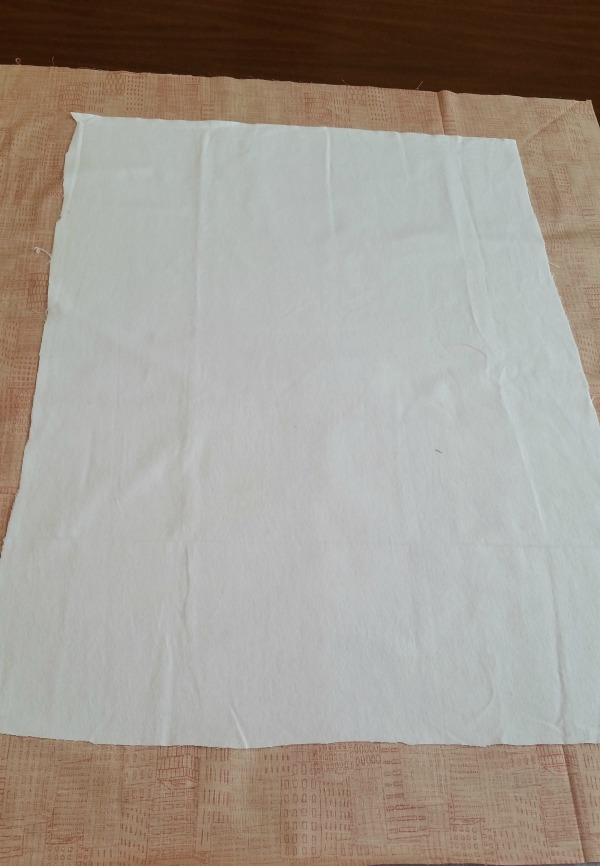
- I am using a piece of white flannel. Cut this into a 30” x 23” rectangle.
Find a flat surface on which to make your quilt sandwich. (I use my kitchen table. The top is not wood, but plastic, so mostly impossible to hurt.) We are going to spray baste our quilt together. I love spray basting, so allow me to wax poetic on this subject. (Ahem.) A quilt is basically two layers of fabric with some kind of padding in between, held together with stitching.
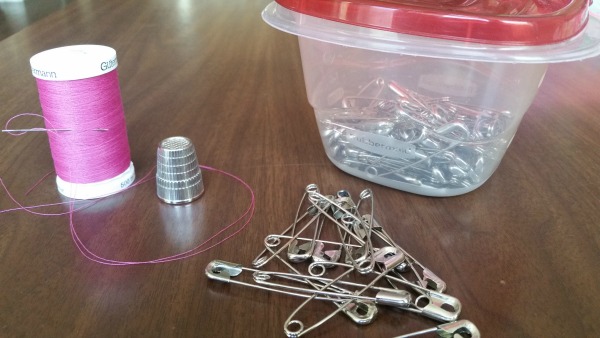
One of the biggest quilting challenges is to keep these three layers lined up properly when you sew them together. If the layers shift while you stitch, you get wrinkles and lumpy batting and tucks and pleats and weeping and wailing and gnashing of teeth. You can hand baste your quilt layers together with a needle and thread, or you can pin baste with safety pins.
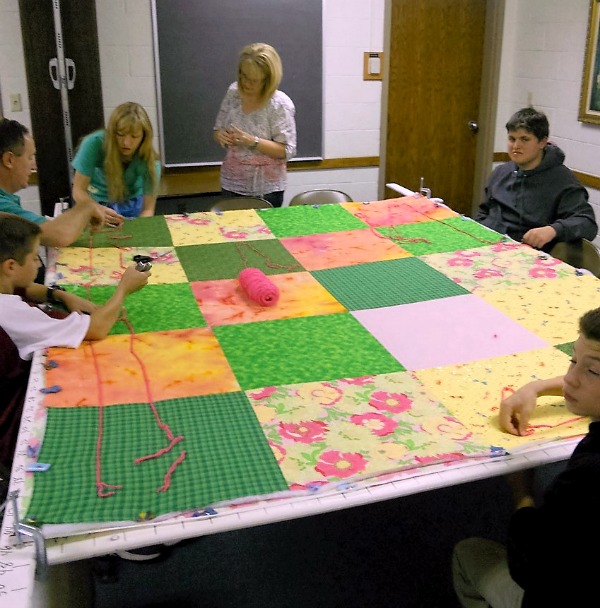
You can put your quilt on quilting frames and have an old-fashioned quilting bee. These are wonderfully fun, by the way, but they require a large room and lots of time and/or quilters, because once the quilt is on the frame, it stays there until it’s quilted.
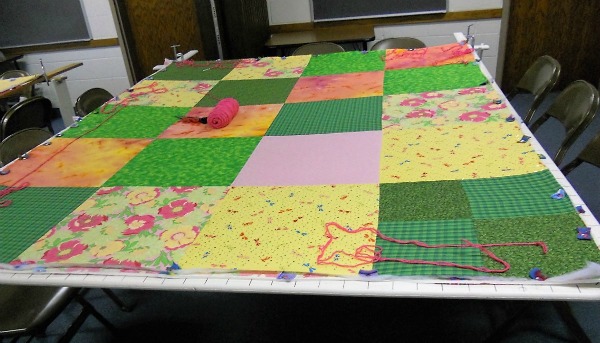
The quilts in the photos above and below were quilted by Boy Scouts for an Eagle project. The boys didn’t technically “quilt” these quilts, but “tied” them with yarn.
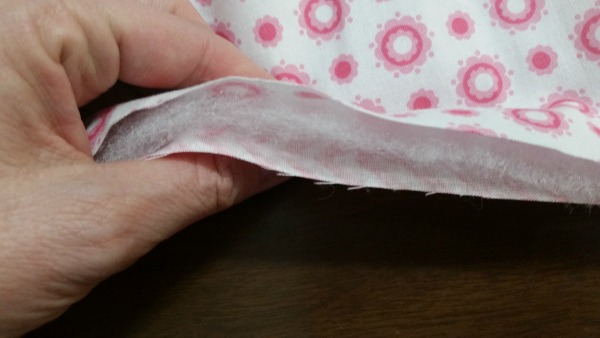
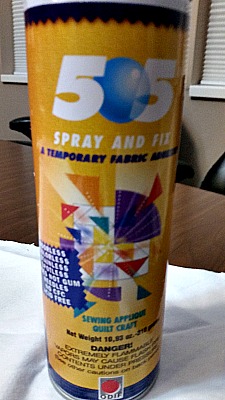
Or you can spray baste your quilt. This is my favorite way of basting anything I intend to machine quilt. Buy a can of “temporary fabric adhesive” at your favorite fabric store. You want something that will hold the layers together, but is repositionable in case you make a mistake. The fabric adhesive needs to wash out with water, but not gum-up your needle when you sew through it. You don’t want an adhesive that spots your fabric, and I like sprays that are odorless. My local fabric store recommends 505 Spray and Fix. It fits all of these criteria.
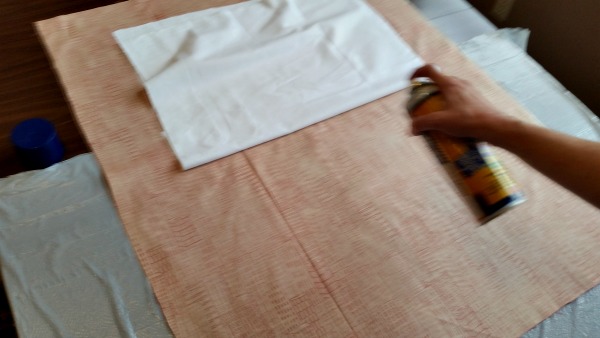
Because this fabric adhesive is sprayed onto the fabric, you always run the risk of over-spray hitting surfaces around the fabric. Consequently, I take a large garbage bag and cut it down one side and across the bottom. Then I spread this large piece of plastic on the table before I lay down any fabric. I am now ready to spray baste my quilt! Poetry finished.
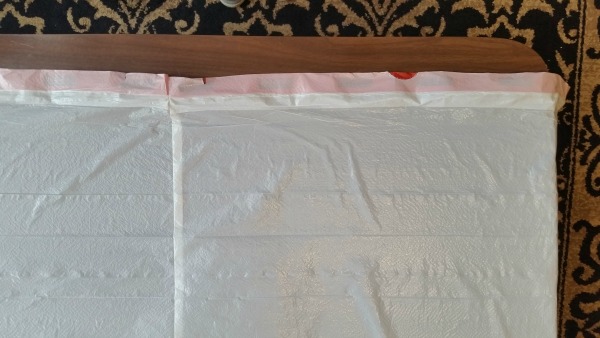
Spread out the quilt back, your 36” x 29” rectangle, on the table, right side DOWN. This means that you can’t see the pretty side of the fabric because it’s against the table (or against the plastic if you remembered to put it down before you took the picture). You’ll probably want to iron more effectively than I obviously did.
Put the flannel in the middle of the backing fabric.
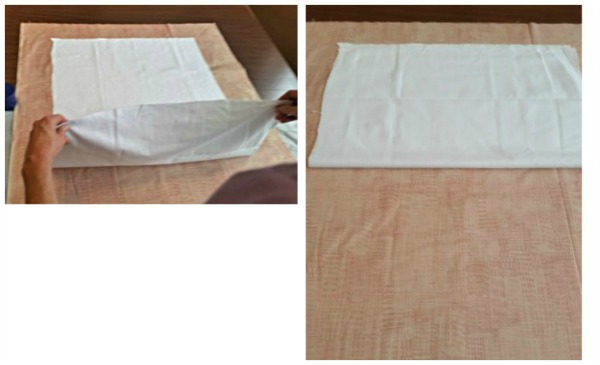
Fold back the bottom half of the flannel onto the backing fabric.
Spray the bottom half of your fabric with fabric basting spray. (I’m sorry for the blurry photo. My hand was moving.) Notice that I have the plastic garbage bag under the bottom half of the fabric, the half I’m spraying.
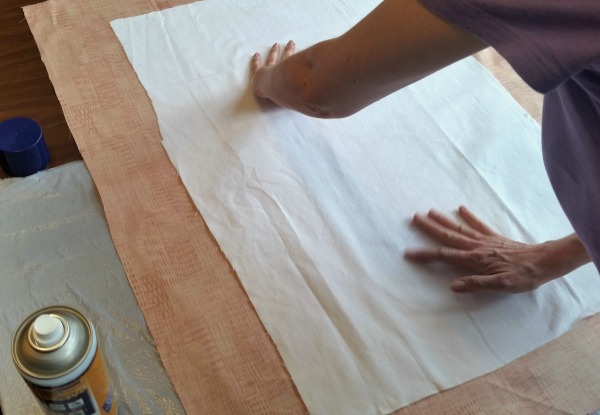
Now carefully fold the flannel onto the backing fabric, smoothing as you go to get ready of any bubbles or wrinkles. And the basting spray is repositionable, so feel free to move the flannel if you need to. (My son took about 40 photos of me smoothing this flannel, but I’ll only show you one of them.)
Now turn the quilt so that the other end is on top of the plastic. Fold back the flannel that is not yet stuck on, and repeat the process of spraying and smoothing. If you have a corner of flannel that’s not sticking to the fabric, pull back that bit of flannel, spray underneath it, and then smooth it back down.
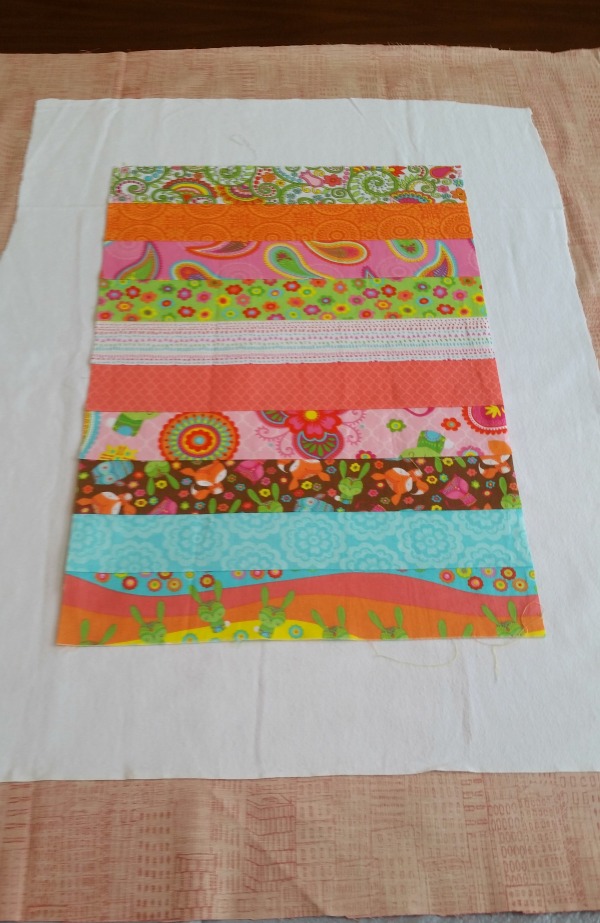
Now put your quilt top, right side UP, in the middle of the flannel. (I usually pause at this point and admire my work.)
Now fold back the bottom half of the quilt top. Spray the flannel, and then smooth the quilt top onto the flannel. Repeat this for the other side.
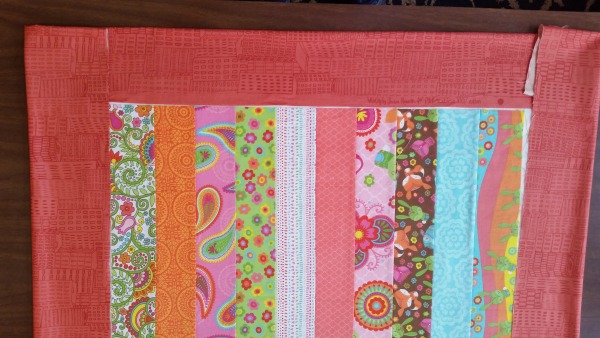
You will notice that you have extra flannel and backing fabric on all sides of your top. You need this extra fabric, so don’t cut it off! To get it out of the way while you quilt, fold the extra backing fabric over the extra flannel. They stick to each other nicely (courtesy of some overspray from the fabric adhesive).
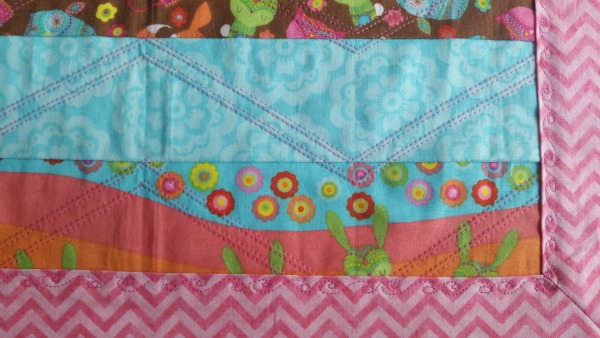
Now, we’re ready to machine quilt. We start next week! I’ve got a wonderful, easy machine quilting technique to teach you. Here’s a sneak peek.